The Approval control allows you to build approval workflows directly within forms. Before creating an approval process, it is important to understand the available configuration options and how they affect the approval lifecycle.
In this tutorial, you will add the Approval control to a form and explore its core settings, including approval start options, status management, approver configuration, and email templates. These settings provide the foundation for building approval workflows that will be configured in the following tutorials.
Instructions
Before You Start
For this tutorial, create a SharePoint list:
- List Name: Purchase Requests.
- Columns:
- Title - Single line of text
- Description - Multiple lines of text
- Category - Choice
- Department - Choice
- Amount - Currency
- Requested By - Person
- Approver - Person

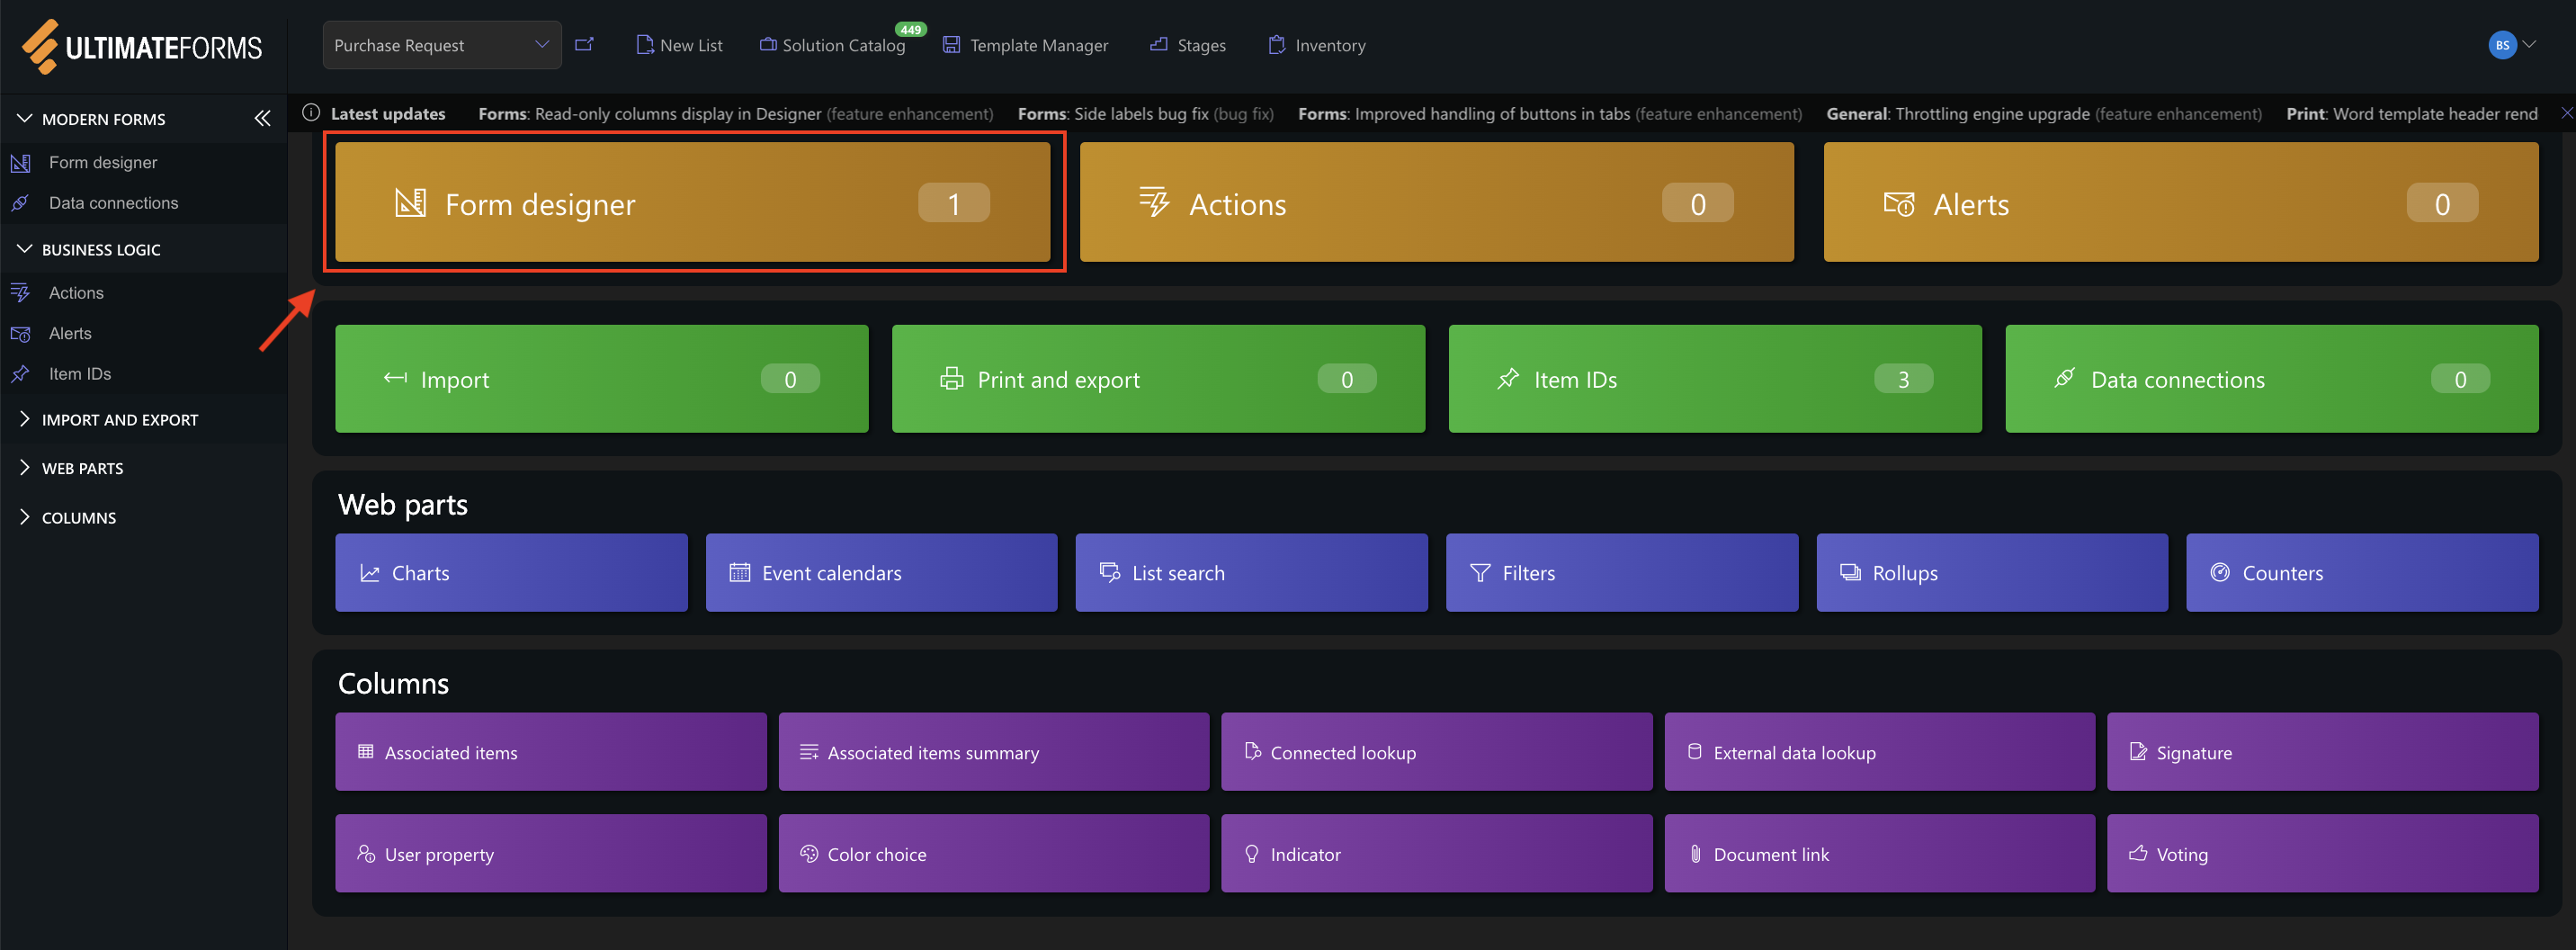
Step 1: Open Form Designer
- Open the Purchase Requests list.
- Click Design.
- Open the Form Designer.
Step 2: Add the Approval Control
- Open the Control.
- Drag the Approval control onto the form.
- Position it where you want the approval section to appear.

Tip: The Approval control can be placed anywhere on the form, including inside tabs.
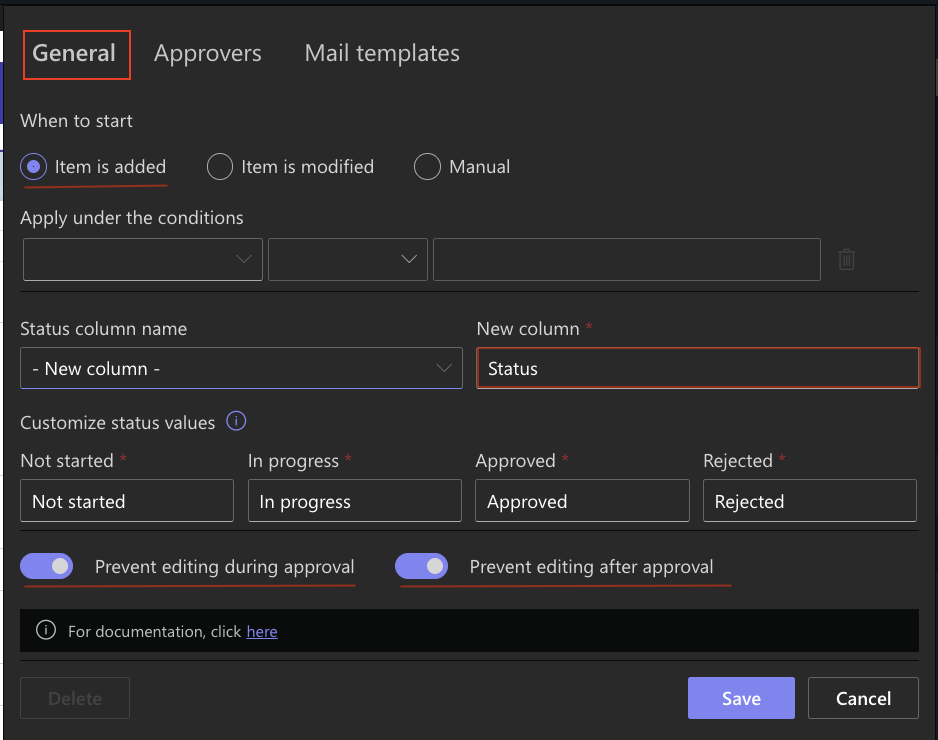
Step 3: Configure General Settings
Click Configure to open the Approval settings.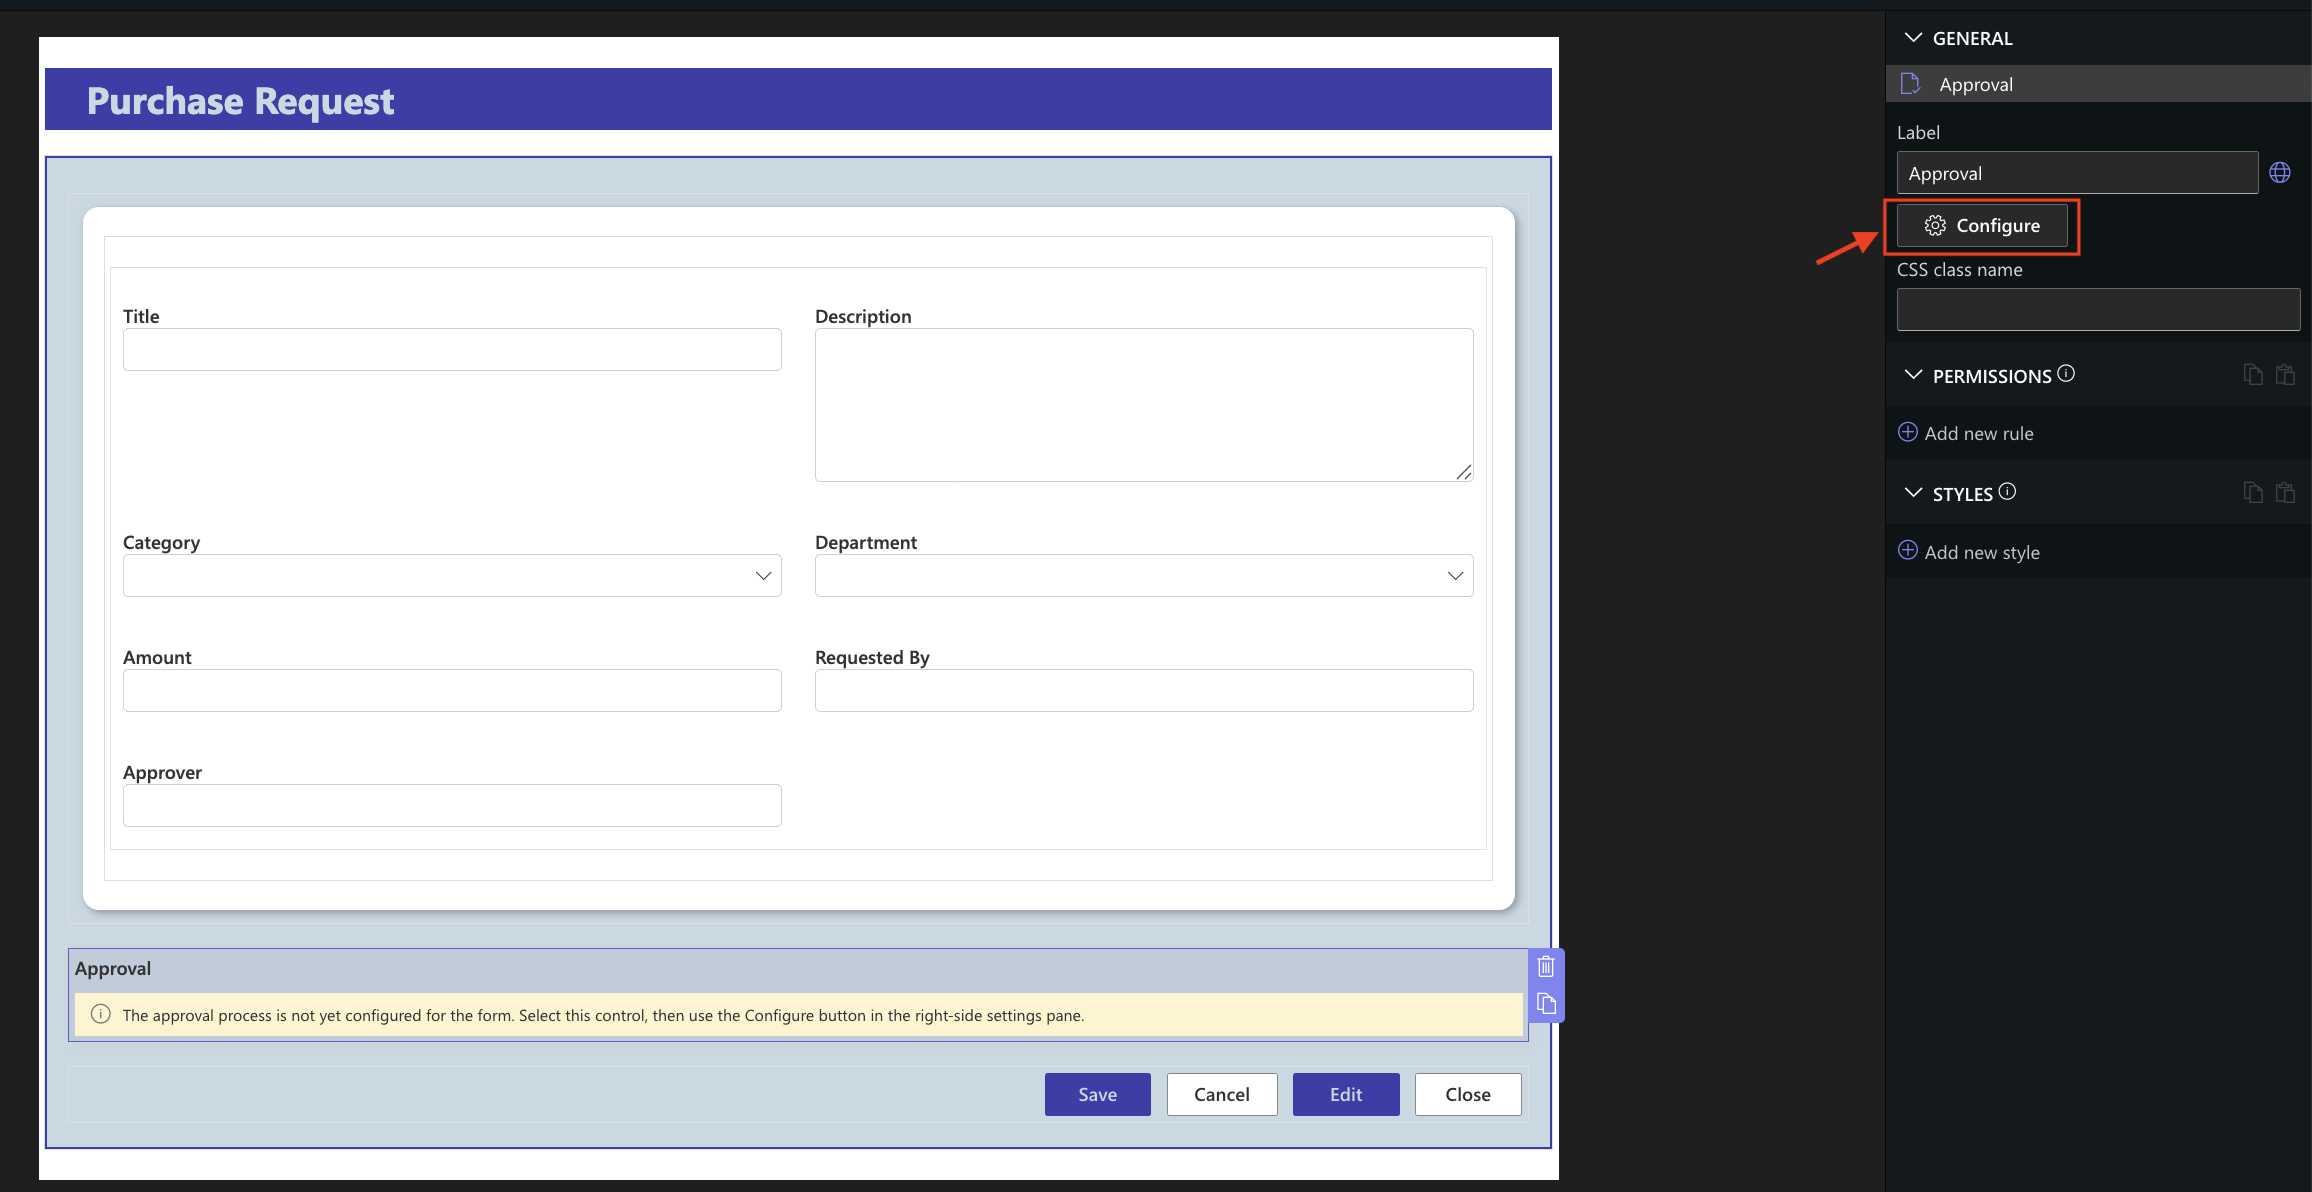
The General tab contains the core settings that control how the approval process starts and behaves.
Configure the following options:
- When to start – Choose whether the approval starts when an item is added, modified, or manually by the user.
- Apply under the conditions – Optionally start the approval process only when specified conditions are met.
- Status column – Select an existing Status column or create a new one to track the approval state.
- Custom status values – Optionally customize the status labels displayed during the approval process.
- Prevent editing during approval – Make the form read-only while approval is in progress.
- Prevent editing after approval – Keep the form locked after the approval has been completed.
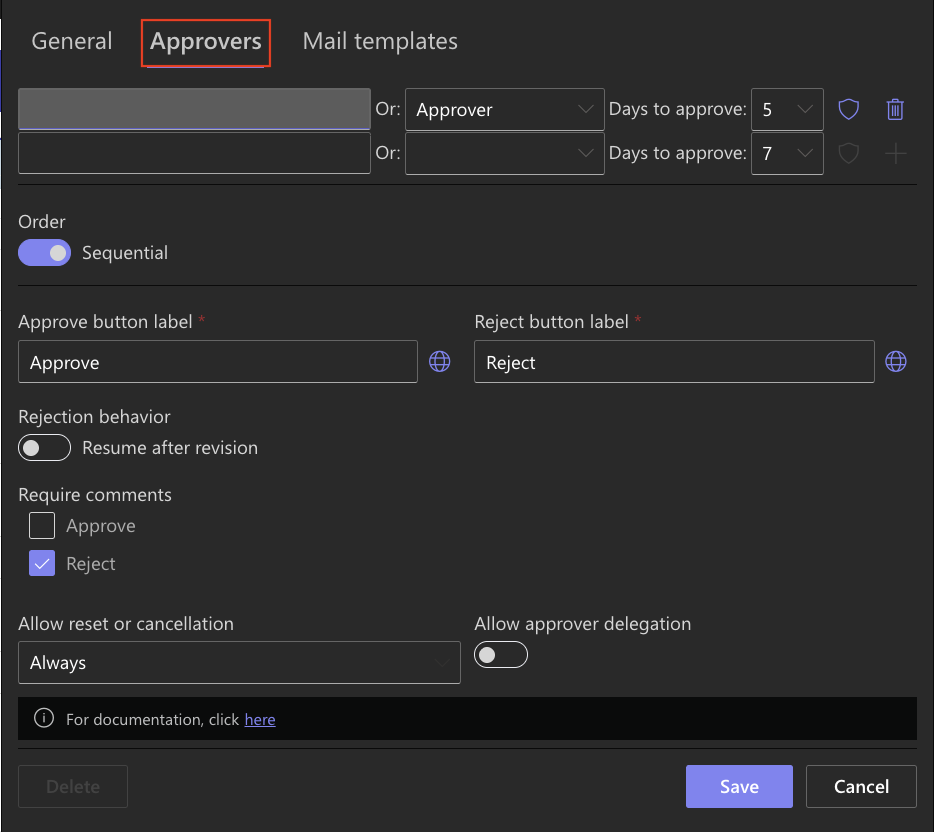
Step 4: Configure Approvers
Open the Approvers tab.
This tab defines who is responsible for reviewing and approving each request. You can configure one or multiple approval stages, depending on your business process.
For this tutorial, configure a single approval stage using the following settings:
- Approver: Approver
- Days to Approve: 5
- Approval Mode: Sequential
- Rejection Behavior: Resume after revision
- Require Comments: Optional
- Delegation: Enabled
- Allow Reset or Cancellation: Always
- Allow Approver Delegation: Enabled
Tip: Using a Person column allows each purchase request to be routed to a different approver based on the value stored in the item, without modifying the Approval control configuration.
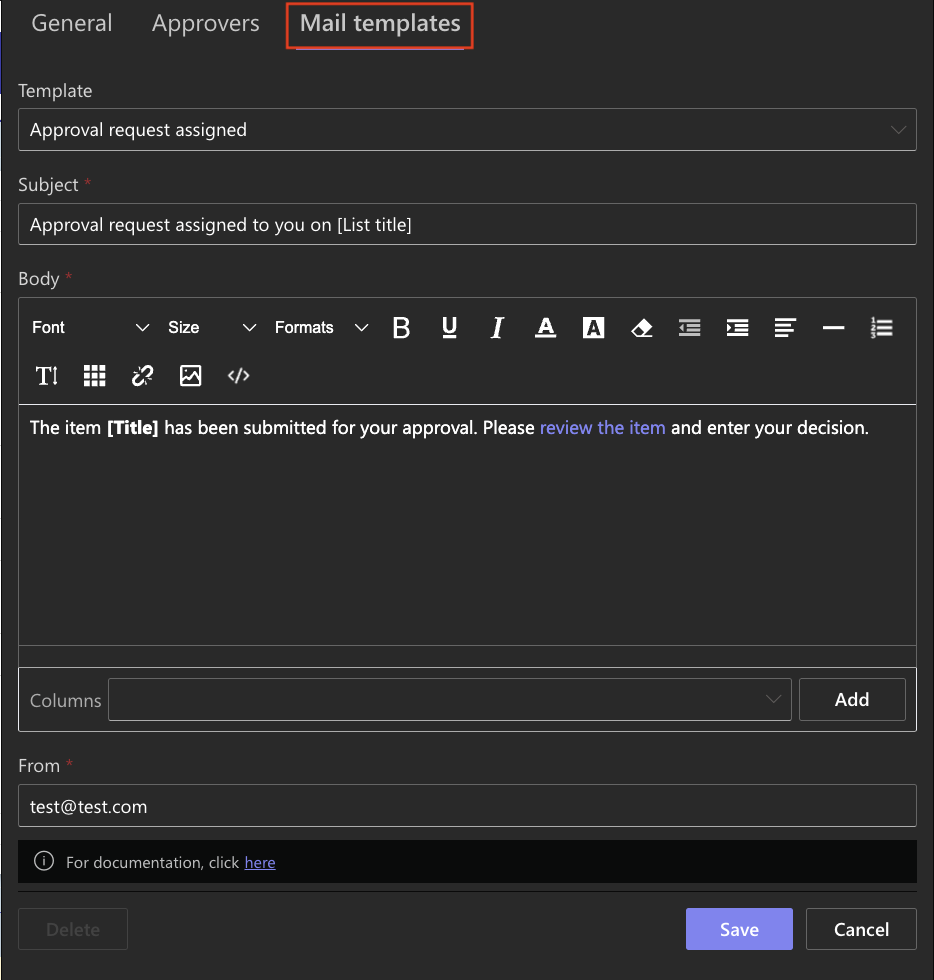
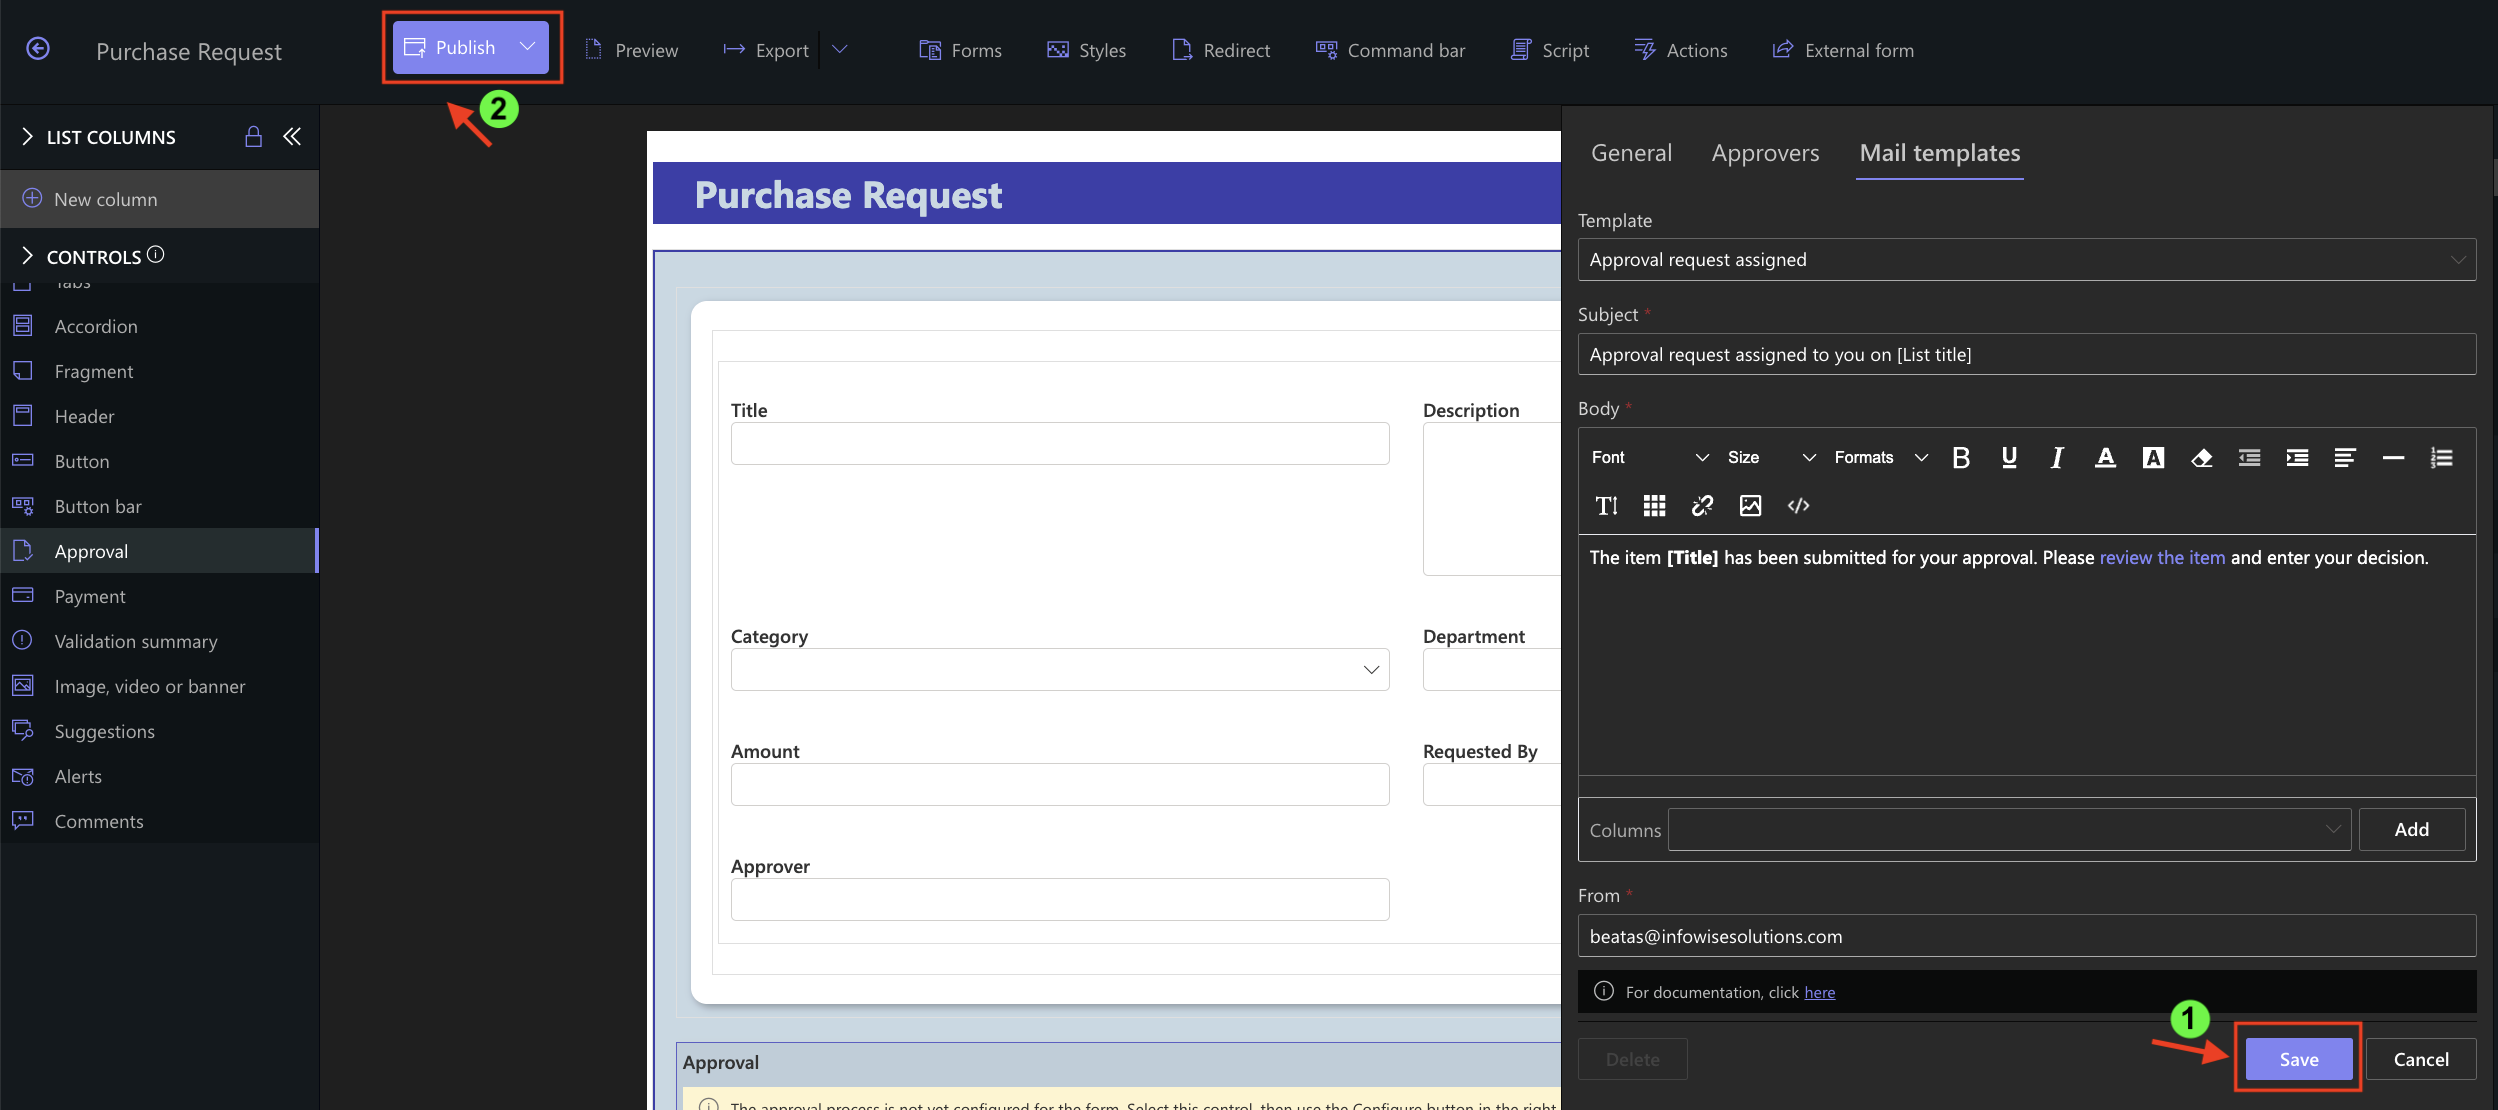
Step 5: Configure Mail Templates
Open the Mail Templates tab.
The Mail Templates tab allows you to customize the email notifications sent during each stage of the approval process. Select a template from the Template drop-down list to edit its content.
The available templates include:
- Approval Request Assigned – sent when a new approval task is assigned to an approver.
- Reminder – sent automatically to approvers who have not yet responded.
- Approved – sent when an approval step or the entire approval process has been approved.
- Rejected – sent when a request is rejected.
For every template, you can customize:
- Subject – define the email subject line.
- Body – edit the email content using the built-in rich text editor and dynamic placeholders.
- From – specify the sender email address used for notifications.
The Reminder template includes additional scheduling options:
- Days Before Due Date – specifies when the first reminder is sent before the approval due date.
- Days Between Reminders – defines how often reminder emails are sent.
- Maximum – limits the maximum number of reminders that will be sent.
- Hour – specifies the time of day when reminder emails are delivered.
- Copy Submitter – optionally sends reminder notifications to the person who submitted the request.
Tip: All email templates support dynamic placeholders, allowing you to automatically insert item values, links, approver information, and other data into notification emails.
Step 6: Save and Publish
- Click Save to save the Approval configuration.
- Publish the form.
Result
The Approval control has been added to the Purchase Requests form and configured with its core settings. The form is now ready to support approval workflows.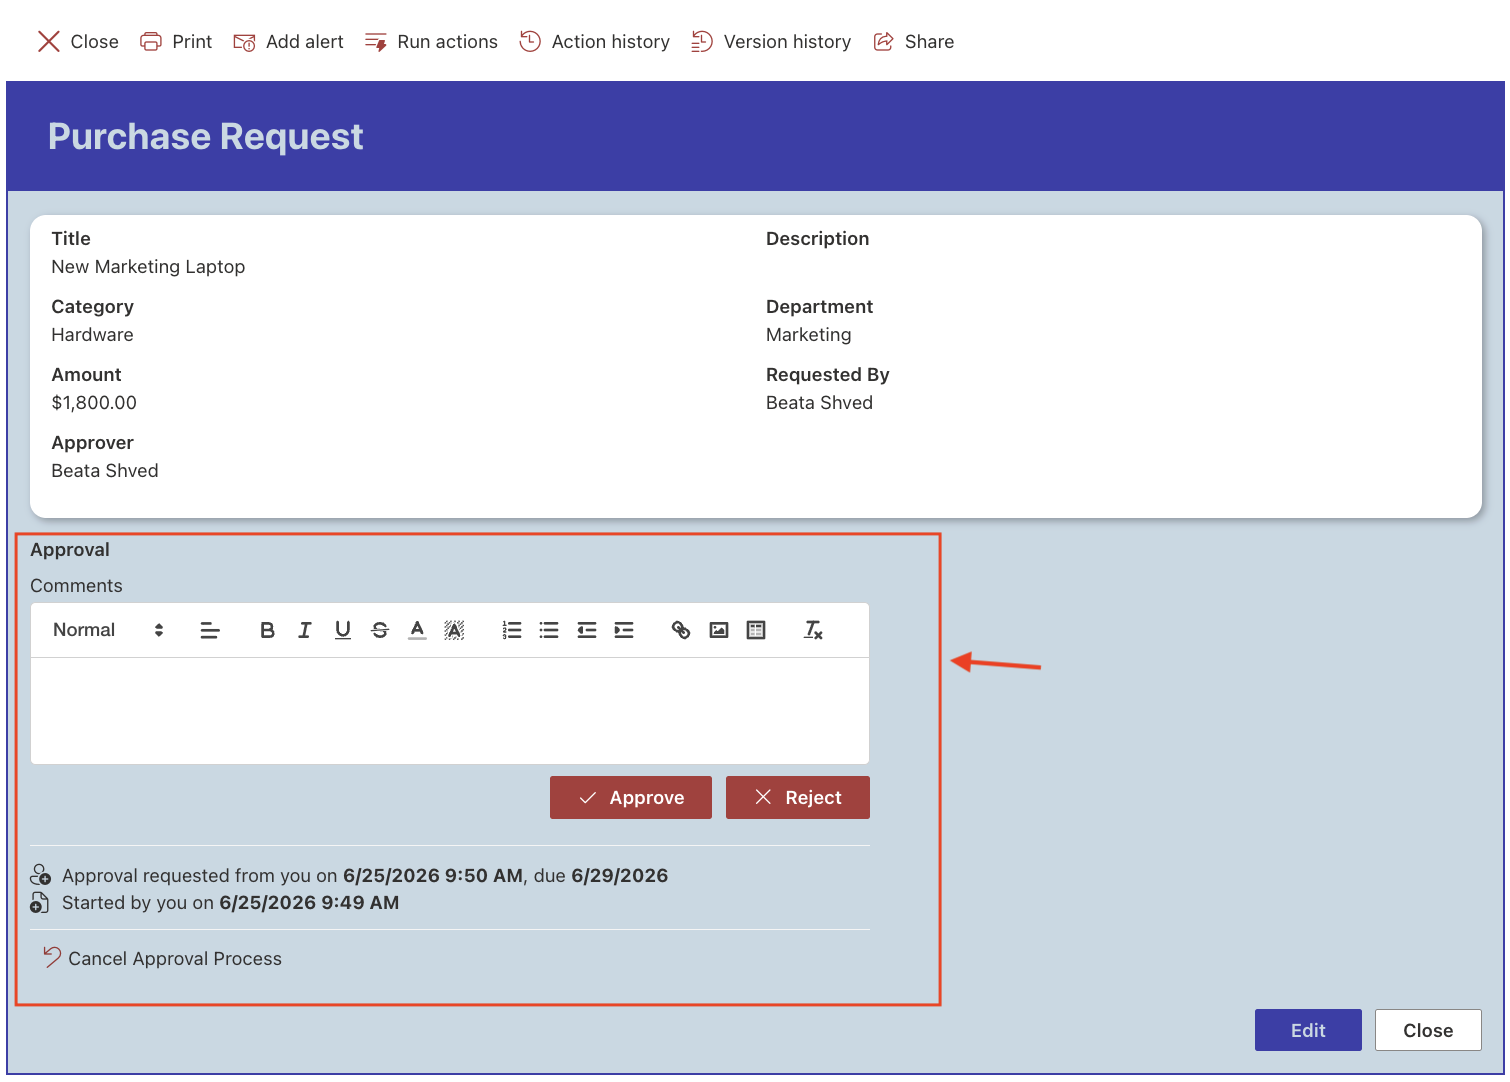
Summary
In this tutorial, you learned how to add the Approval control to form and configure its core settings. You explored the General, Approvers, and Mail Templates tabs, which provide the foundation for creating approval workflows in the following tutorials.