In this tutorial, you’ll learn how to create your first Print Template using Ultimate Forms: Print.
We’ll walk through the basic configuration, layout customization, and preview steps — everything you need to generate a professional, print-ready document from your SharePoint data.
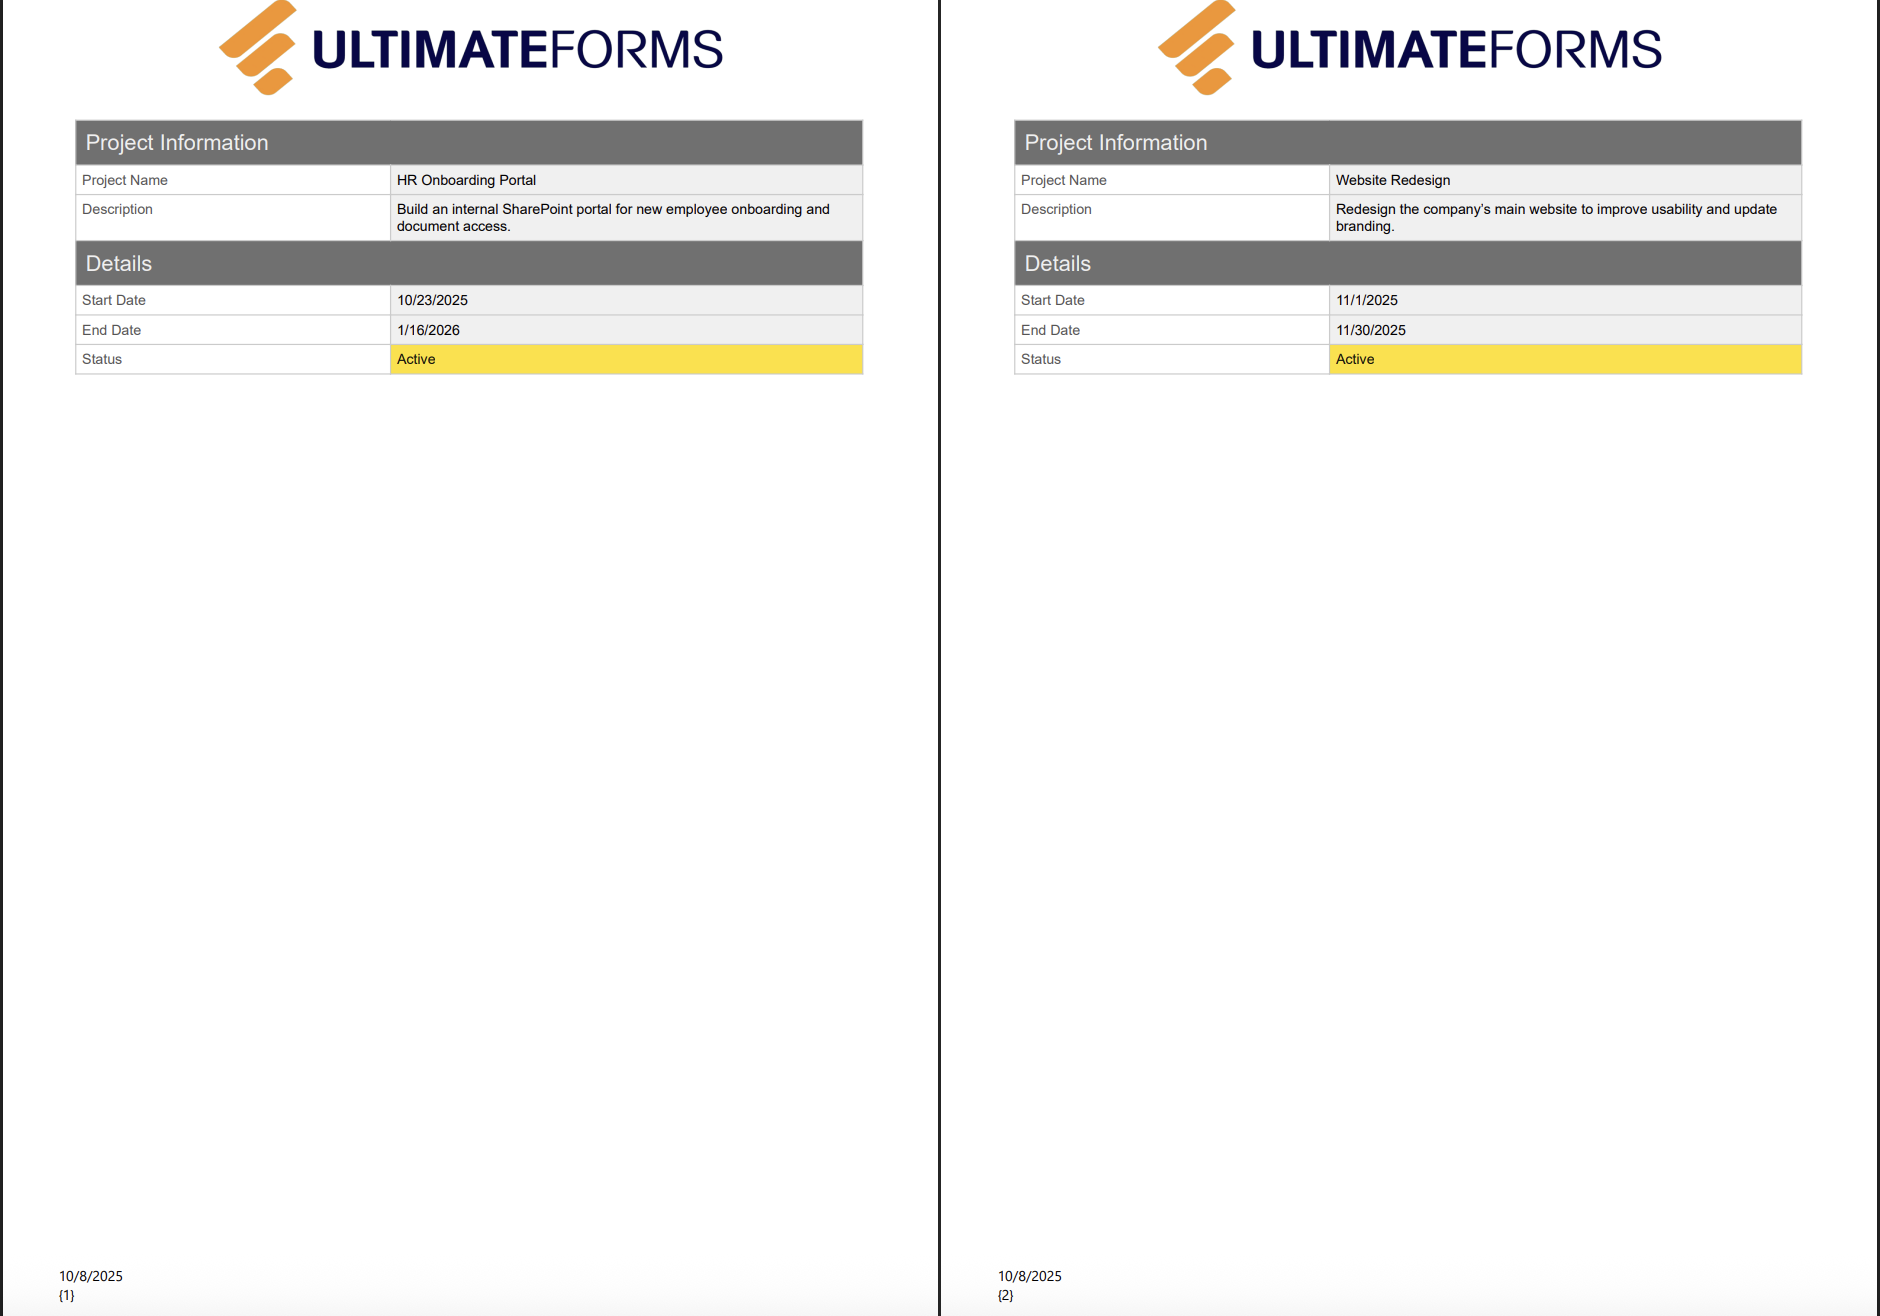
This tutorial uses a simple scenario: Printing a Project Summary from a list that tracks project details such as Project Name, Start Date, End Date, Status, and Description.
Instructions
Step 1: Prepare the List
Create or open an existing Projects list containing the following columns:
- Project Name (Single line of text)
- Start Date (Date and Time)
- End Date (Date and Time)
- Status (Choice – Not Started, Active, Completed)
- Project Manager (Person or Group)
- Description (Multiple lines of text)
These columns will be displayed in the print layout.
Step 2: Open Print Settings
- Go to your Projects list.
- Click Design → Print and export in the UltimateForms ribbon.
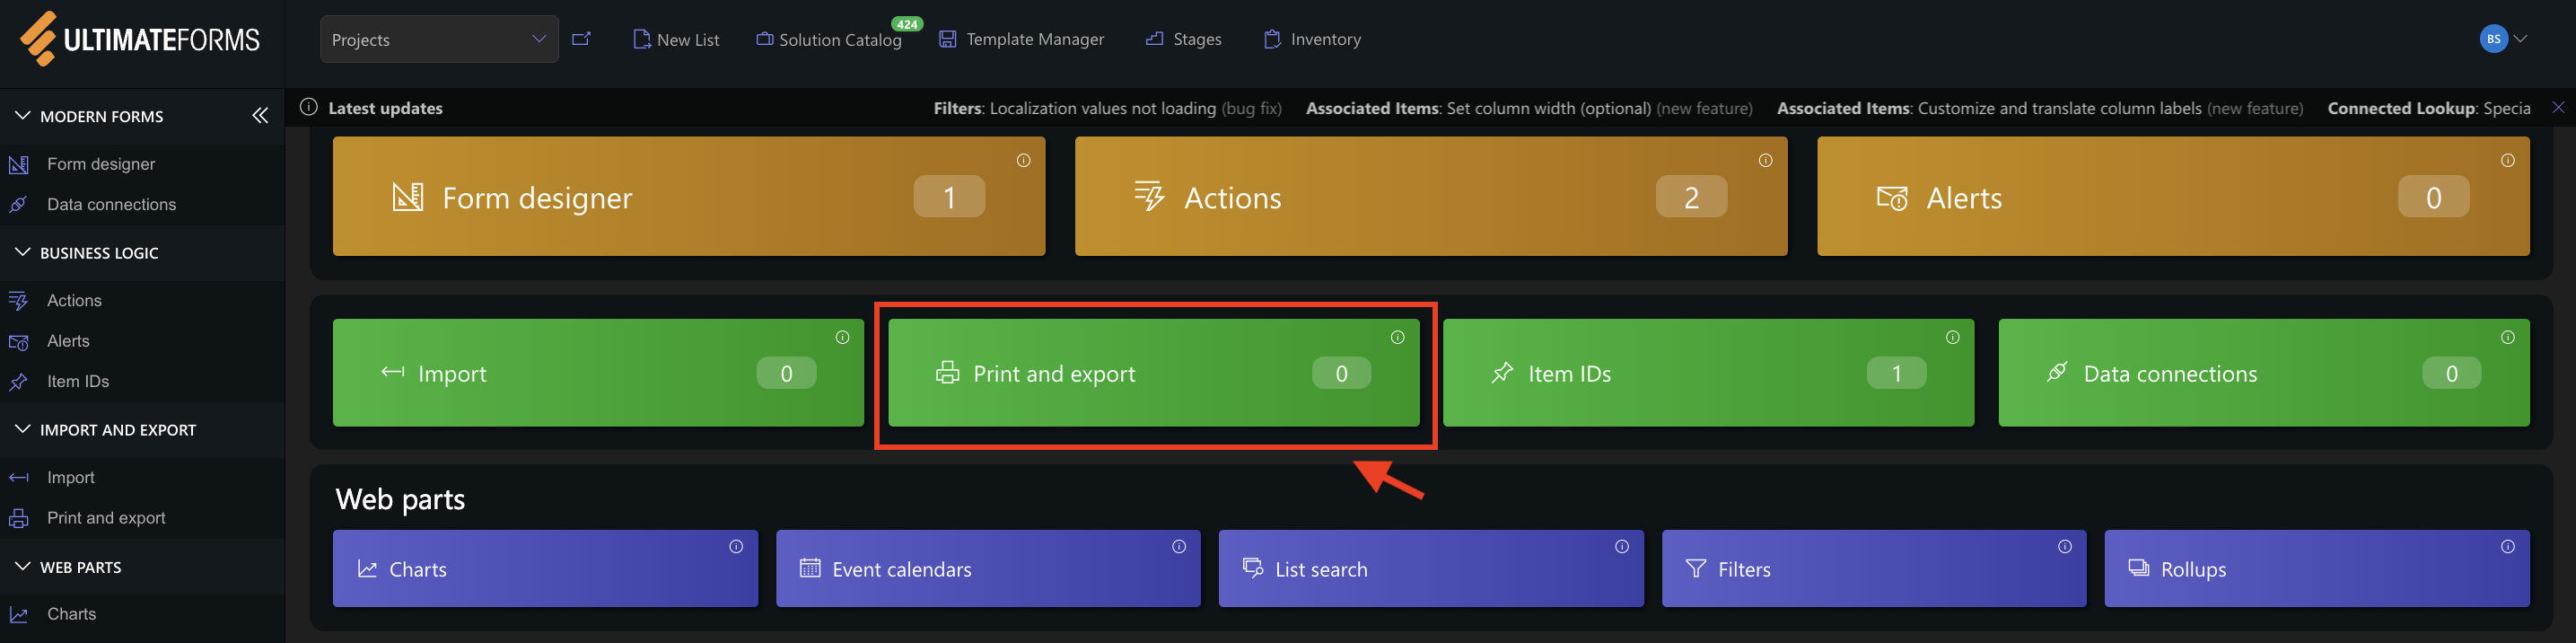
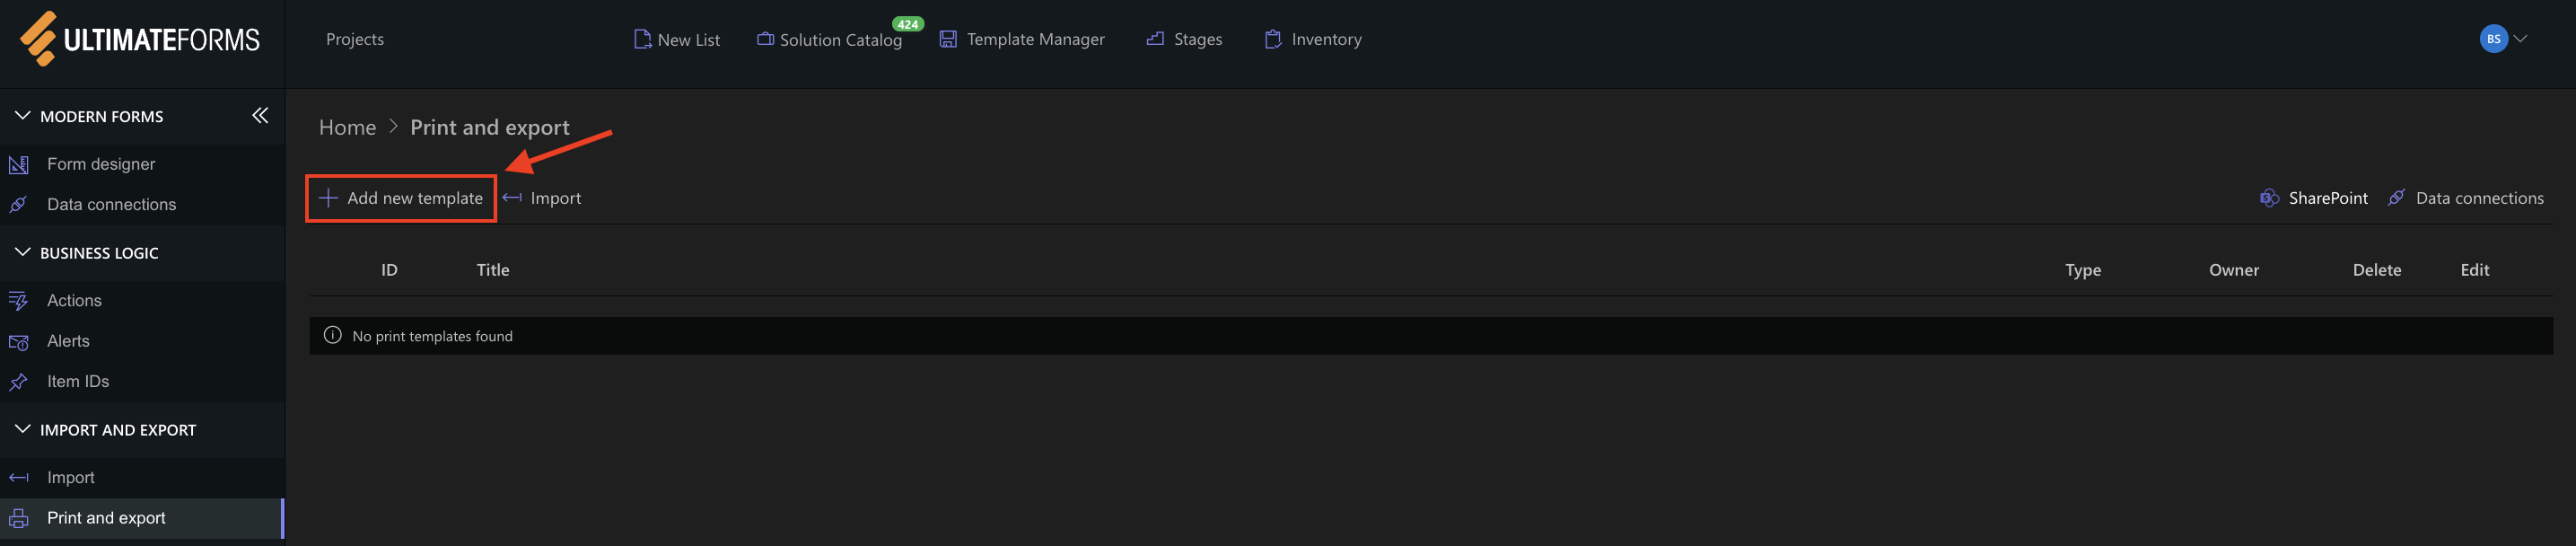
- The Print Templates management page will open.
- Click Add New Template to create a new one.
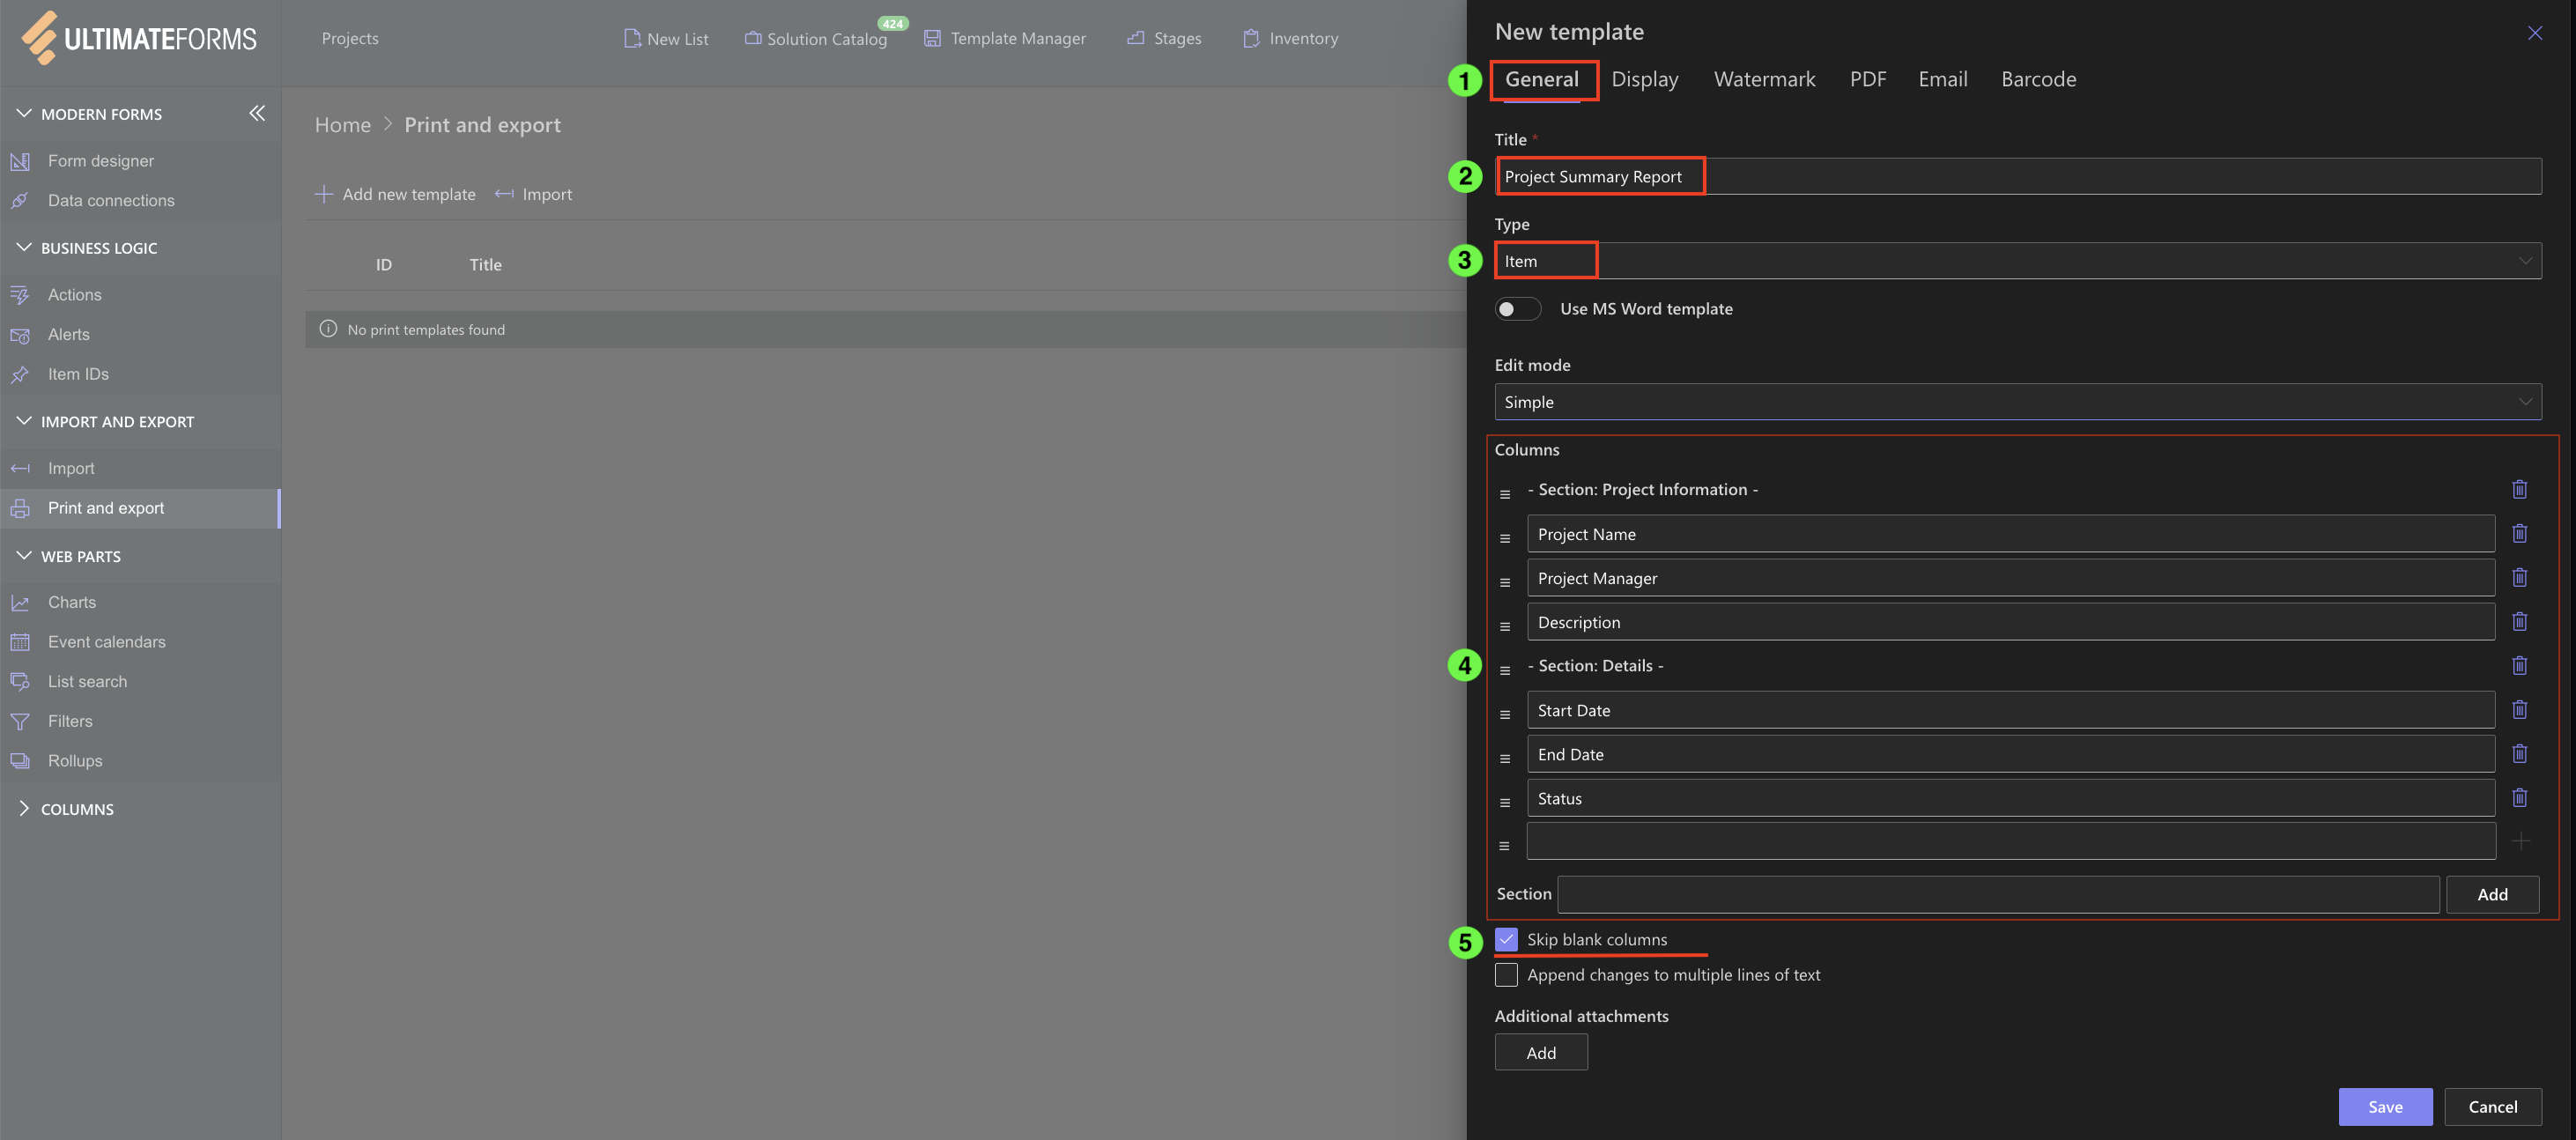
Step 3: Configure General Settings
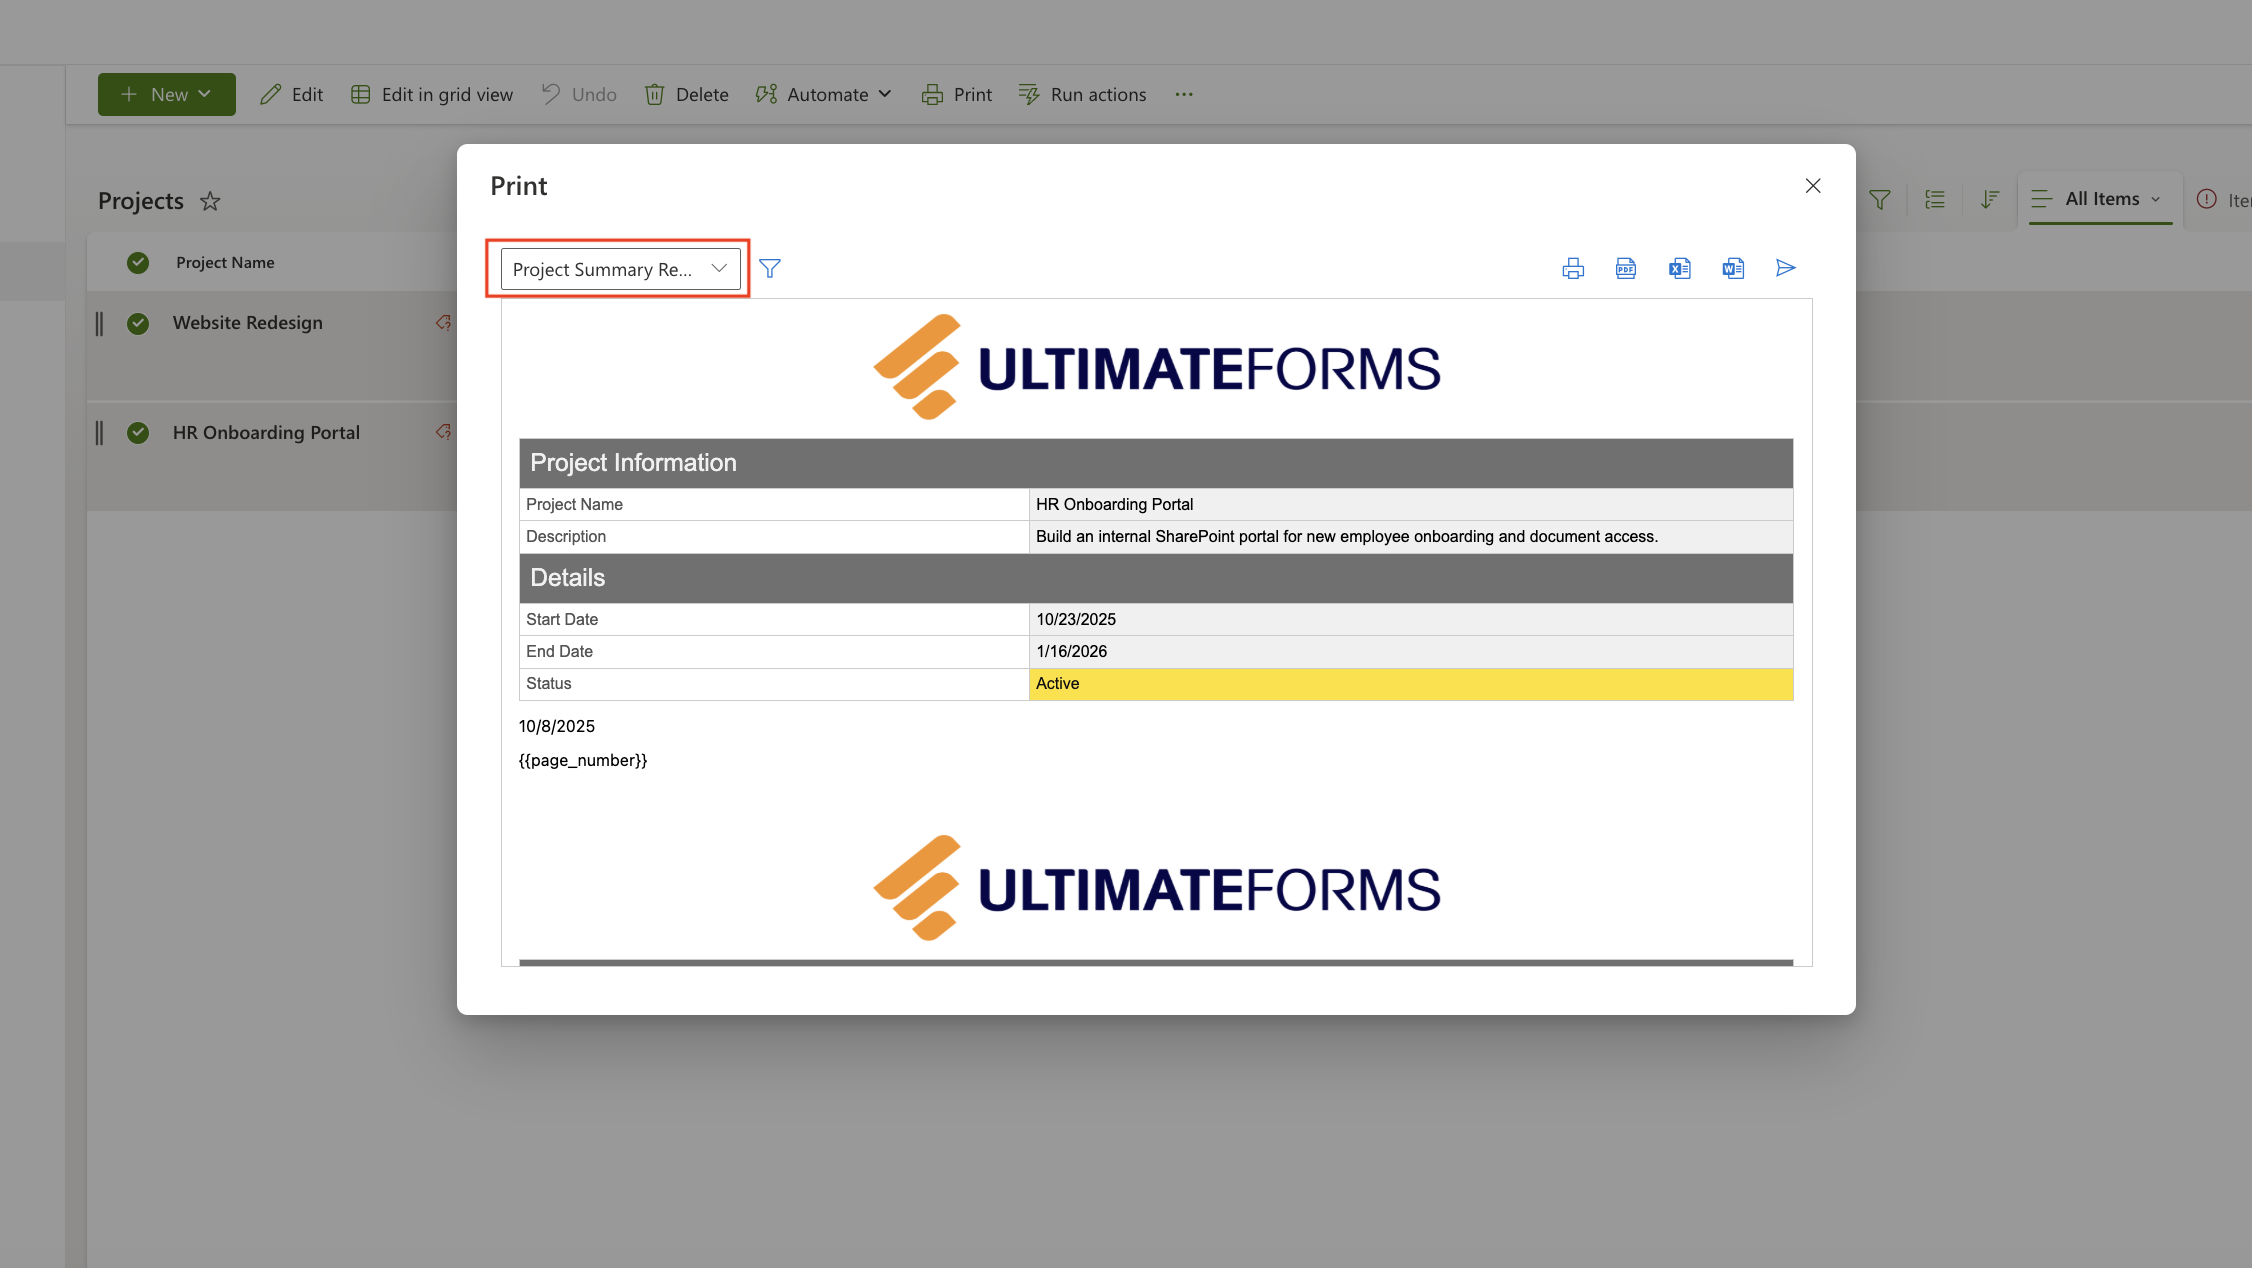
- Template Title → Project Summary Report
- Type → Item (we’ll print one project at a time)
- (Optional) Check Use MS Word Template if you want to use a custom DOCX layout.
- In the Columns section, click Add Columns.
- Select: Project Name, Start Date, End Date, Status, Project Manager, Description.
- Rearrange columns in the desired order.
- Add section headers for clarity (e.g., Project Information, Details).
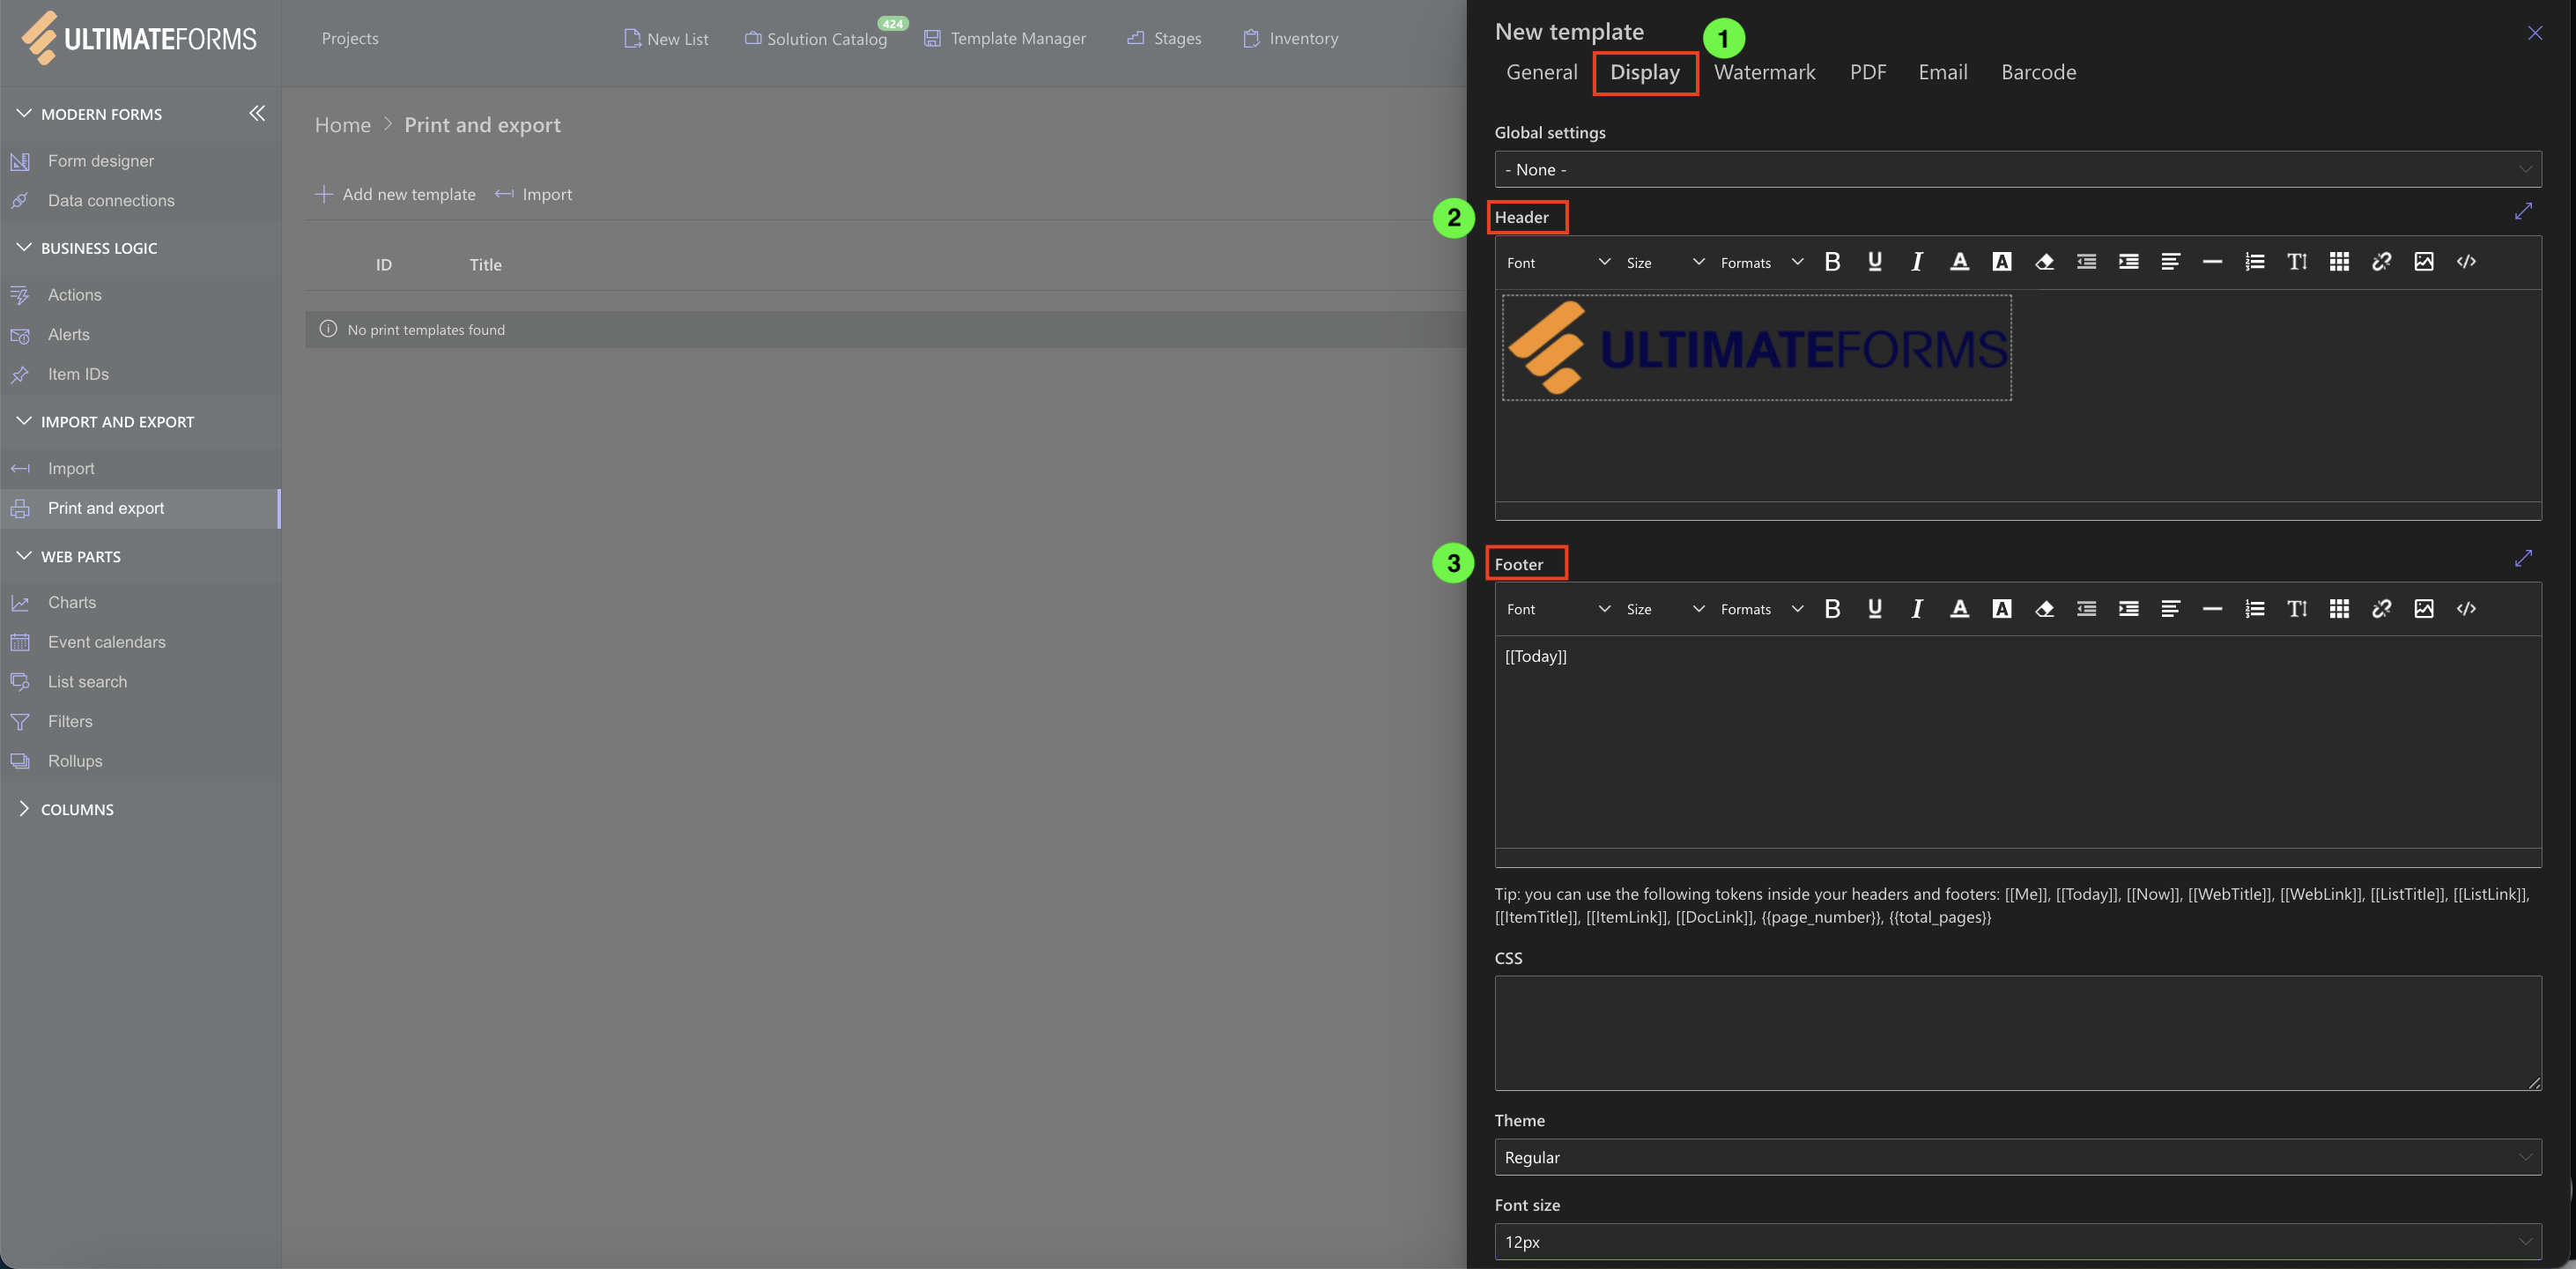
Step 4: Customize Header, Footer, and PDF Settings
- In the Header/Footer section:
- Add your company logo or site title.
- Insert dynamic tokens like [[Today]] or [[ListTitle]].
- Include pagination if desired (Page [[PageNumber]] of [[PageCount]]).
- Theme: Regular or high-contrast.
- Switch to the PDF tab to configure page output:
- Orientation: Portrait or Landscape.
- Page size: A4 or any size convenient for you.
- Margins: Adjust margins and alignment to match your branding.
- Check "Place each item on separate page".
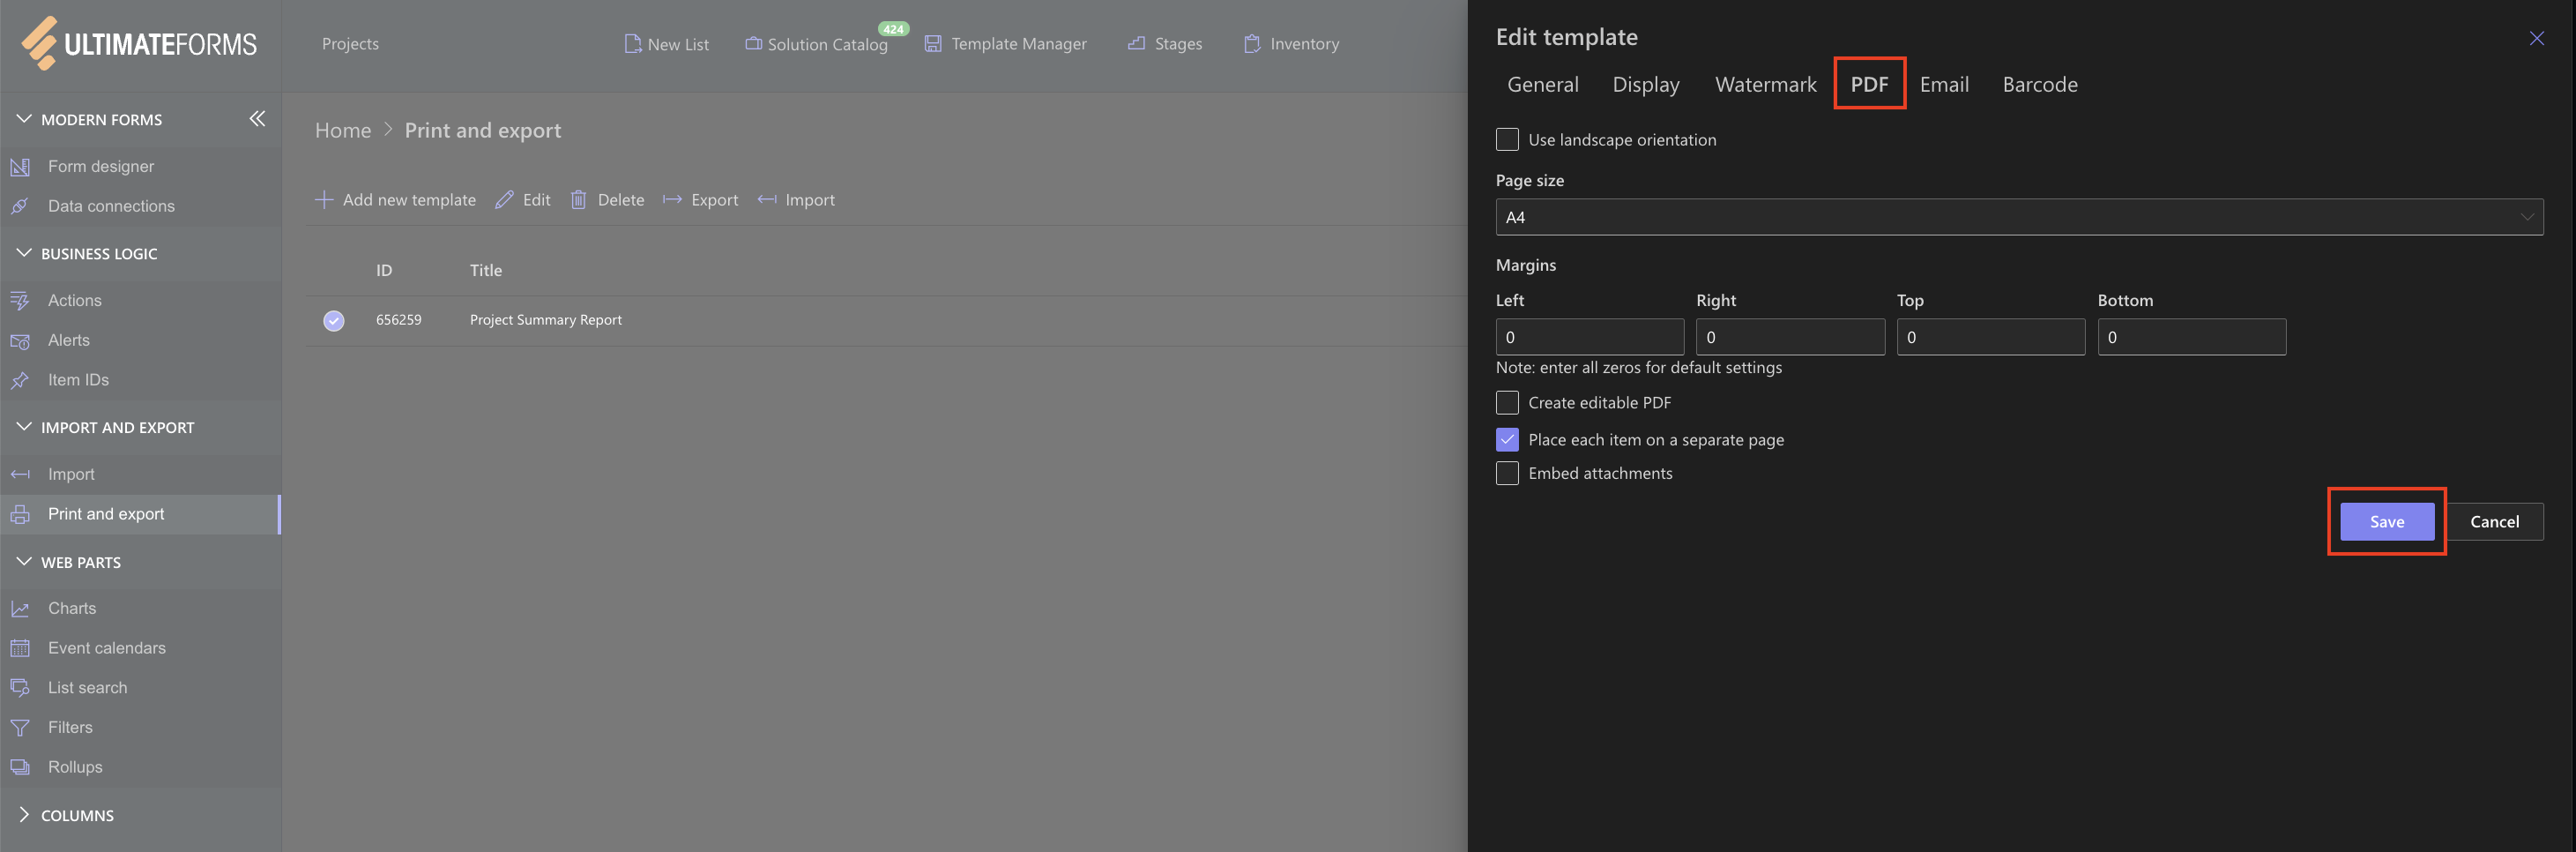
These options let you fine-tune the layout and make your printouts consistent with your corporate style.
Step 5: Preview and Test
- Click Save.
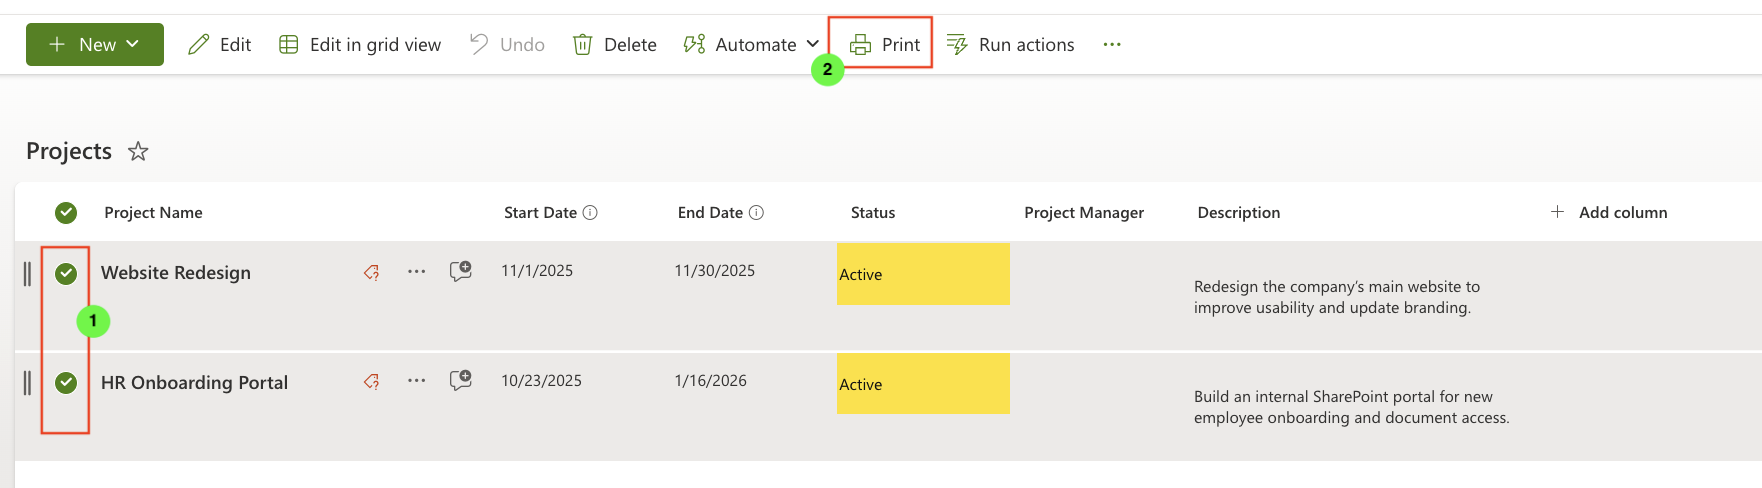
- Return to your Projects list.
- Open any item → click Print → Project Summary Report.
- Review the output and adjust layout or styles if needed.
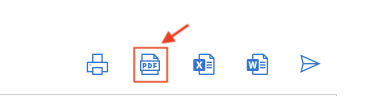
- Export to PDF.
- Open PDF to verify formatting.
Summary
You’ve now created your first Print Template using Ultimate Forms: Print.
By selecting columns, adjusting layout, and adding headers and branding, you can quickly transform your SharePoint data into polished, professional documents — all with just a few clicks.