SharePoint is more than just a document repository — it’s a collaborative platform designed to house information, support teamwork, and drive projects forward. A crucial part of moving projects ahead is knowing where they stand and tracking their progress over time.
Infowise Ultimate Forms provides enhanced formula functionality that surpasses out-of-the-box SharePoint capabilities, enabling you to easily extract and report on time-based information without requiring code.
In this tutorial, we’ll demonstrate how to use Infowise Time and Date functions to parse specific parts of a date column (like year, month, or weekday) into separate columns. This enables powerful reporting and analysis, such as identifying your busiest months, tracking project start patterns, or examining work trends over time.
Available Date & Time Functions
Infowise Ultimate Forms provides the following functions for working with date and time columns:
- $Year(DateTime) – Extracts the year
- $Month(DateTime) – Extracts the month number
- $Day(DateTime) – Extracts the day of the month
- $Weekday(DateTime) – Extracts the day of the week (number)
- $Hour(DateTime) – Extracts the hour (0–23)
- $Minute(DateTime) – Extracts the minute
- $WeekNumber(DateTime) – Returns the ISO week number
- [Today] – Returns the current date
- $AddDate(DateTime|Amount|Unit) – Adds or subtracts days, months, or years
- $ToDate(String) – Converts a text string to a date
- Days(DateTime|DateTime) – Returns the difference in days between two dates
- Hours(...), Minutes(...), Seconds(...) – Returns differences in other units
Instructions
Step 1: Select the Example List
- For this tutorial, we will be working with an existing Projects.
- This list has been in use for years and contains project data, including start dates.

- Our goal is to make reporting easier by splitting the date information into smaller parts (year, month, day, weekday, hour, minute, week number).
Infowise provides built-in date/time functions that allow us to extract each of these parts automatically.
Step 2: Create Output Columns for Formulas
In your Projects list, go to Design or List Settings and create the following columns as Single line of text:
- Year
- Day
- Hour
- Minute
- Weekday
- WeekNumber
- Month
Order doesn’t matter. These columns will store the extracted portions of our date values.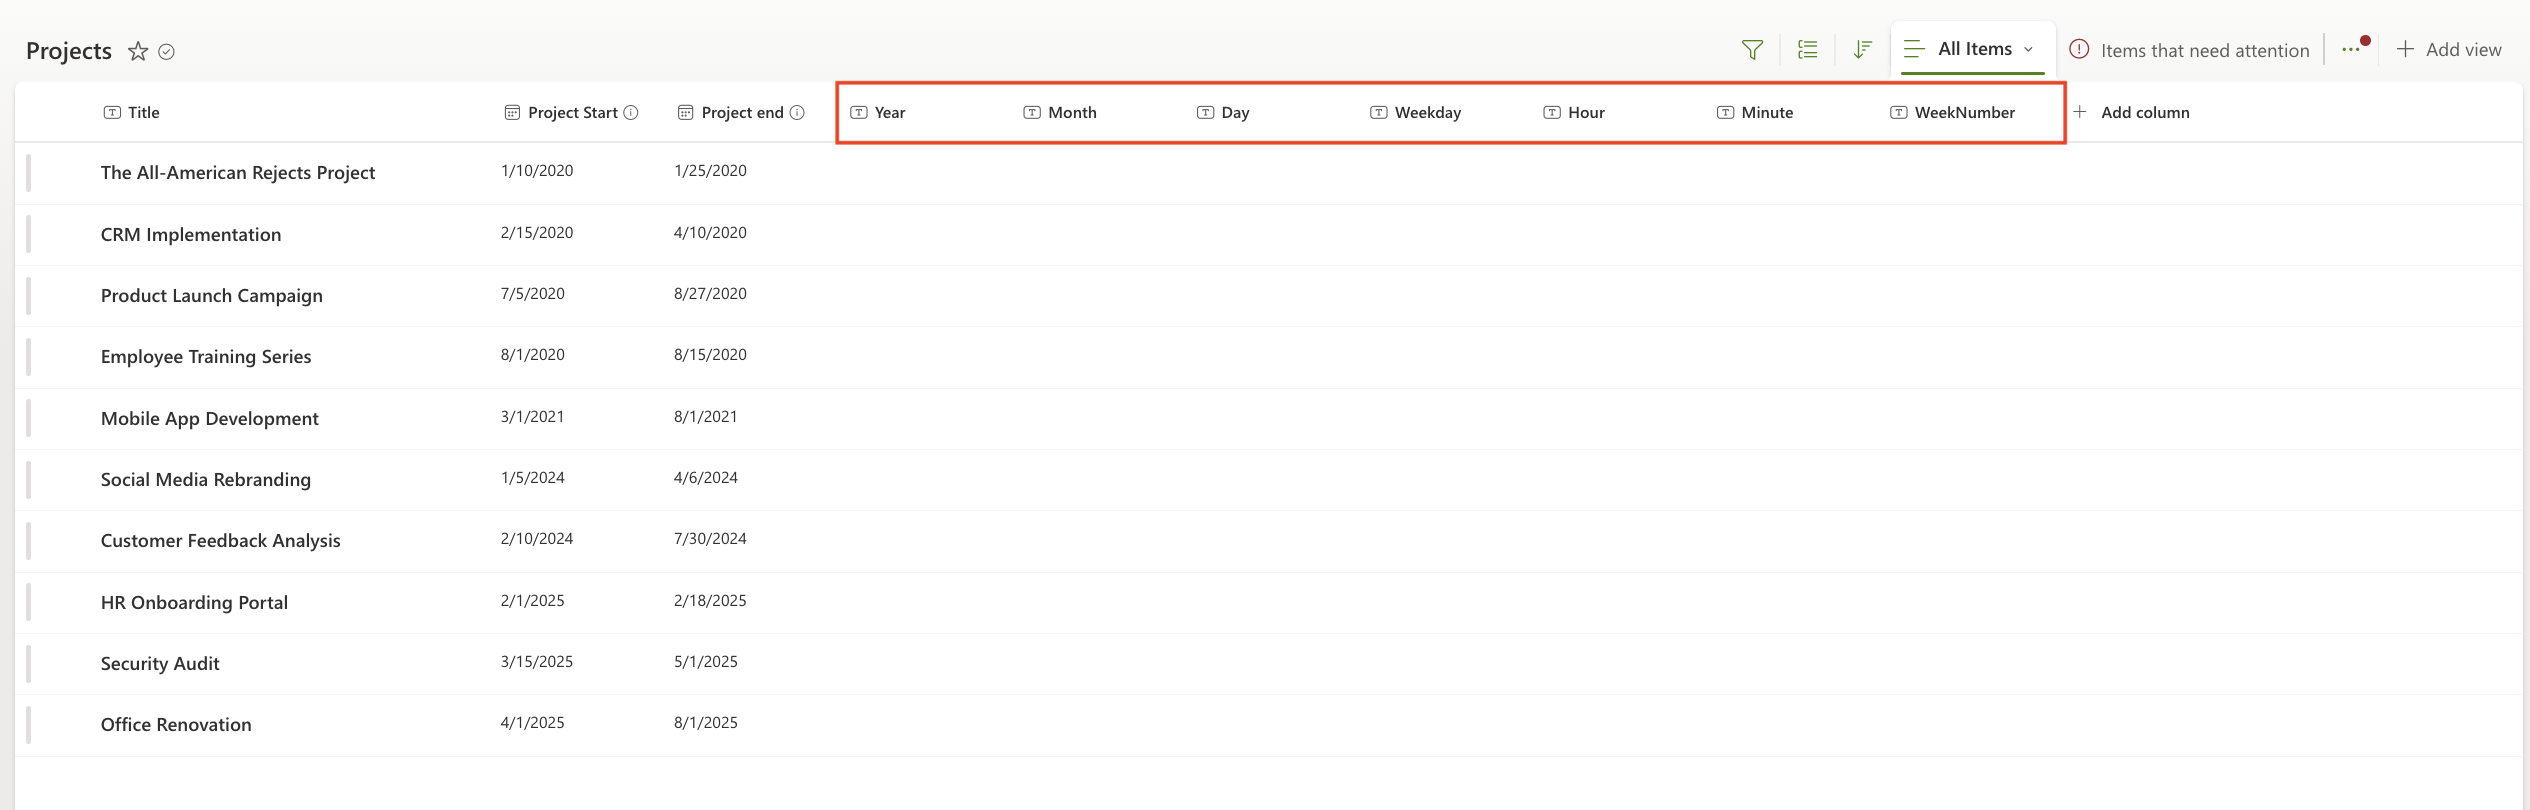
Step 3: Build the Action that calculates the columns
- Navigate to Ultimate Forms → Design → Actions
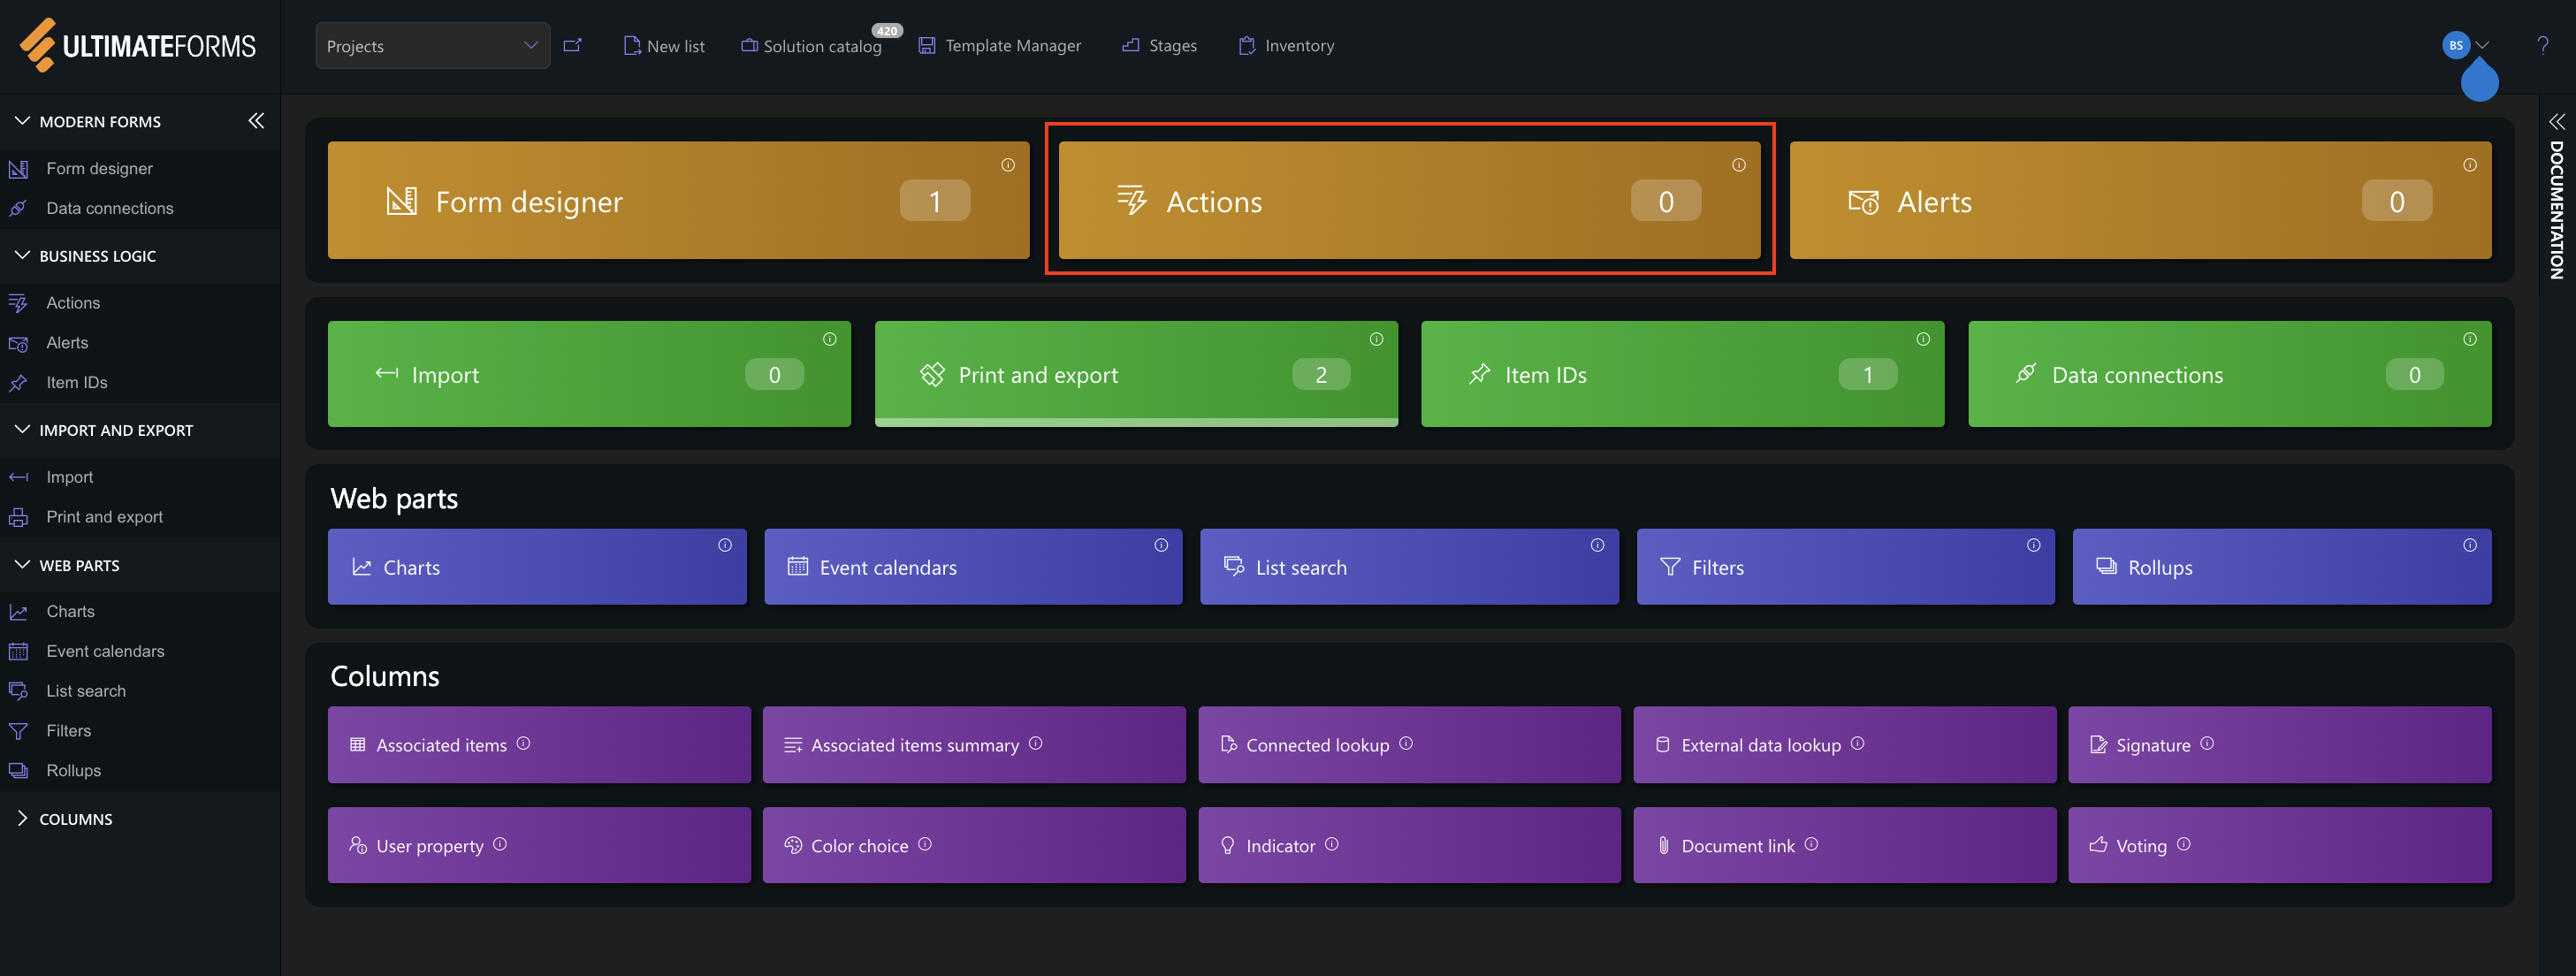
- Click + Add Action
- Action Type: Leave as Update list item
- Name: Enter something descriptive, e.g., Time and Date Functions
Configure When to Execute
Since we are testing these functions, we want to be able to manually trigger these actions, so uncheck each of the boxes in the When to execute section and set Manual execution.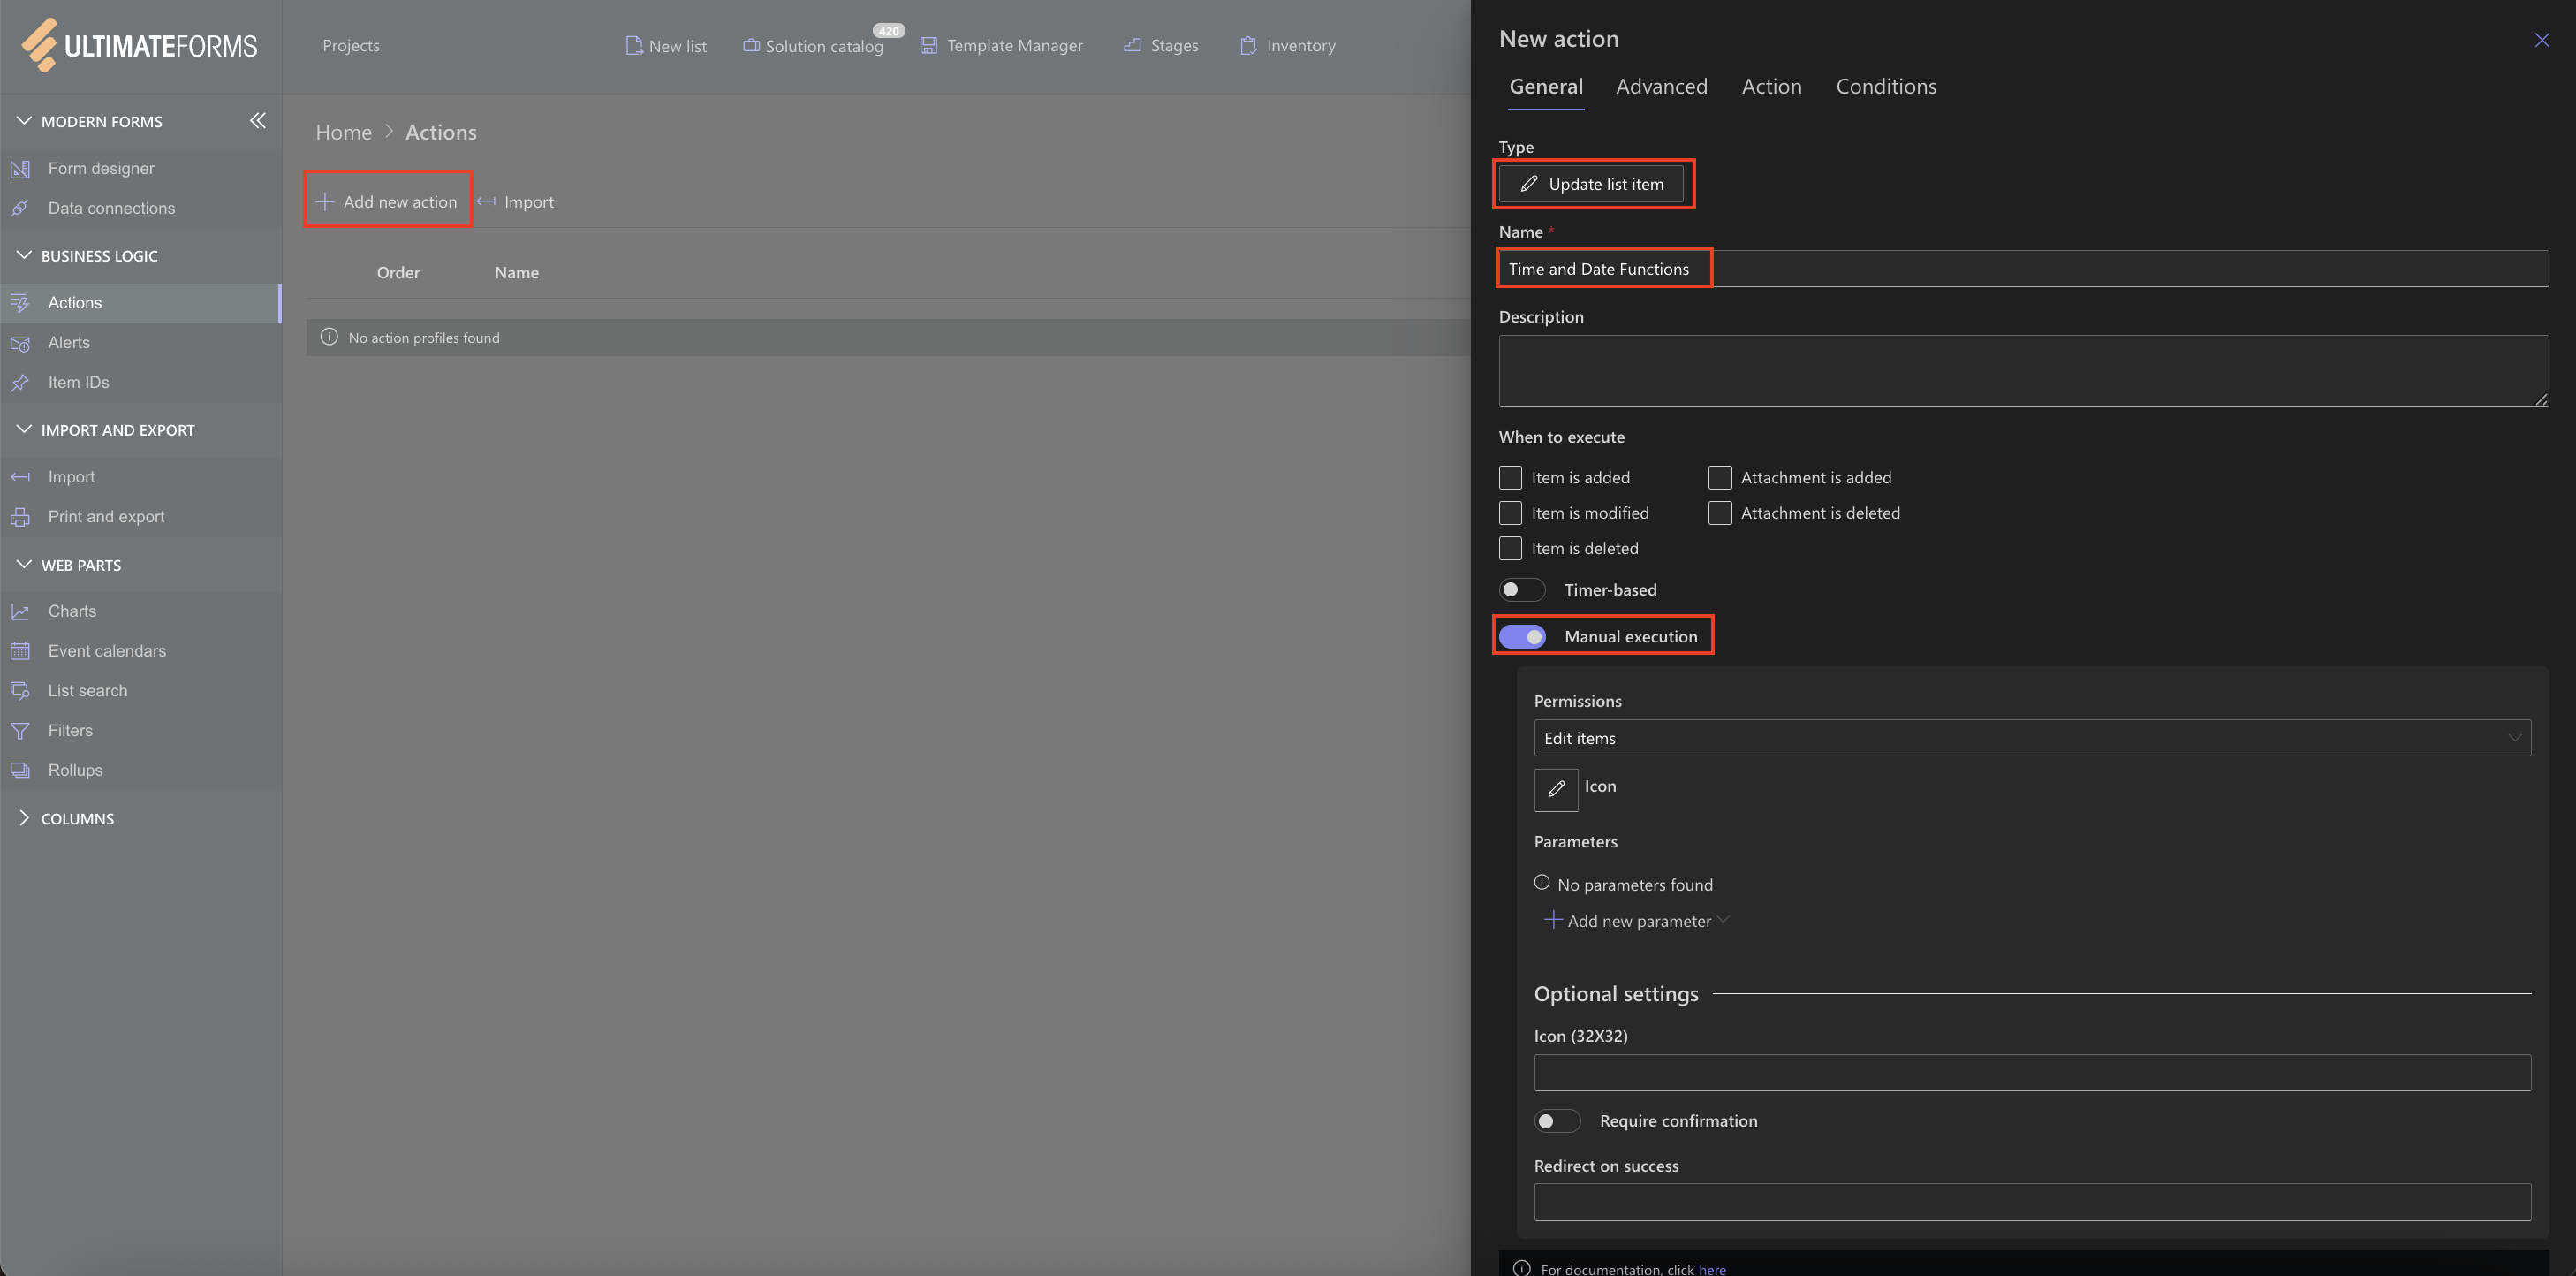
Step 4: Define the Formulas
- Open the Action tab.
- In Values to set, select each output column and assign its formula using the Value Picker or by manually typing it.
Column Formula Year $Year([Project Start]) Month $Month([Project Start]) Day $Day([Project Start]) Weekday $Weekday([Project Start]) Hour $Hour([Project Start]) Minute $Minute([Project Start]) WeekNumber $WeekNumber([Project Start]) - Once complete, your Values to set section should show all seven columns mapped to their corresponding formulas.

- Save the action.
Step 5: Test the Action
- Return to your Project list
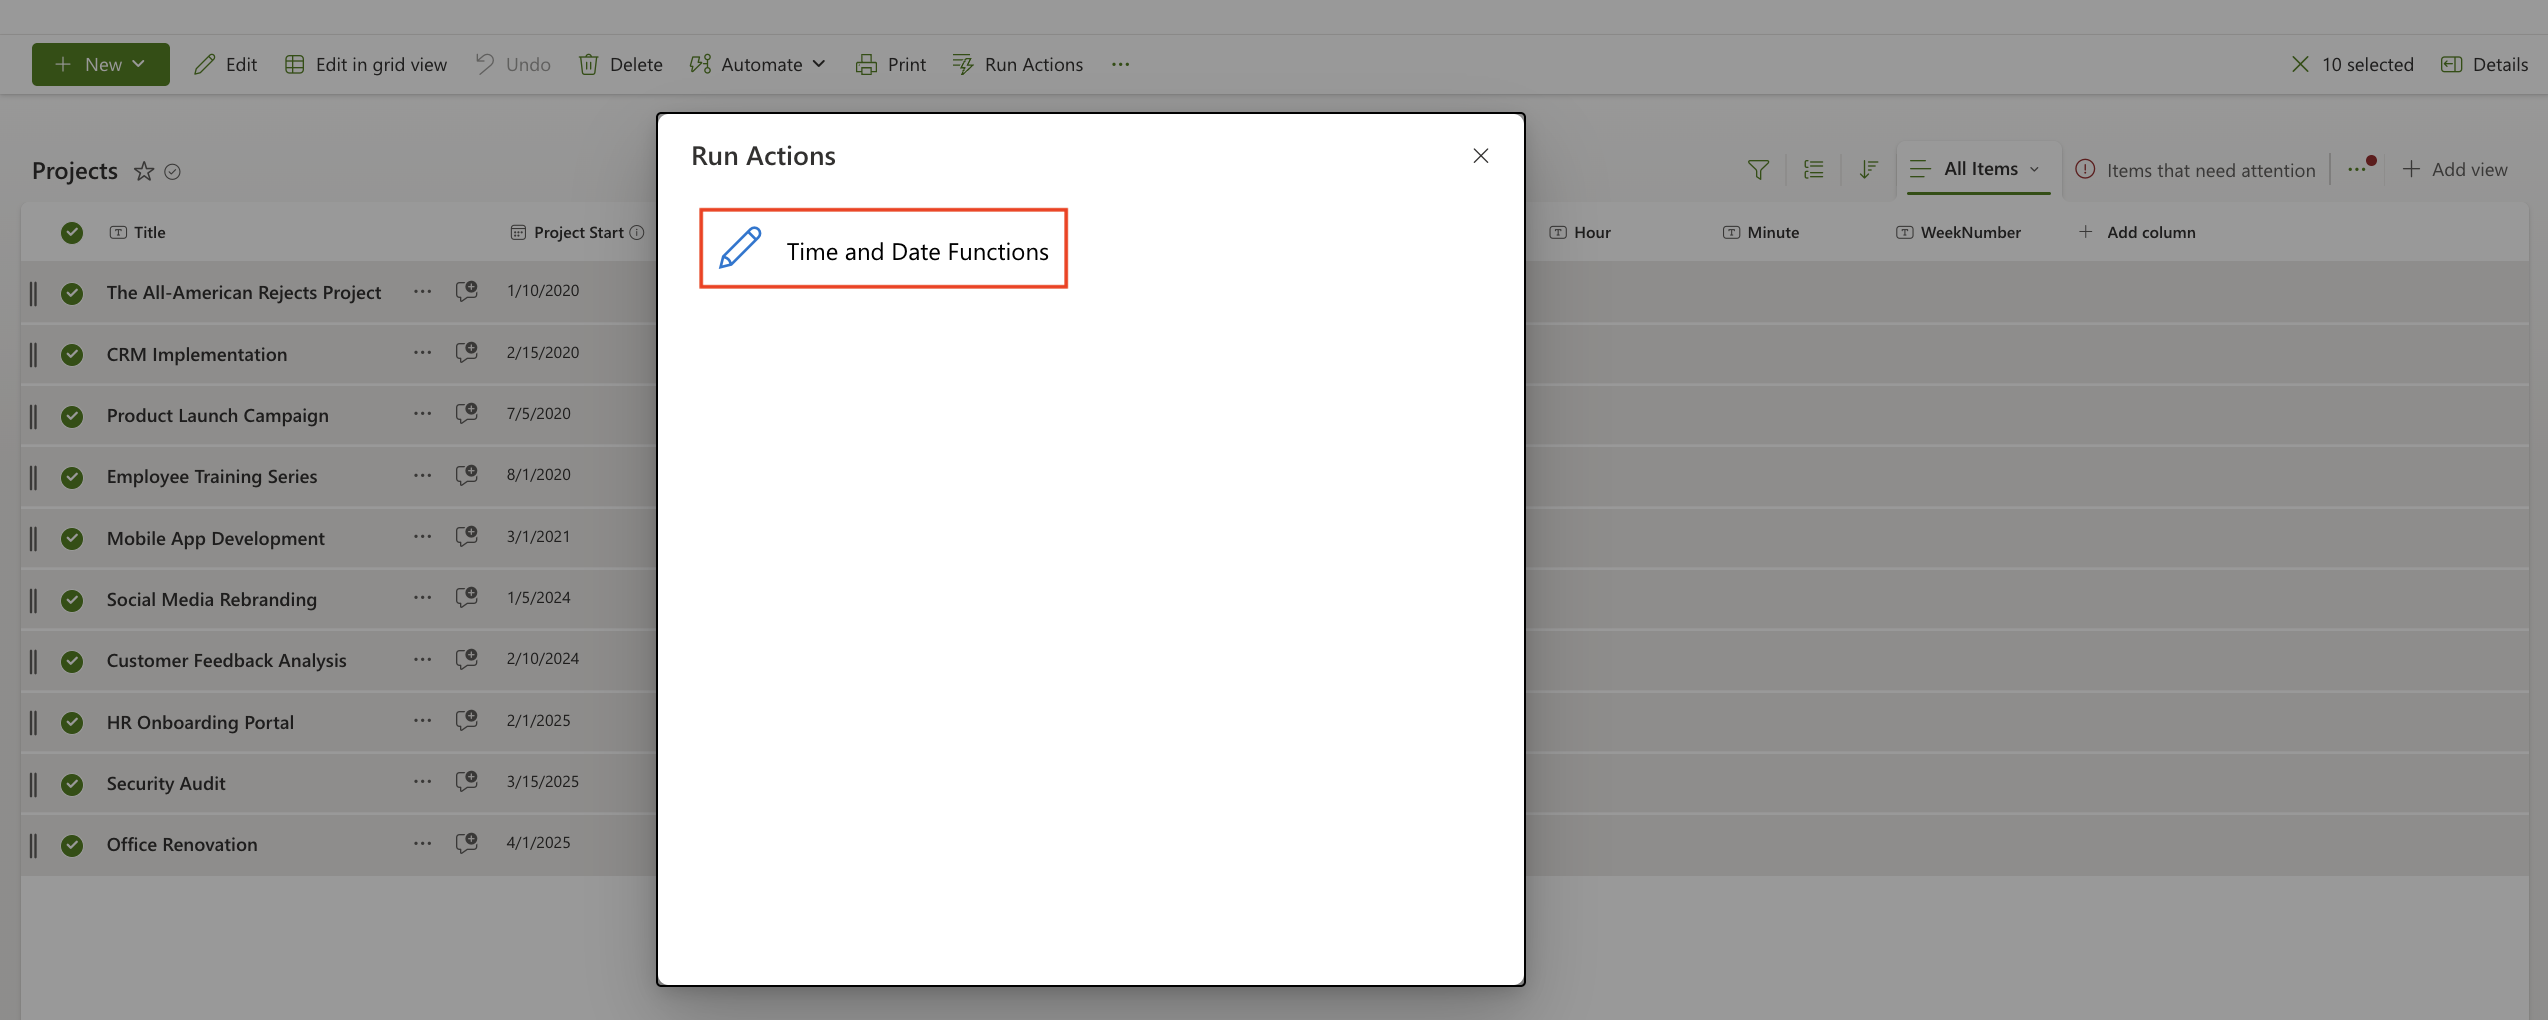
- Select one or more items you want to process
- From the ribbon, click on Run Action
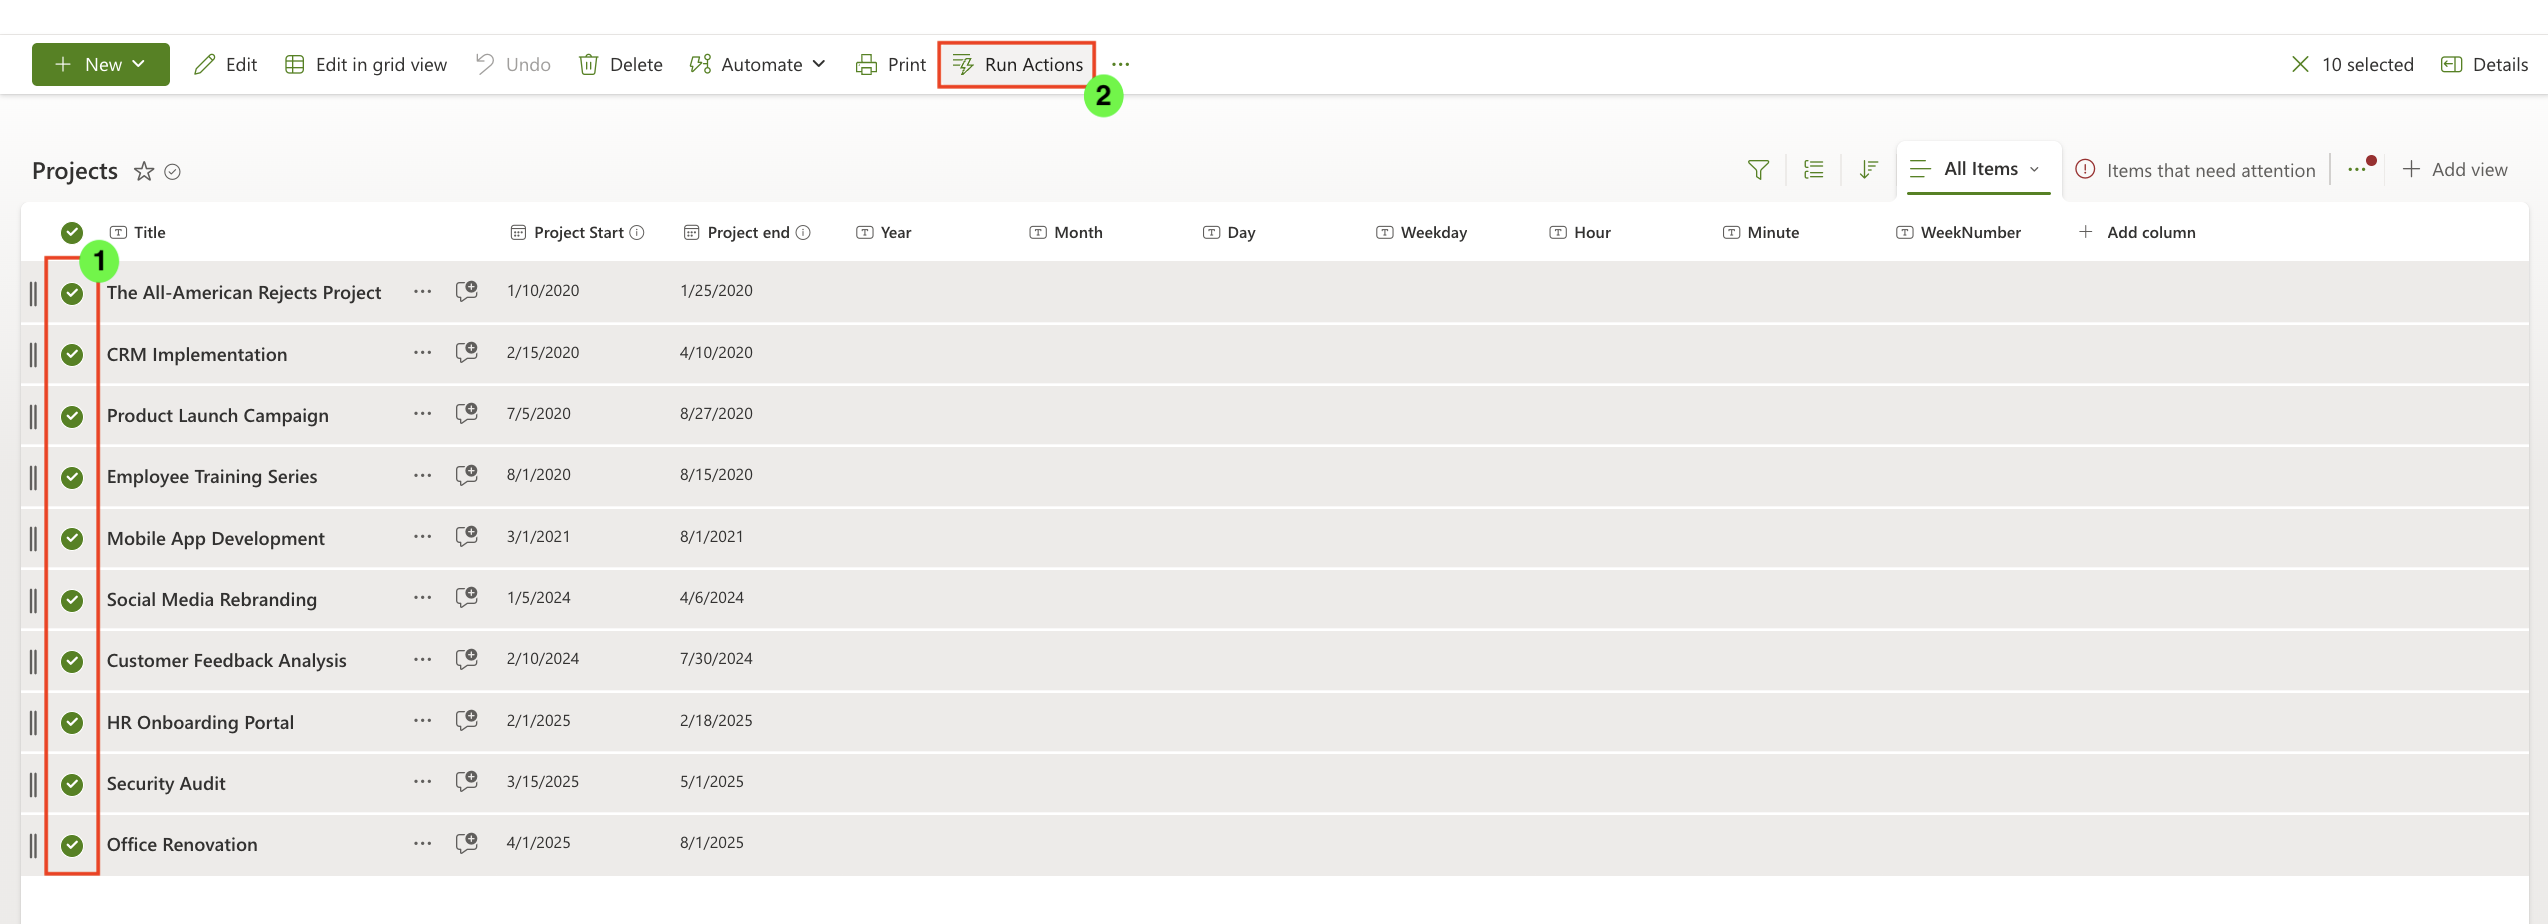
- Choose Time and Date Functions(the action we created)
- Infowise will run the calculations in the background
During execution, you may see a brief loading screen while multiple values are calculated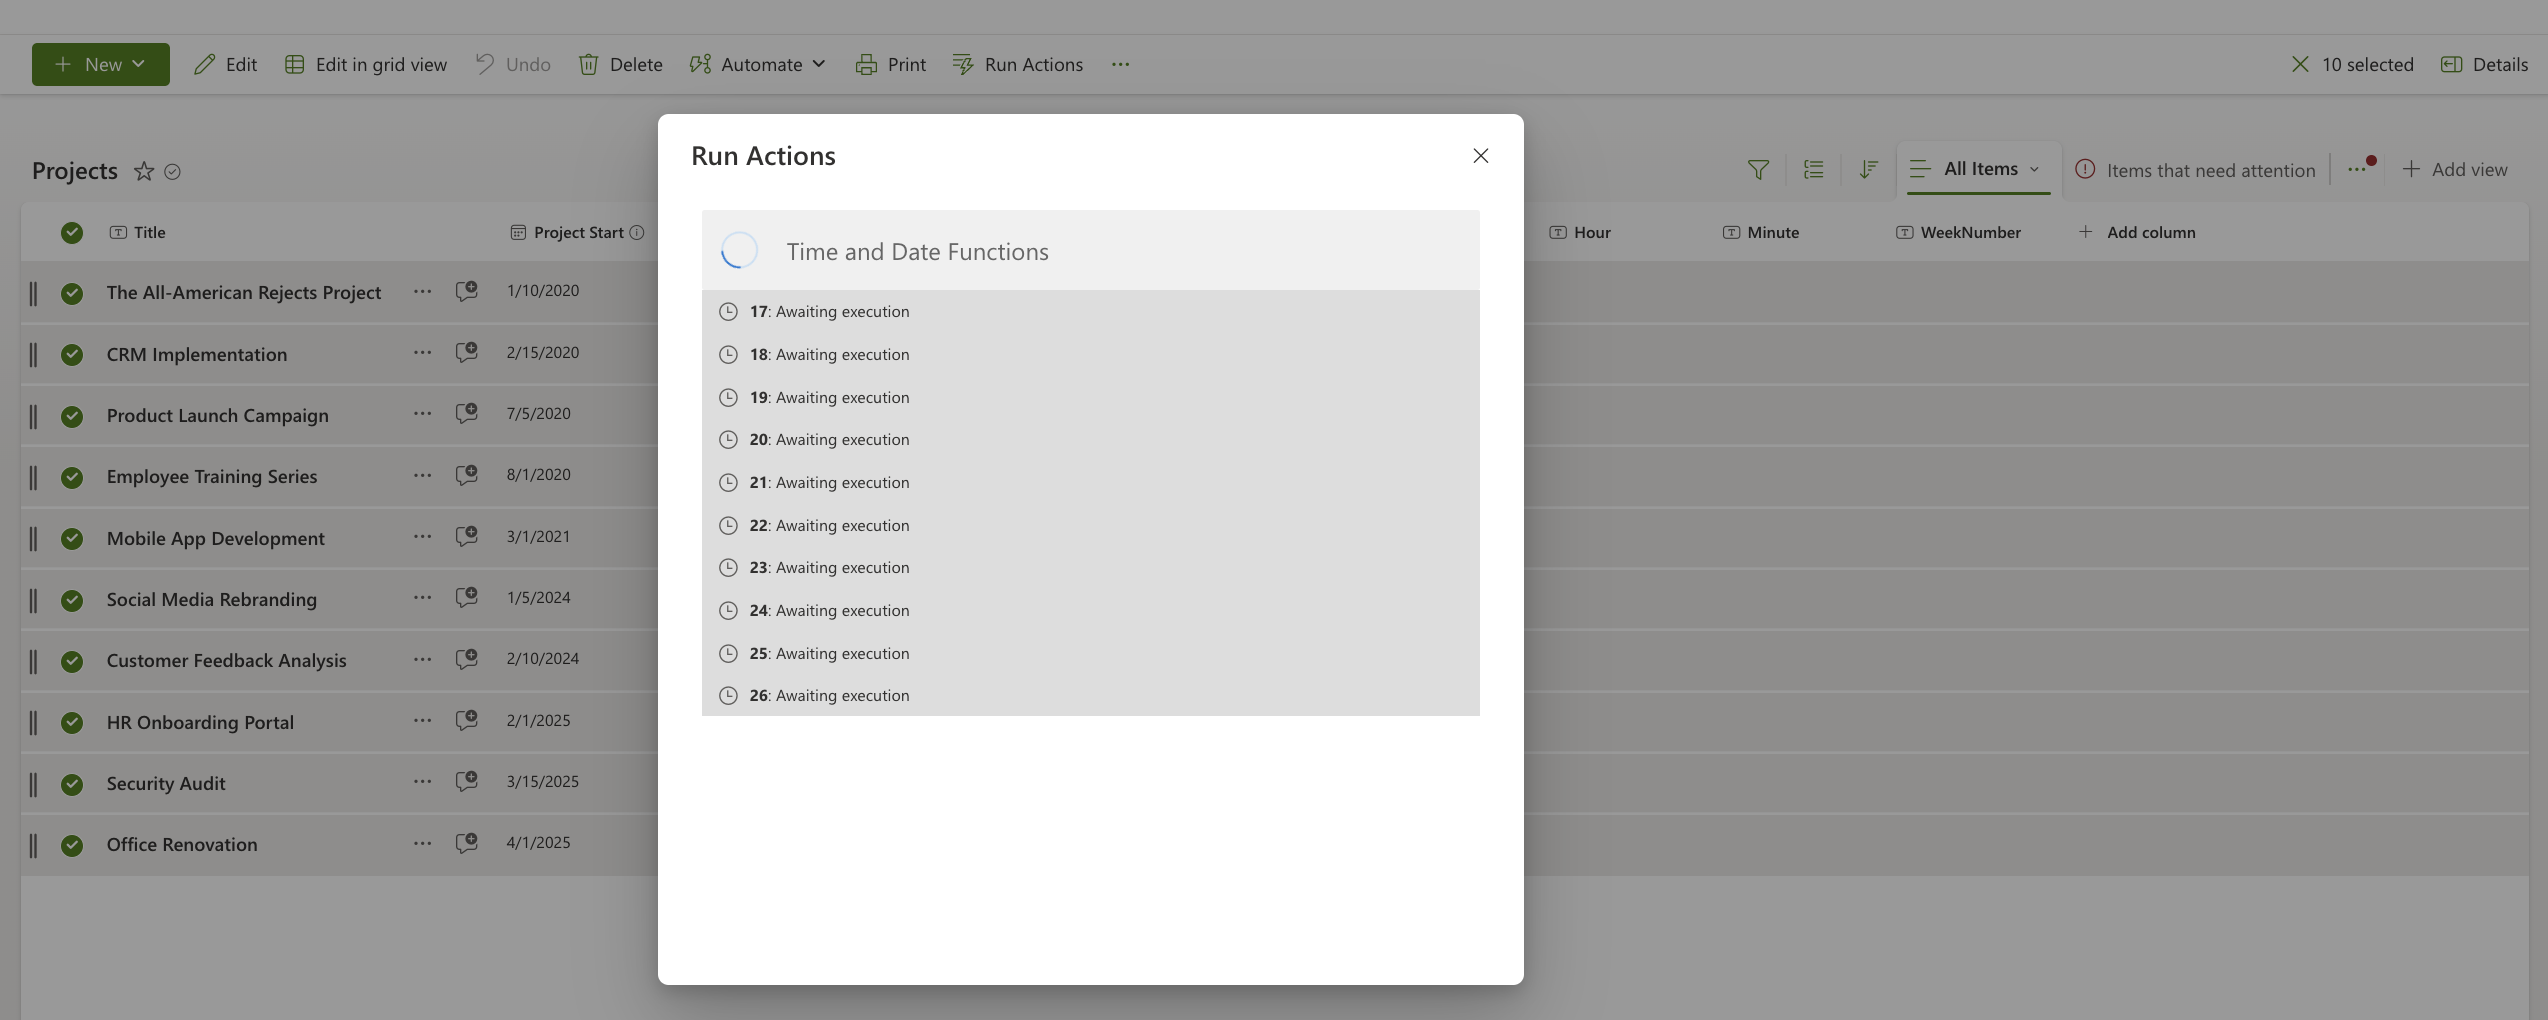
Once complete, a success message will confirm the updates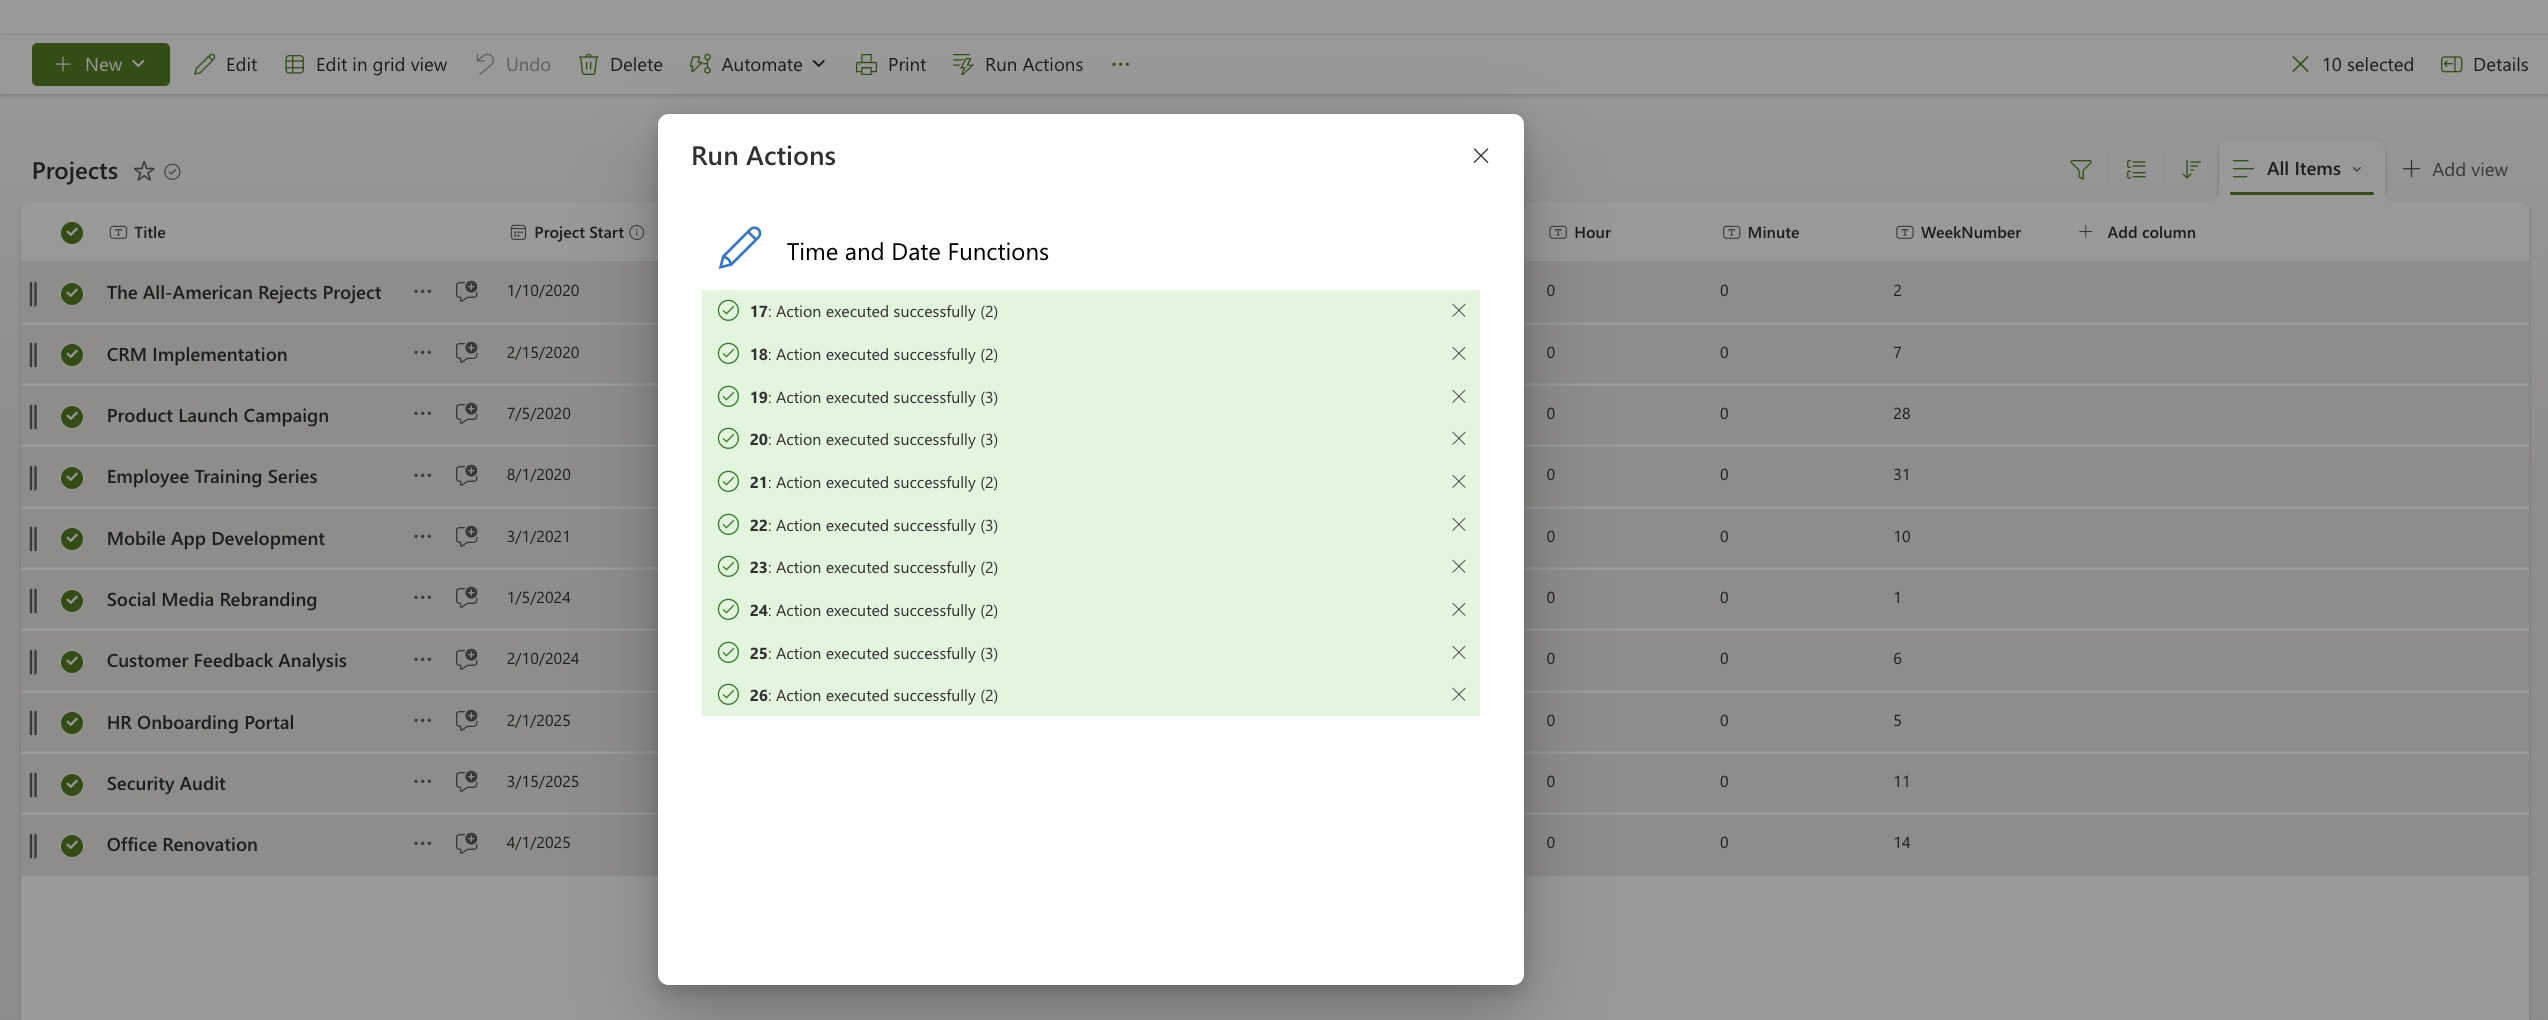
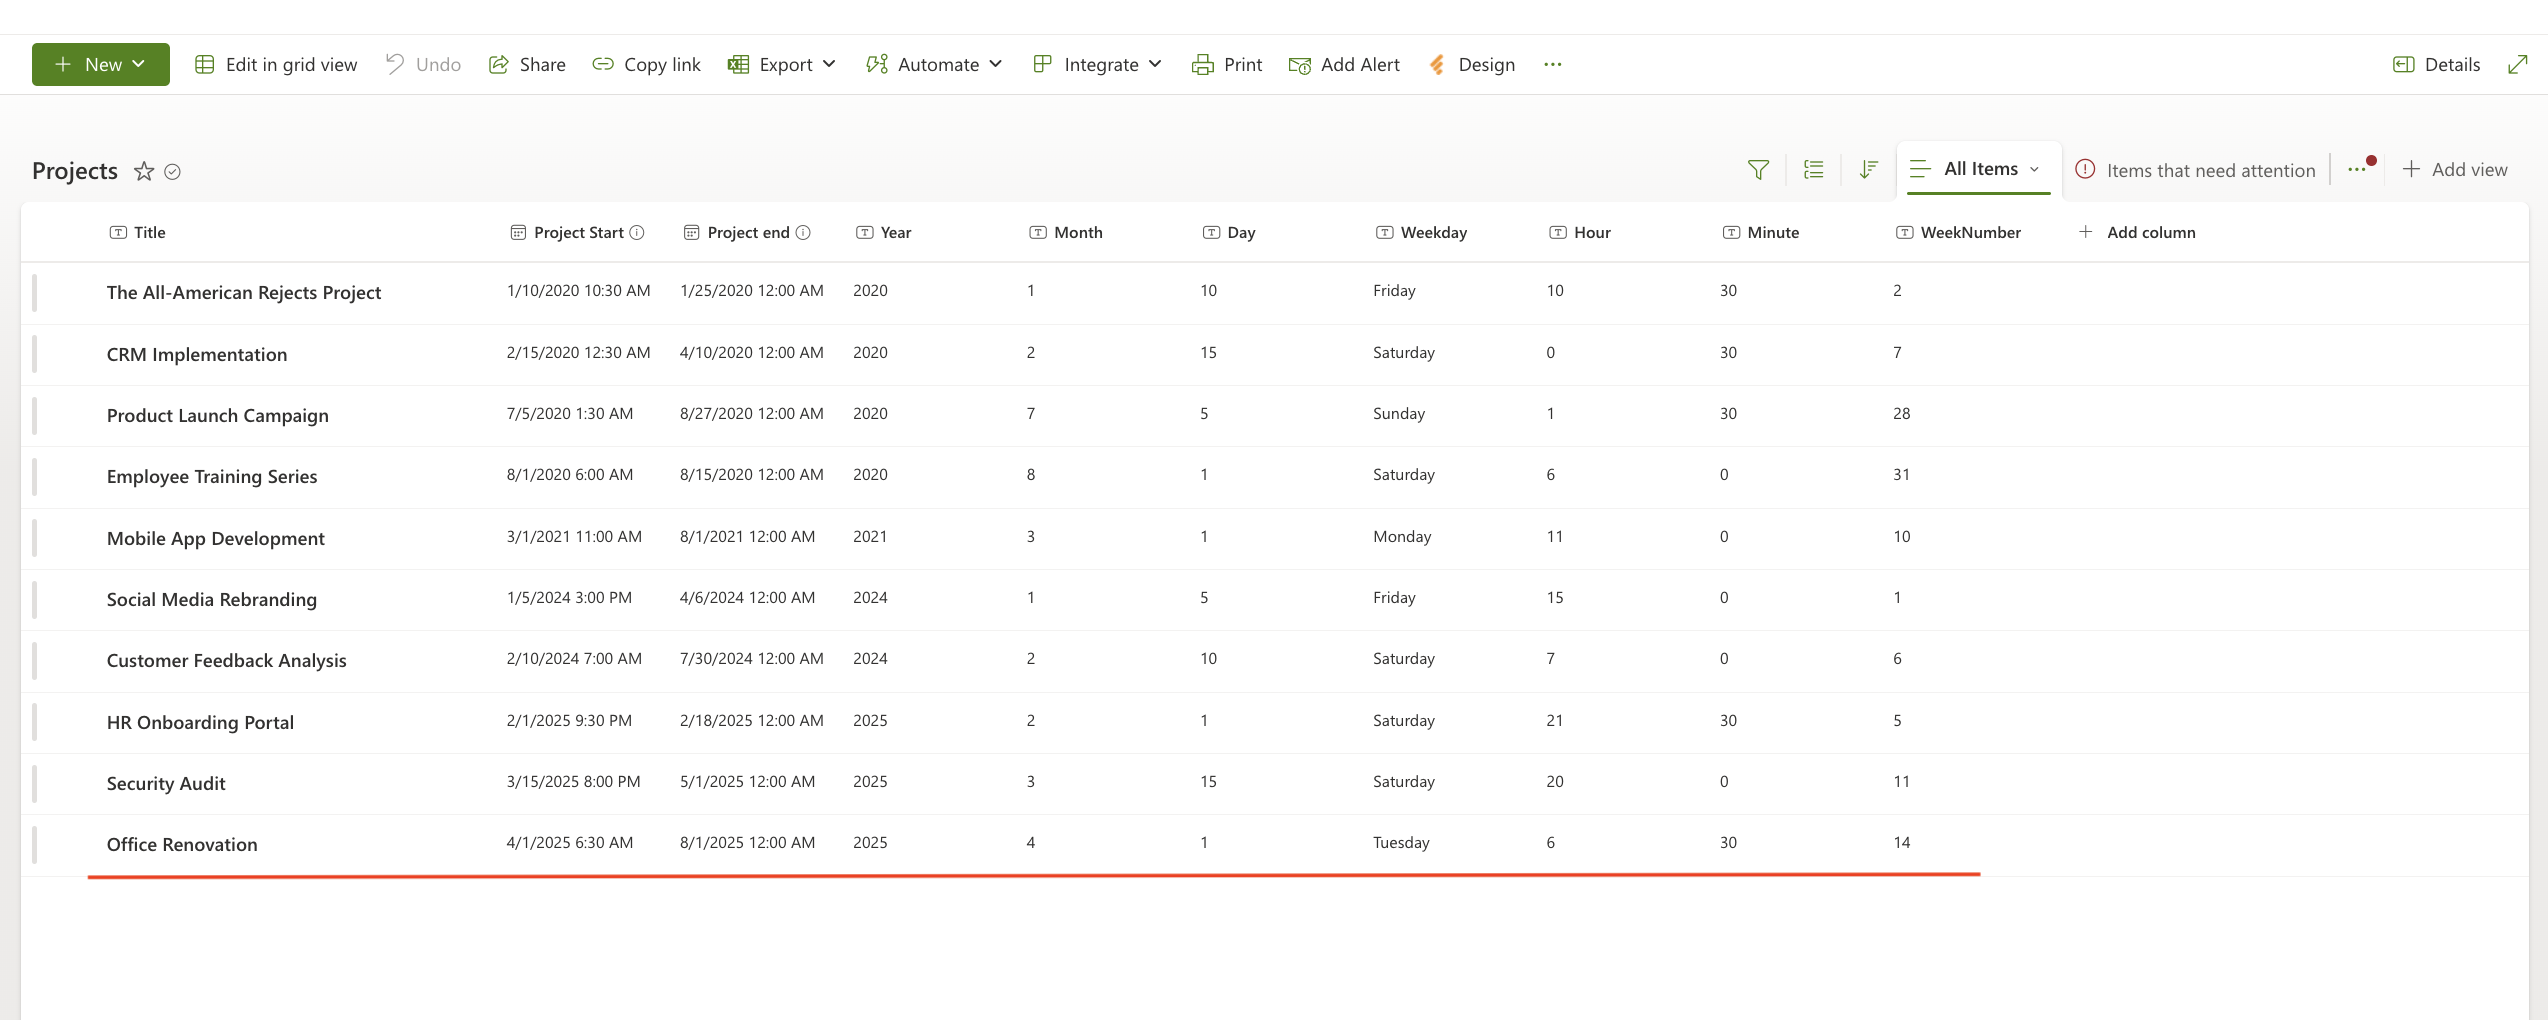
Step 6: Review the Results
Your list will now show the extracted components of your date in the new columns.
For example, if Project Start = April 1, 2025 6:30, the output will be:
- Year: 2025
- Month: 4
- Day: 1
- Weekday: Tuesday
- Hour: 6
- Minute: 30
- WeekNumber: 14
Step 7: Use the Data for Reporting
With date components separated, you can:
- Create views filtered by month, week number, or weekday.
- Build charts showing project starts by month or quarter.
- Identify busiest days or weeks.
- Automate alerts based on specific time components.
Summary
In this tutorial, you learned how to:
- Add columns for extracted date parts.
- Create an Update list item action to populate these columns with Infowise formulas.
- Trigger the action manually from the ribbon.
- Use the resulting data for analysis and reporting.
Date and time functions make it easy to unlock insights hidden in your data, enabling smarter decisions and more effective project tracking.