With Calendar Print Templates in Infowise UltimateForms, you can transform any list with date fields into a clean, printable calendar view — ideal for events, project tasks, or scheduling overviews.
This tutorial will show you how to configure and print your data in calendar or Gantt layouts directly from SharePoint.
Instructions
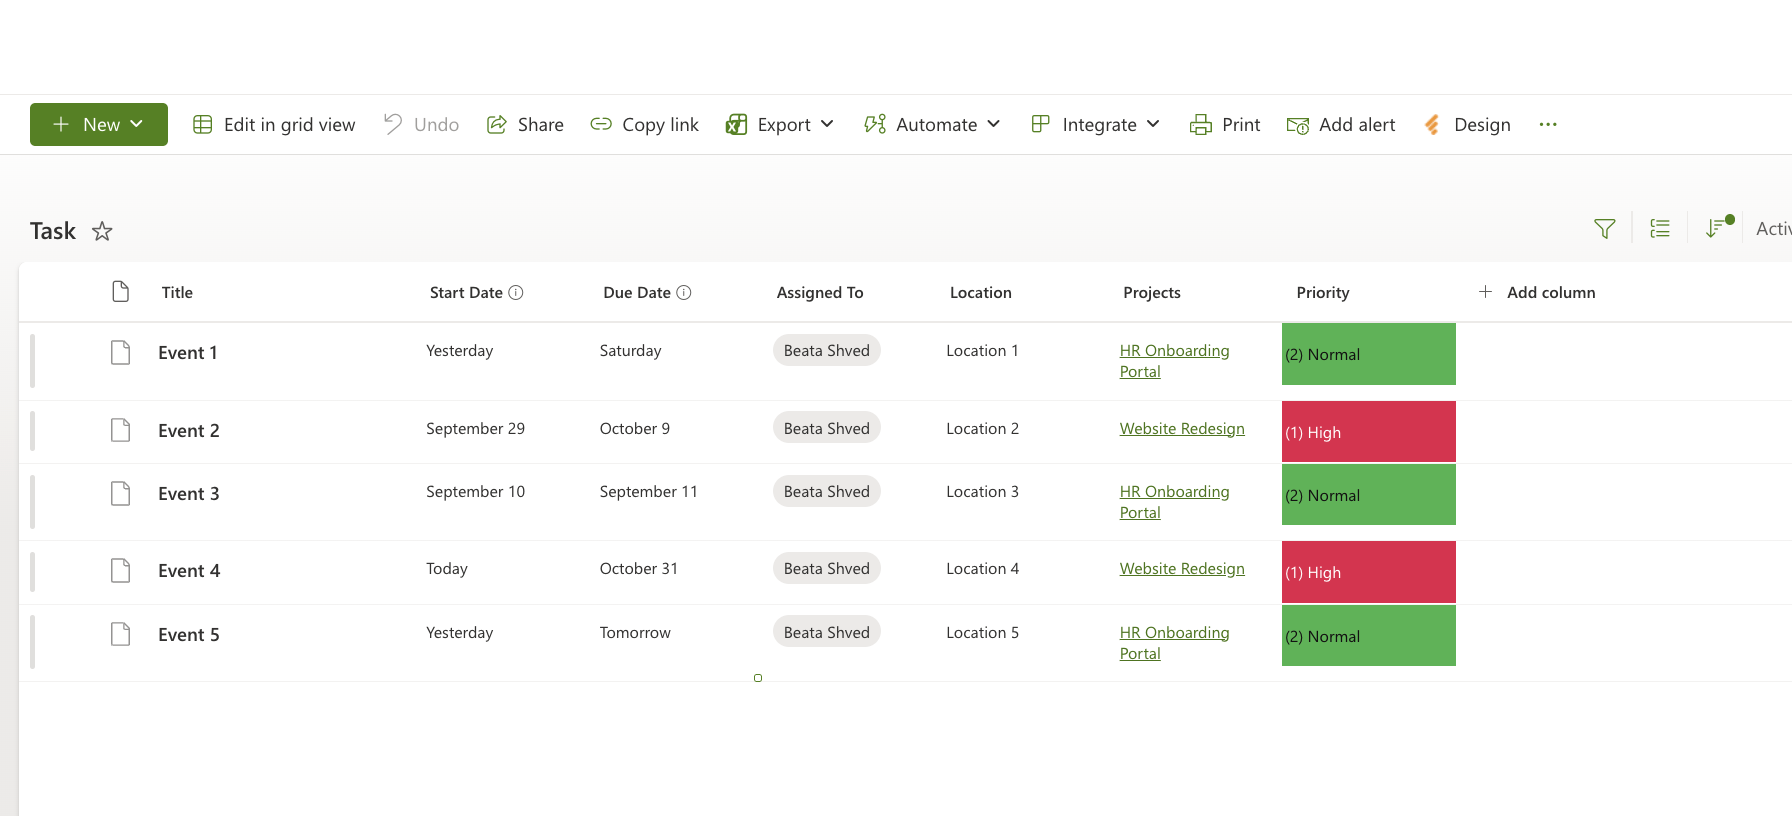
Step 1: Prepare Your List
You can reuse the Tasks list created in the previous tutorial (“Adding Parameters to Print Templates”).
It already includes the necessary date columns and is perfect for a calendar view.
If you prefer to start from scratch, create a new list with the following columns:
- Title (Single line of text) — the event or task name
- Start Date (Date and Time)
- End Date (Date and Time)
- (Optional) Location or Category if you want to display additional details
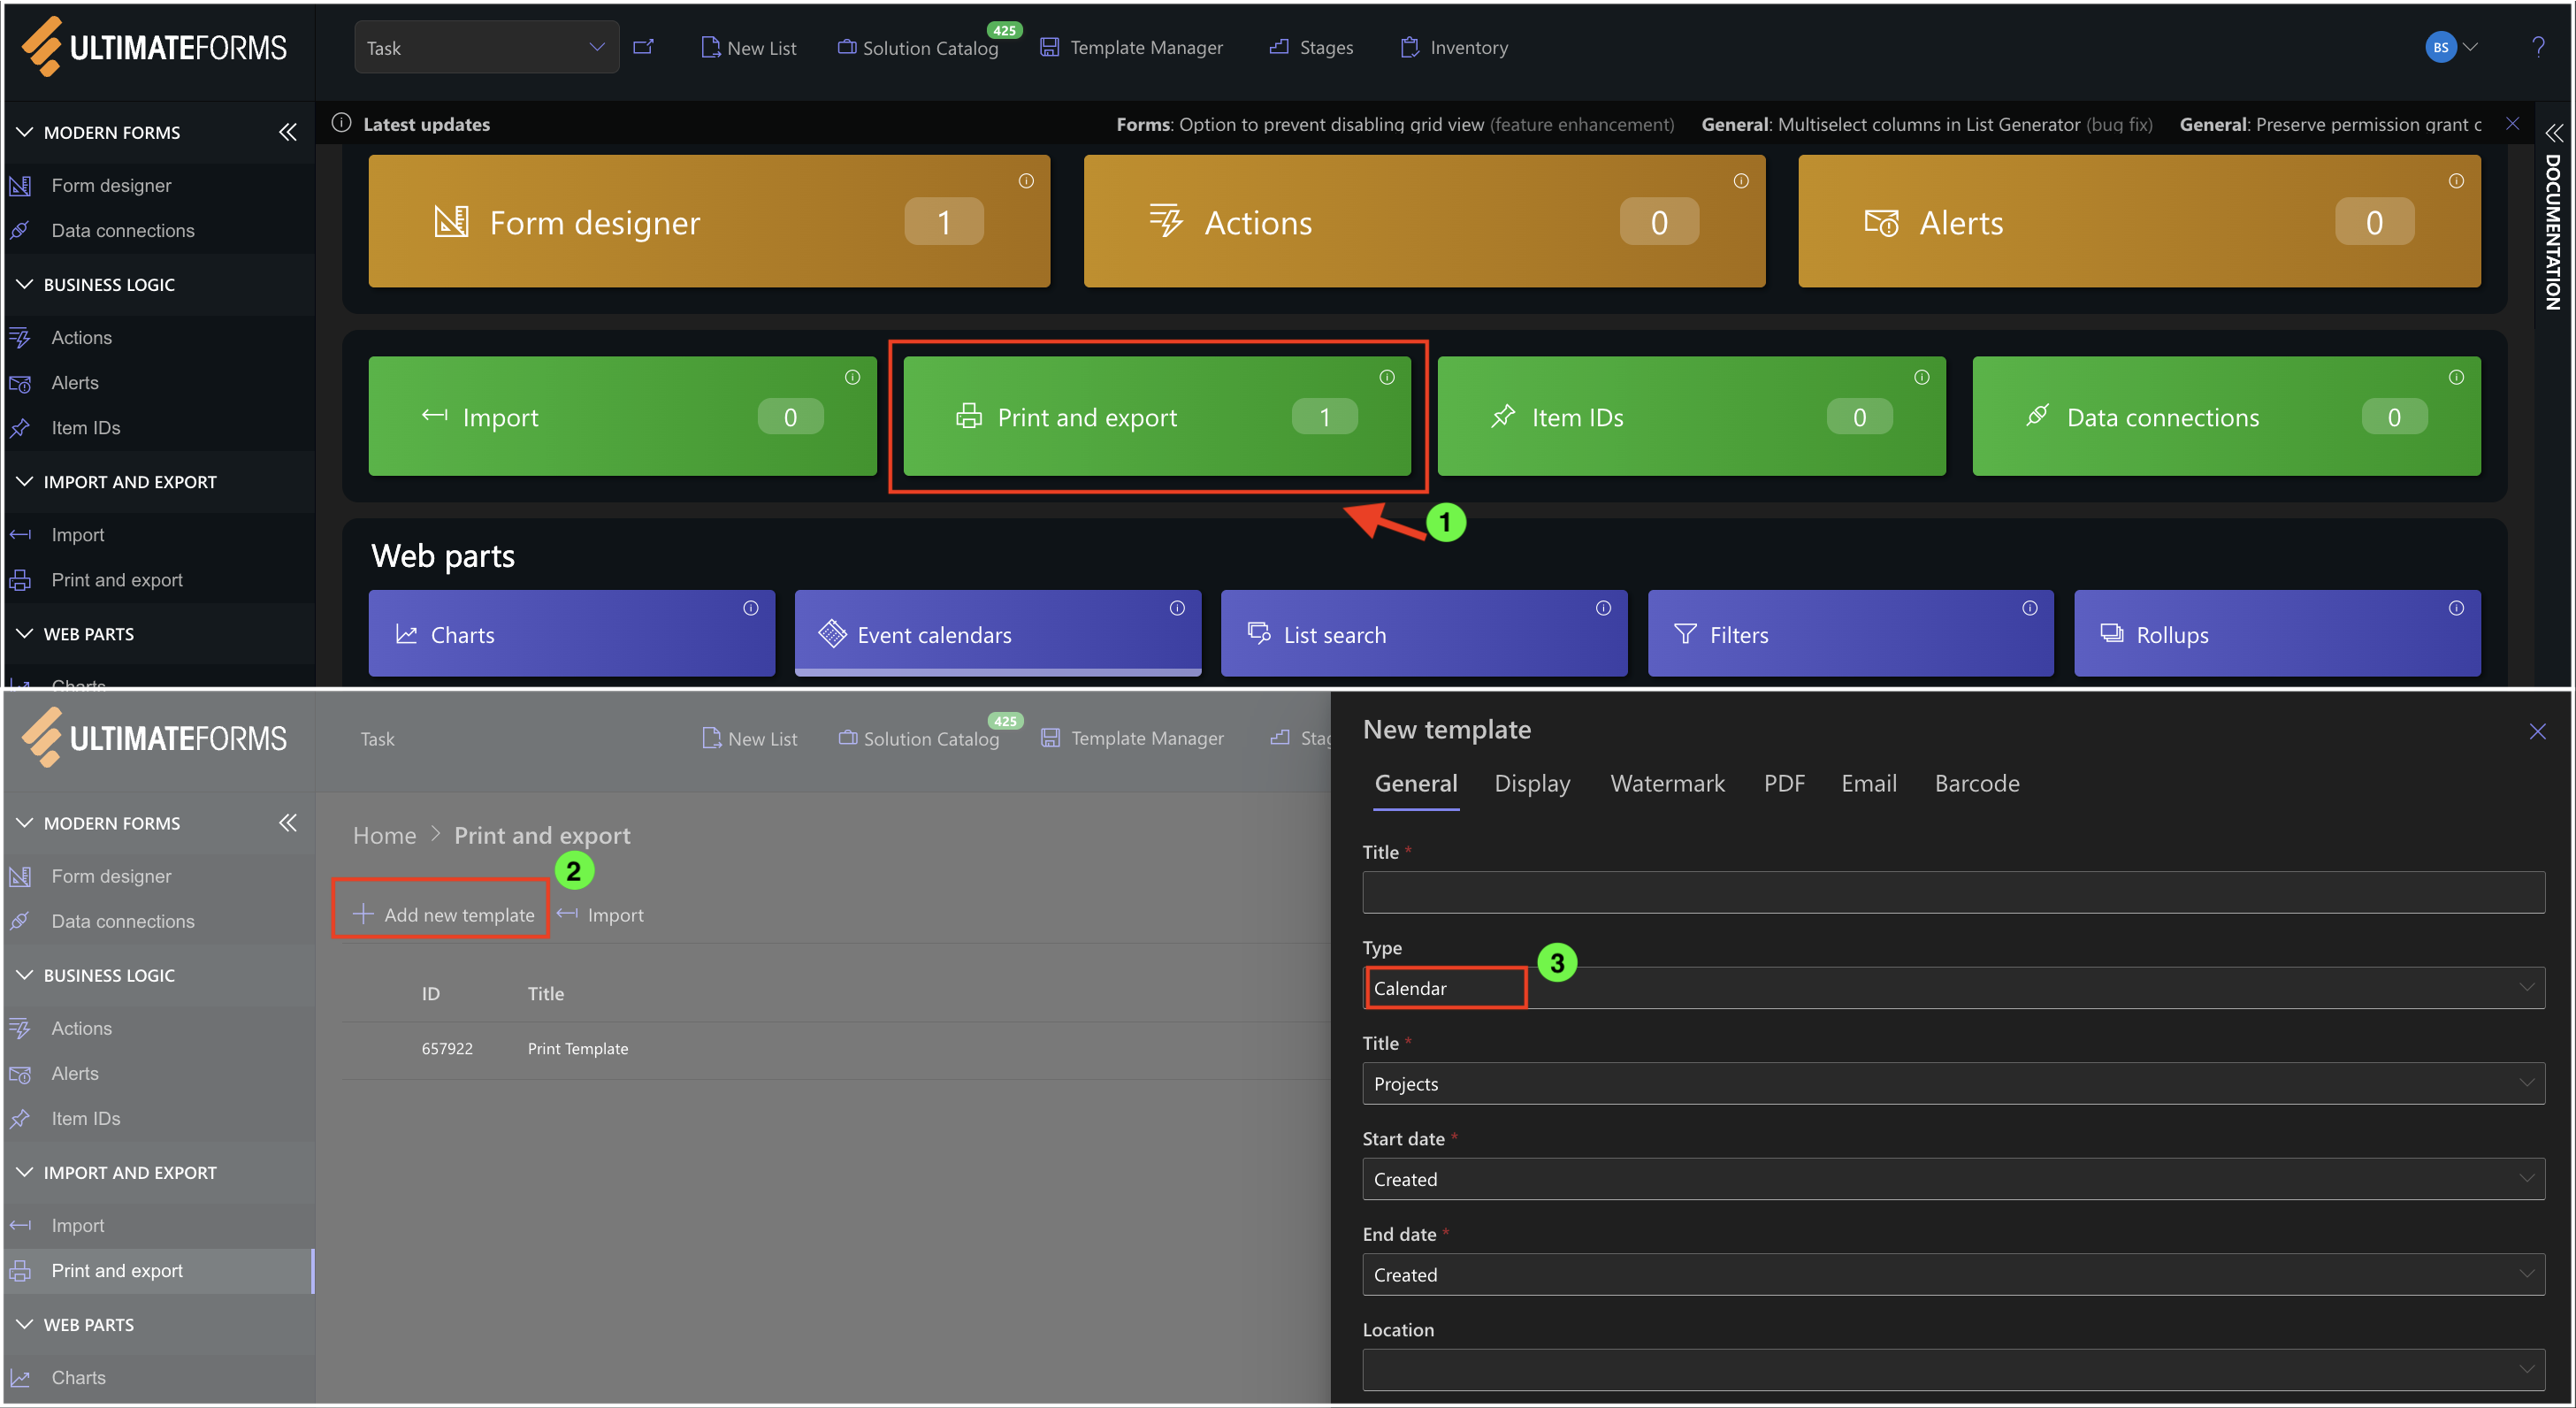
Step 2: Open Print Settings
- Open your list.
- Click Design → Print and Export.
- On the Print Templates page, click Add New Template.
- Under Type, select Calendar.
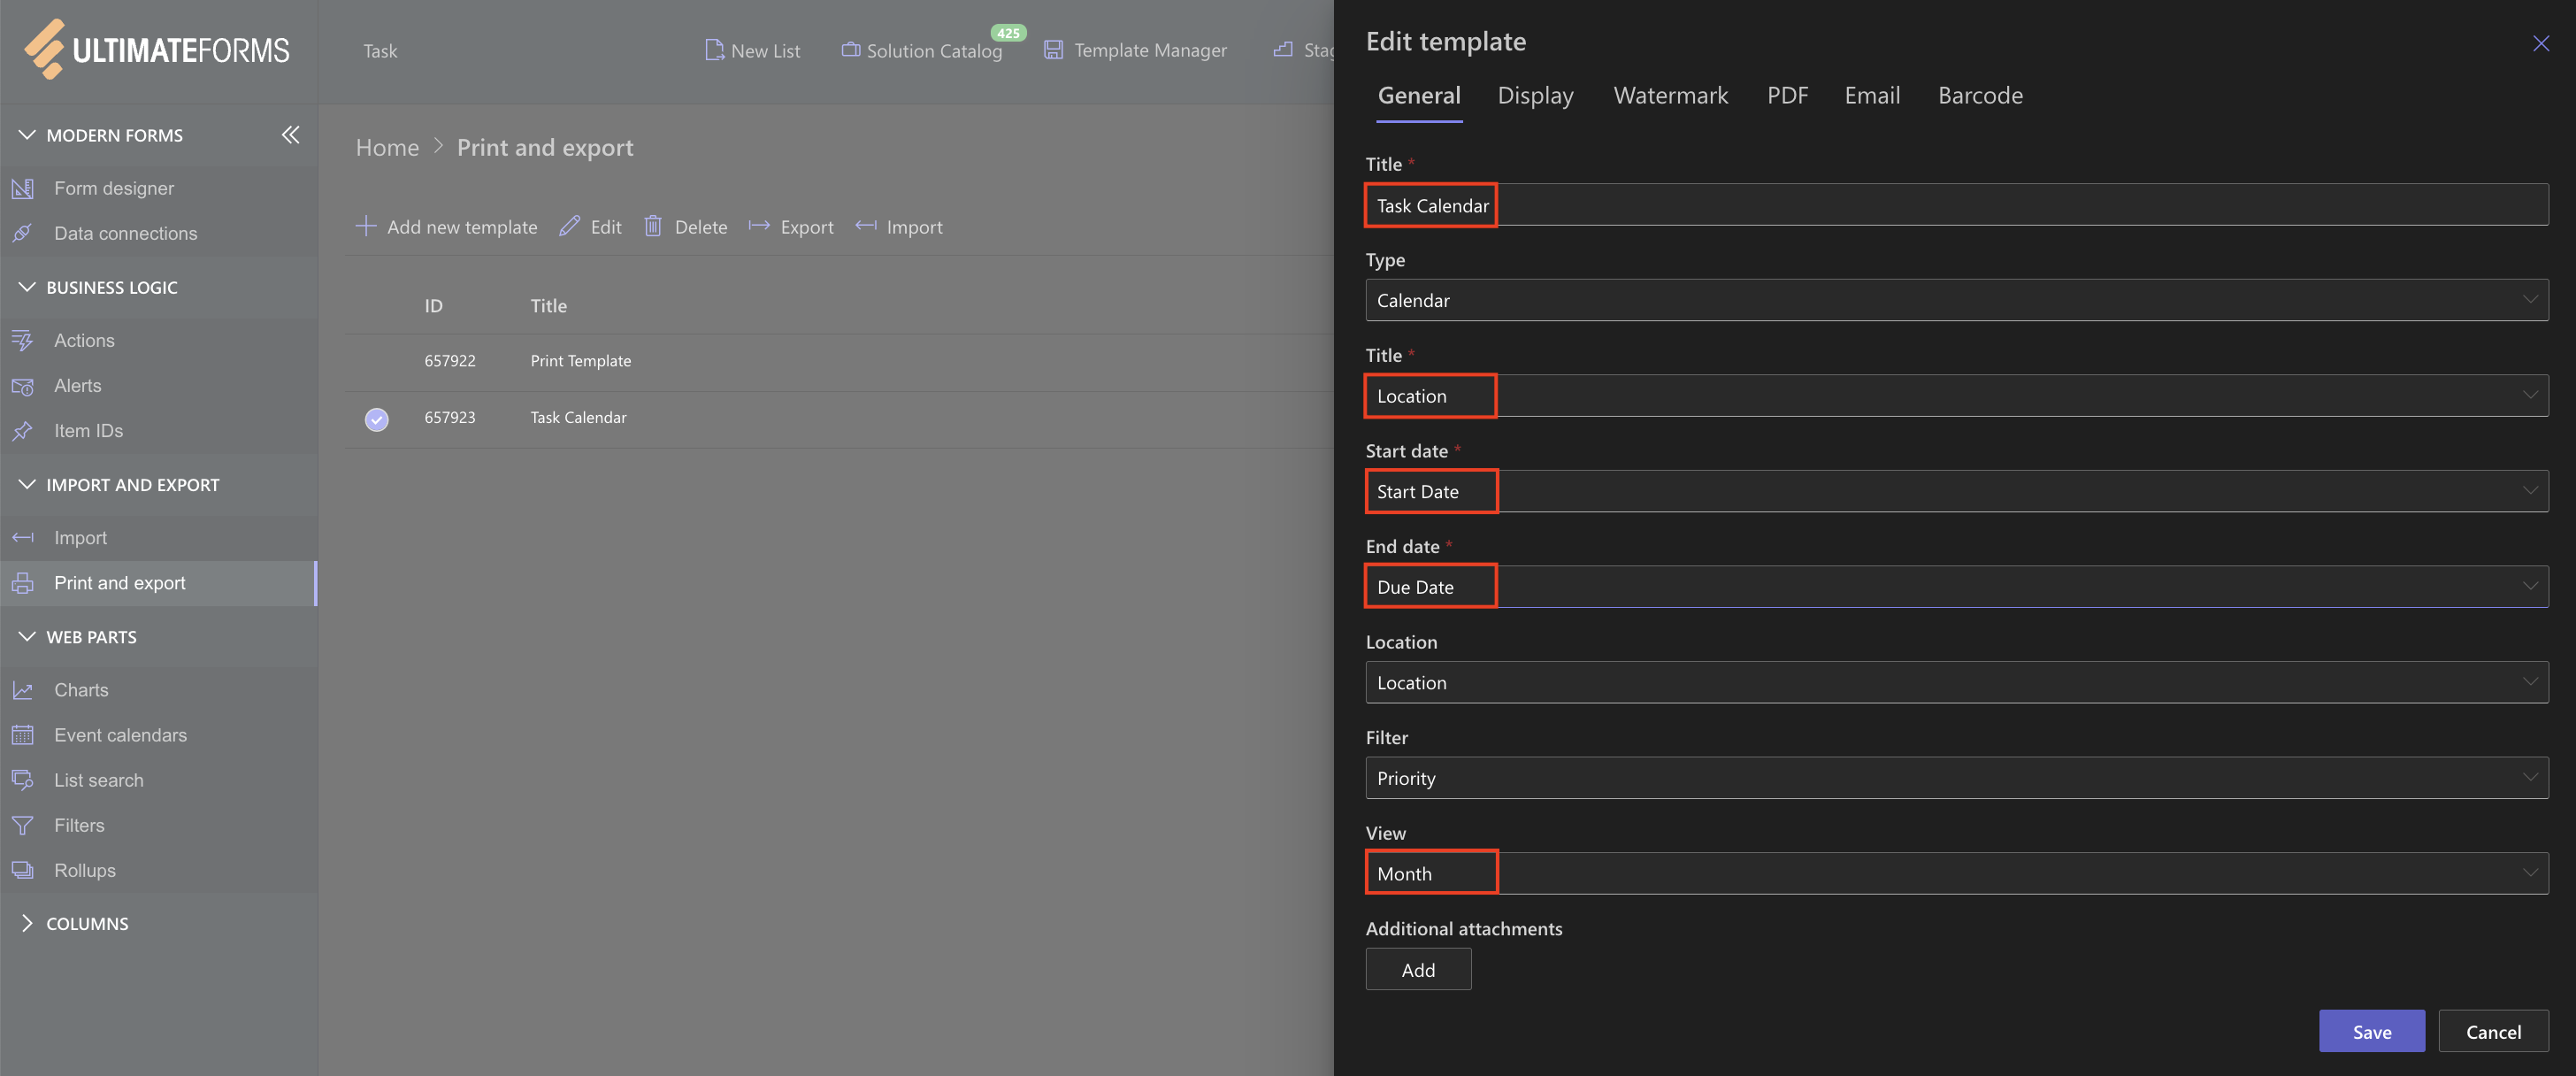
Step 3: Configure General Settings
- Template Title: e.g., Task Calendar or Team Schedule
- Type: Calendar
- Map your columns:
- Title: → Title
- Start Date: → Start Date
- Duo Date: → Duo Date
- (Optional) Location: → Location
- Select the View: Choose between Compact, Day, Week, Month, Quarter, Half-Year, Year, or Gantt view.
- (Optional) Add a Filter so users can print only relevant data (for example, tasks with a specific status or priority).
Step 4: Preview and Print
- Click Save on the template.
- Return to your Tasks list and select items (or leave blank to print all).
- Click Print → [Your Template].
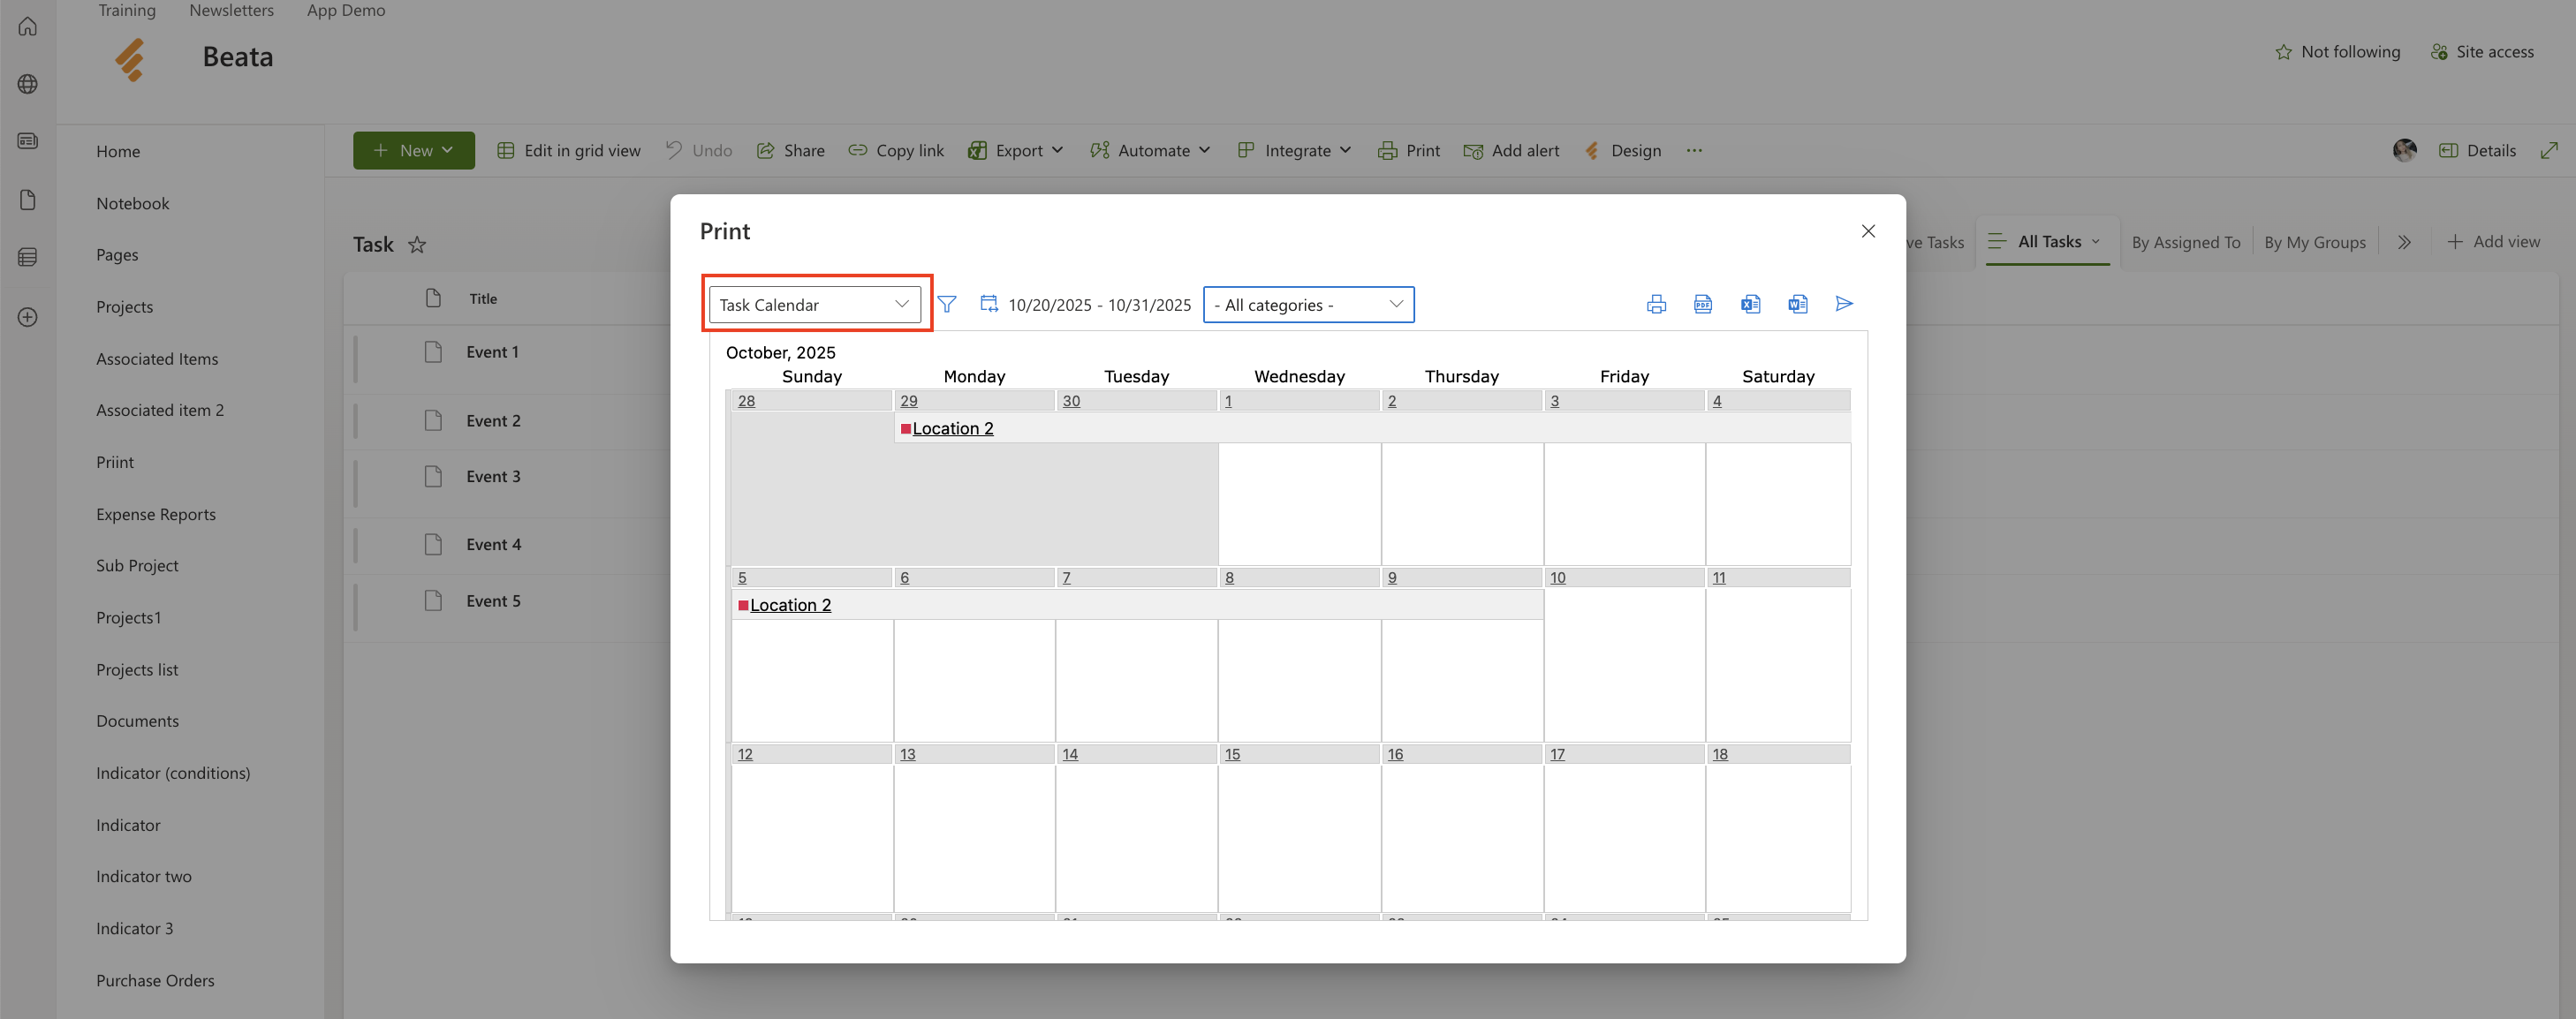
- If you selected a filter column during setup — for example, Priority — a filter panel will appear in the Print Preview window.
- Use the dropdown to choose which items to include (e.g., show only High or Normal priority tasks).
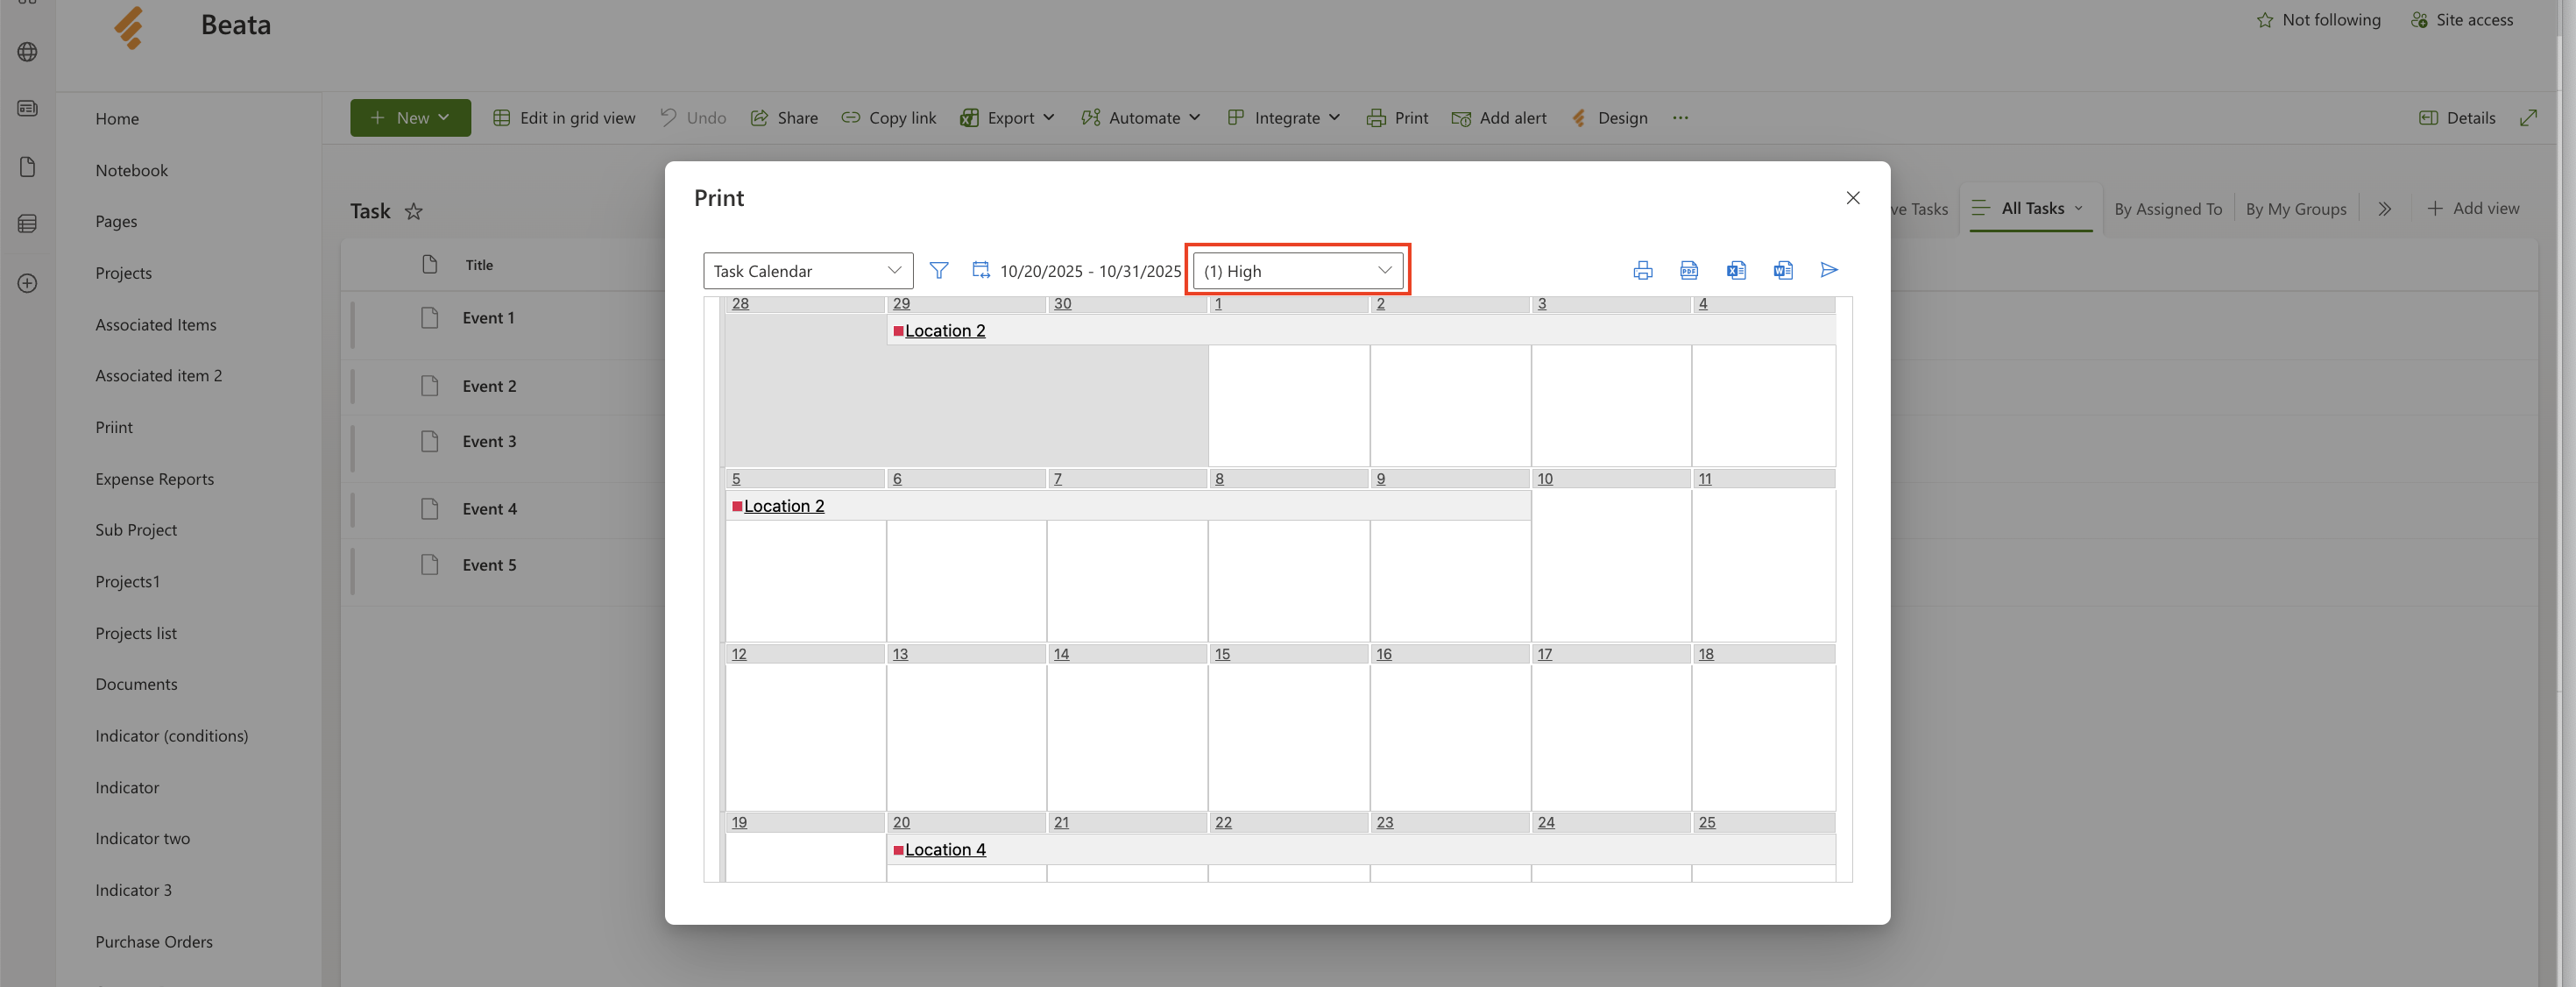
- This allows you to quickly generate different calendar views without modifying your list or creating multiple templates.
- Review the layout, verify the correct date range and filtered items, then export to PDF or print directly from your browser.
Summary
The Calendar Print Template in Ultimate Forms: Print helps you turn date-based data into visually rich, printable calendar formats — from daily schedules to full-year overviews. After completing this tutorial you’ll be able to create a calendar template, map your date columns, choose layout views and filter your output — making calendar printing simple and flexible.