Choosing the right recipients is essential for effective email alerts. In Infowise Ultimate Forms, you have powerful and flexible tools to define who receives each alert. You can send alerts to individual users, SharePoint groups, dynamic recipients based on column values, or even multiple sources at once — all without any coding.
This tutorial walks you through all the available recipient options in the Recipients tab when setting up alerts, including some that are specific to Microsoft 365 or on-premises environments.
Instructions
Accessing Recipients Settings
- Go to your SharePoint list or library
- Click Ultimate Forms in the menu bar
- Under Business Logic, select Alerts
- Open or create a new alert (e.g., “Support Requests – New”)
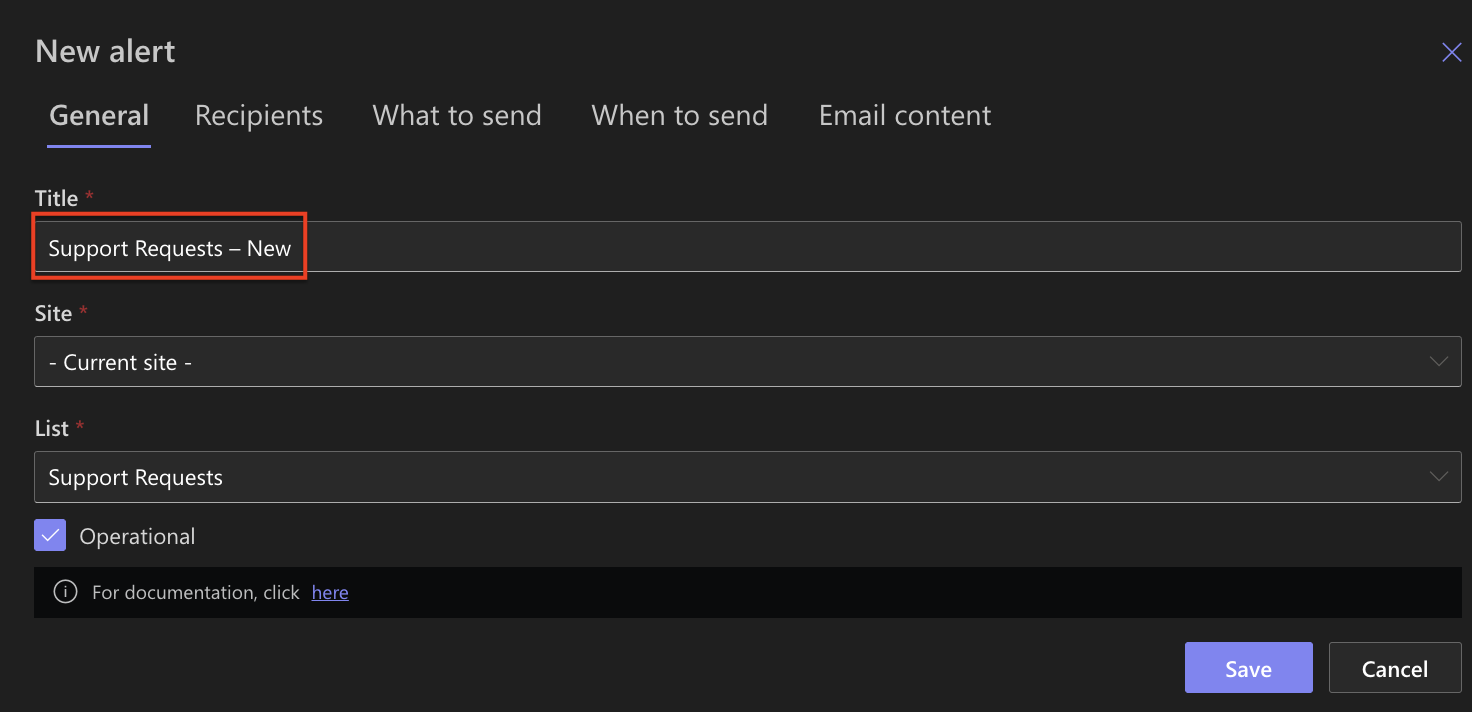
- Go to the Recipients tab
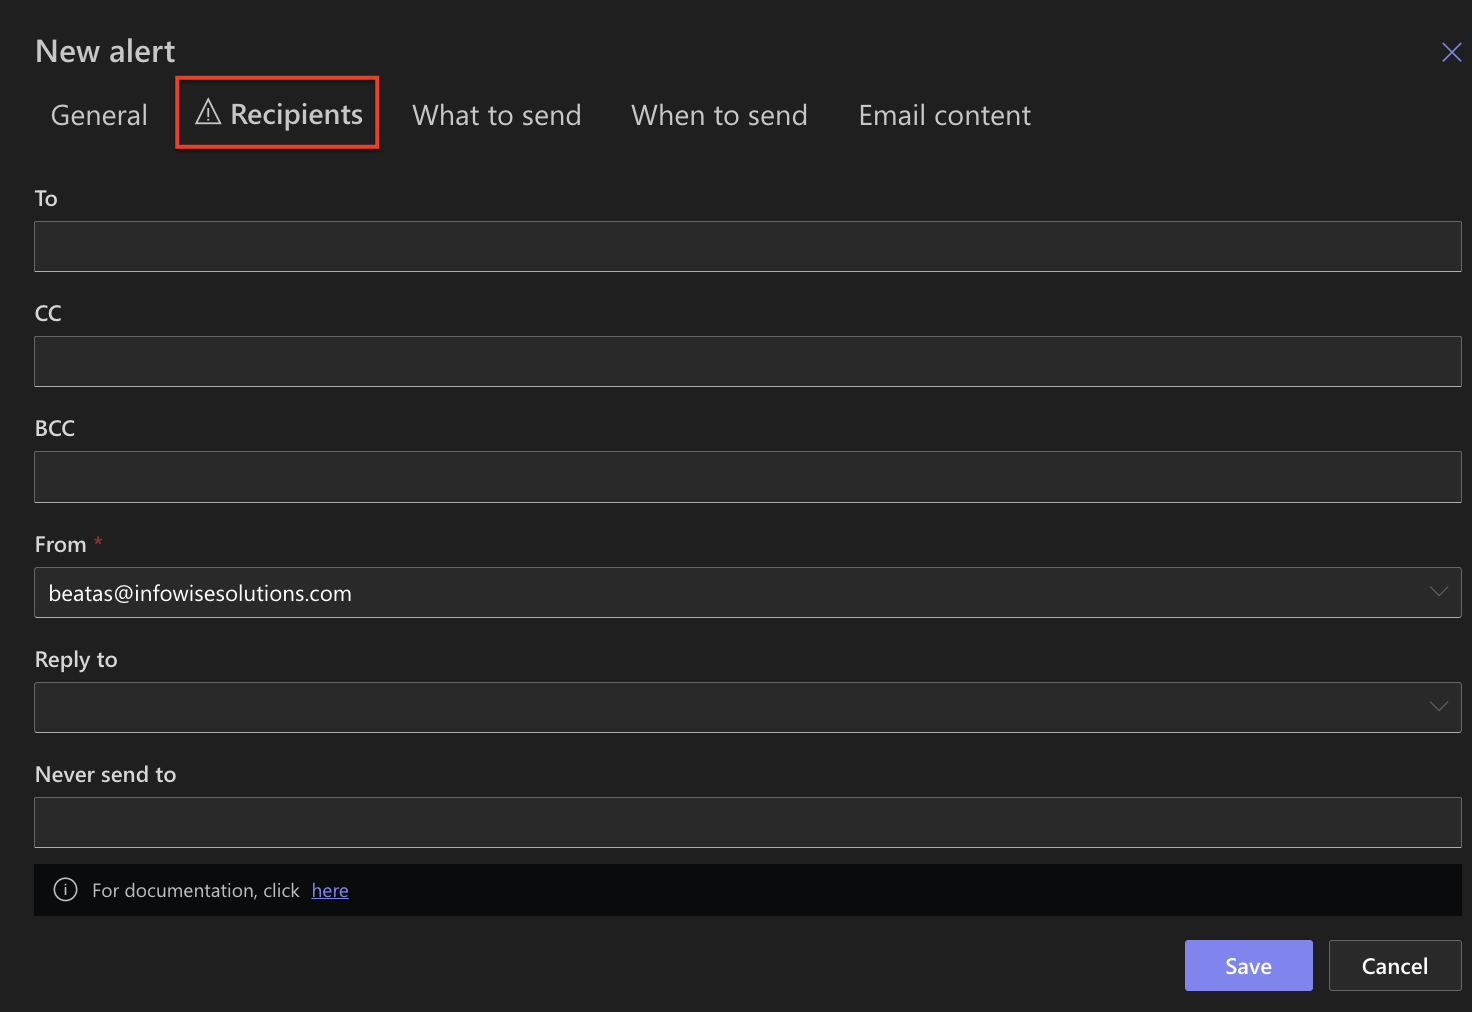
TO: Main Alert Recipients
You can choose one or more target recipients using the following dropdown options:
- Person or group – Manually select a specific user or SharePoint group
- Persons in column – Choose a People/Group column from your list (e.g., Assigned To, Requester)
- Contacts – Select a Contacts list (list created from the Contacts template) in the current site
- View – You can also filter the list by any view. The alert is sent to each contact with a filled-out Email column.
- Addresses – Manually enter static email addresses (e.g., it@company.com)
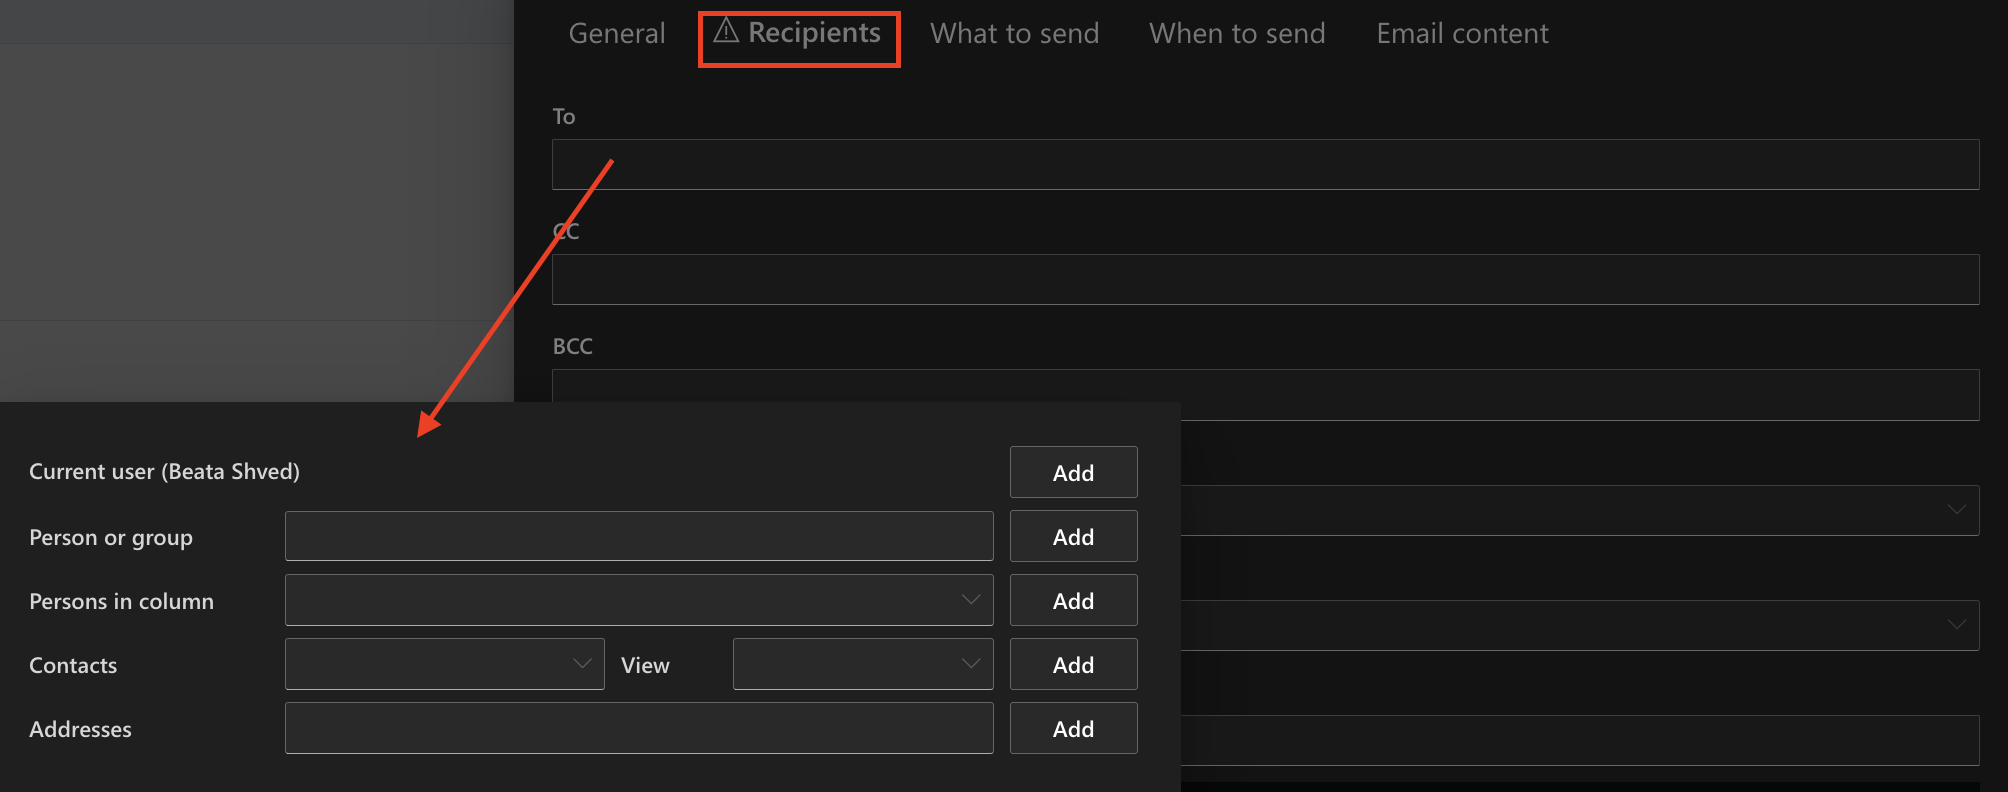
You can combine multiple types in one alert.
Additional Email Columns
You can further customize email routing using these columns:
| Column | Purpose |
| CC | Send a copy of the alert to additional recipients |
| BBC | Send a blind copy, recipients won’t see each other |
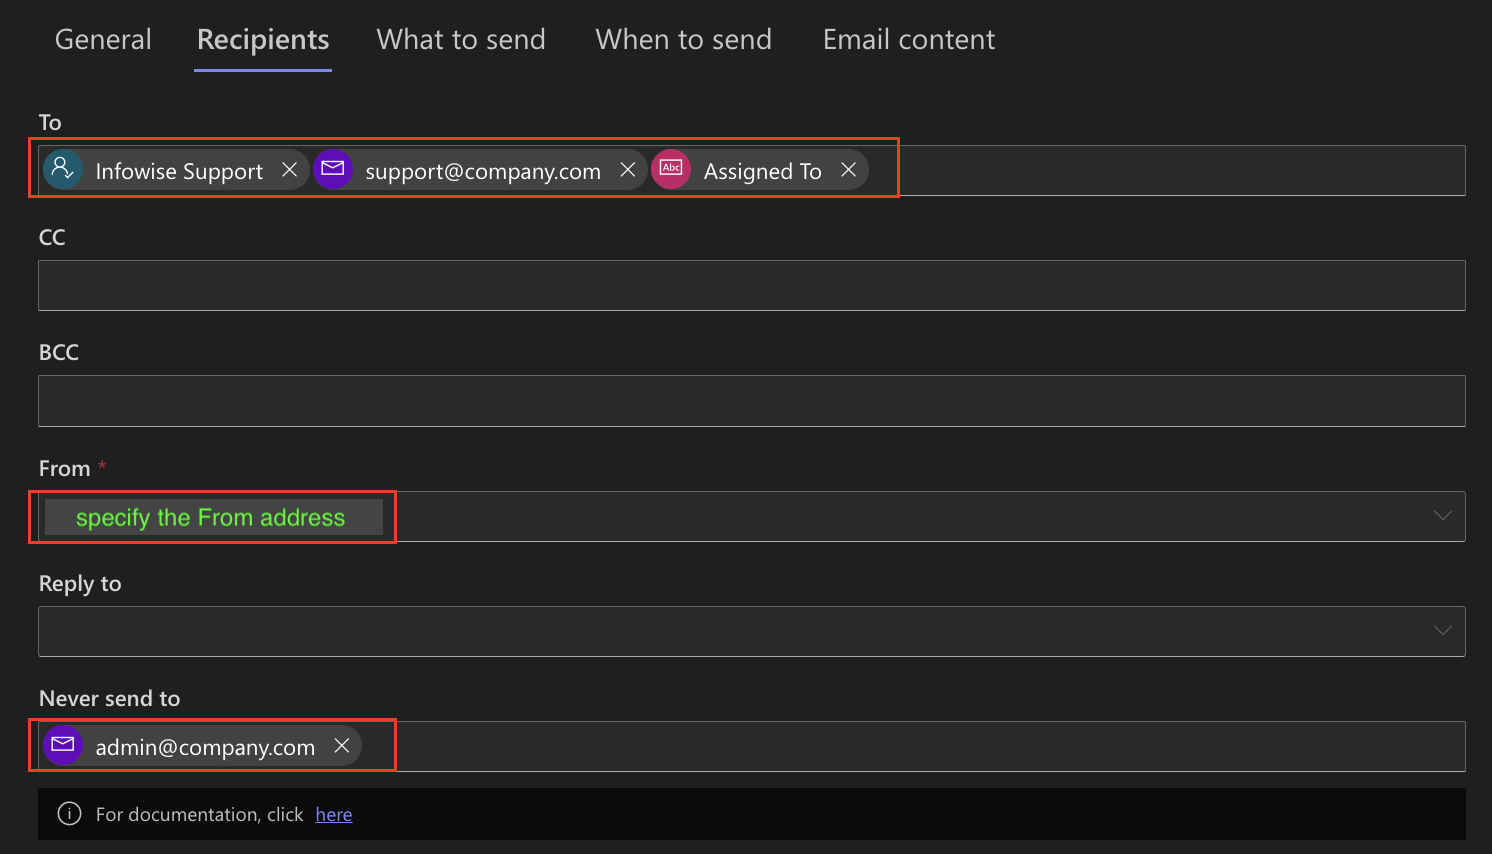
| From | You can specify the From address by either selecting from a drop-down box, or, if the administrator enabled it, manually entering the email address. The options available for selection are your own email address and the Authorized senders defined by an administrator. |
| Reply To | Set a reply-to address different from the sender |
| Never Send To | Exclude specific addresses or users |
| Display Name | (On-premises only) Set a custom name that will appear in the “From” column instead of just the email address. |
Note: In Microsoft 365, the From column is mandatory and must be an Exchange Online address. The Display Name option is only available in on-premises environments.
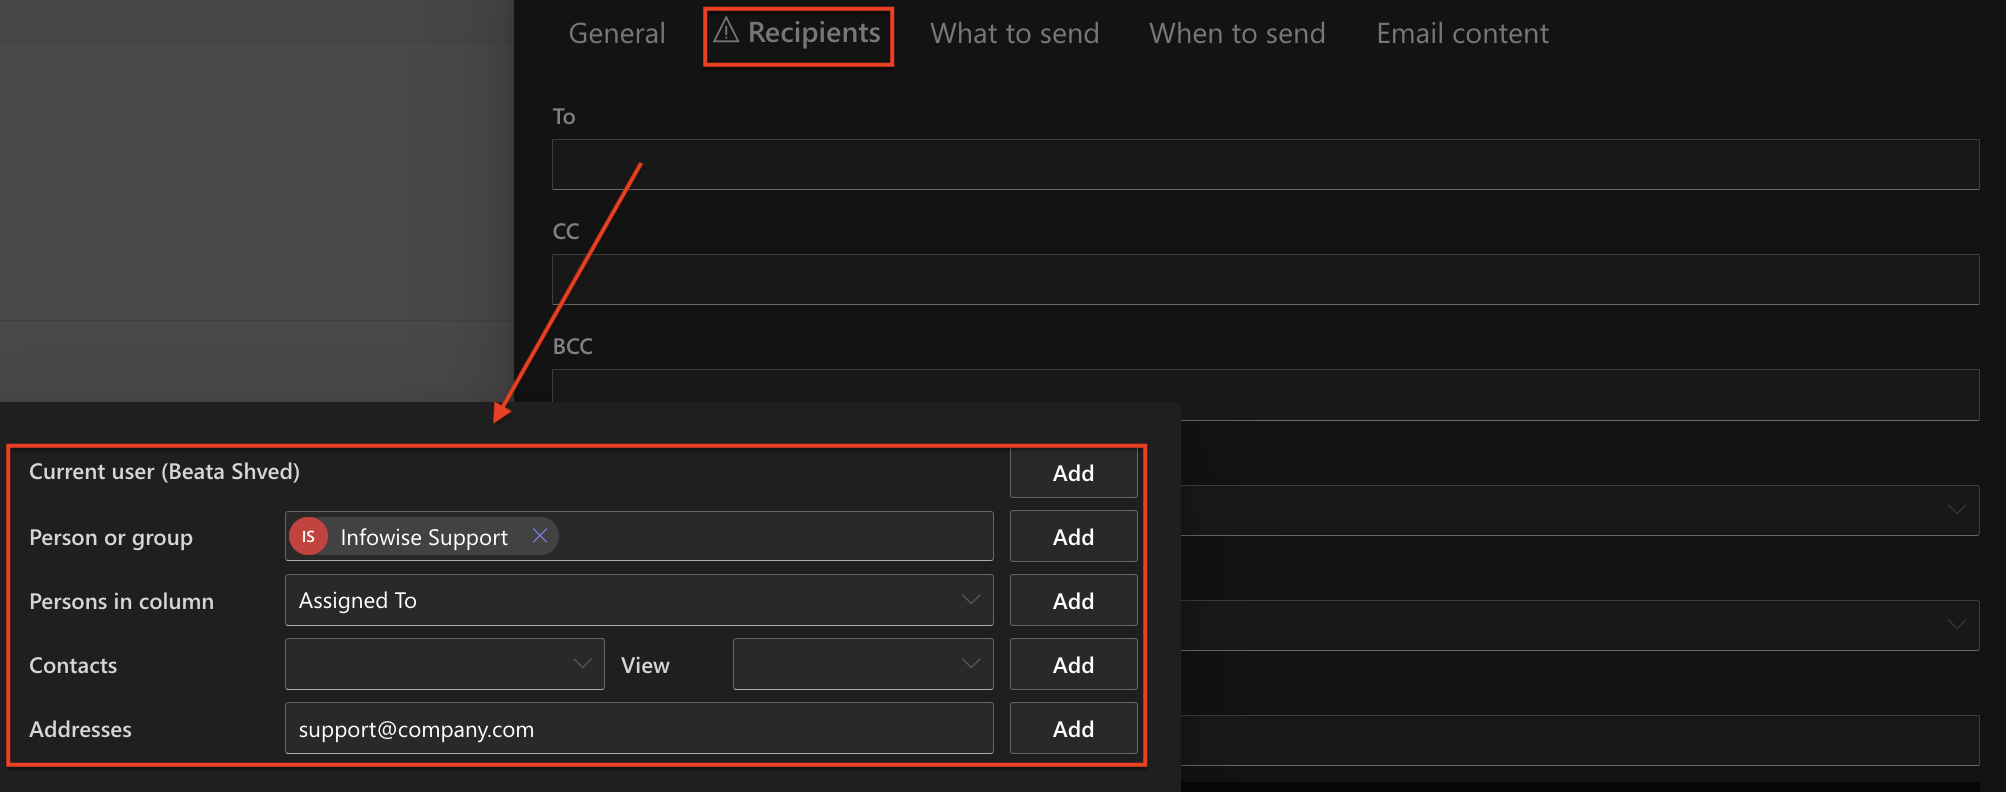
Real Example: Combining Recipients
You want your alert to notify:
- The person assigned to the task (Assigned To column)
- Your internal support team group
- A shared mailbox (support@company.com)
- Exclude your admin account (admin@company.com)
- And for on-premises, show a custom name like Support Bot in the “From” column
Your setup would be:
- TO → Persons in column: Assigned To
- TO → Person or group: Support Team
- TO → Addresses: support@company.com
- Never Send To → admin@company.com
- From → support@company.com
- Display Name (on-premises only) → Support Bot
Summary
The Recipients tab in Ultimate Forms: Alerts gives you full control over email delivery. Whether you're sending alerts to individuals, SharePoint groups, static emails, or filtered views, you can mix and match options to build precise and effective workflows. Use additional columns like From, Reply To, Display Name (on-premises), and Never Send To to fine-tune behavior and ensure alerts land exactly where they need to.
Coming up next: configuring What to Send conditions for alerts.