This system will allow you to:
- Easily create Expense Reports
- Automatically route reports for approval
- Quickly approve or reject reports
- Generate an email to the creator based on approval or rejection
Instructions
Expense reports are a large part of any organization. They should be simple to input and easy to approve. I will show you how to create a one-step approval system for your Expense Reports with Infowise UltimateForms. I will first show you how to build the process in Microsoft 365 and then I will call out the differences in the process between Microsoft 365 and the on-premise Infowise UltimateForms product.
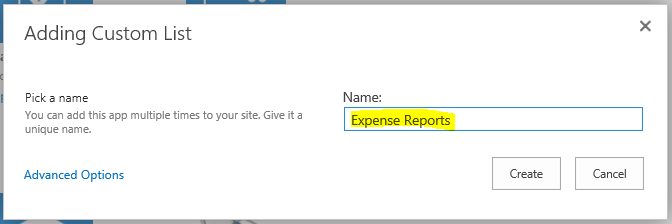
Our first step is to create a Custom List app and name it Expense Reports.
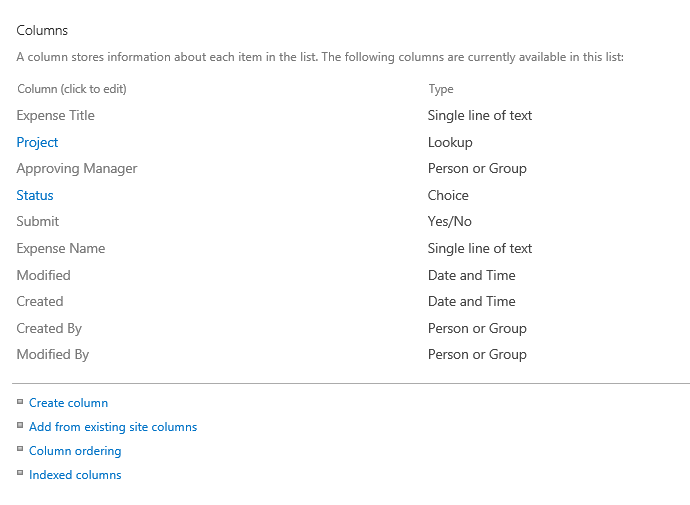
In our new list, we are going to create some new columns.
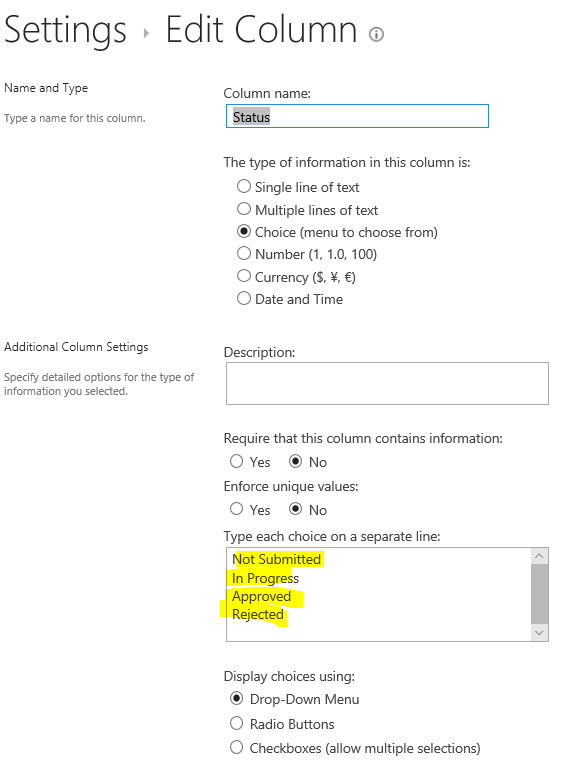
The first column we want to create is our Status column. Here we will add the four values shown below. You might consider adding some additional statuses if your approval is more complex.
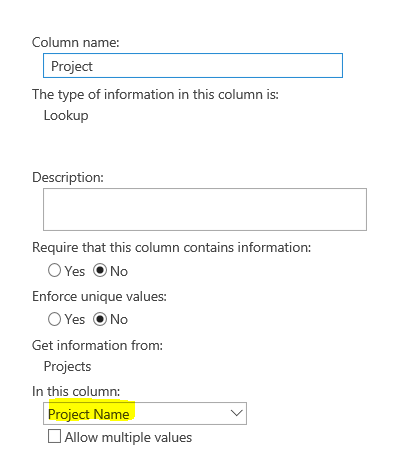
I have also added a lookup column to my Projects list so that I can adding expenses directly to projects.
You will need to add a Person or Group column for you Approving Manager and a few additional columns as well. When done, your column list should look like the below:
Associated Items
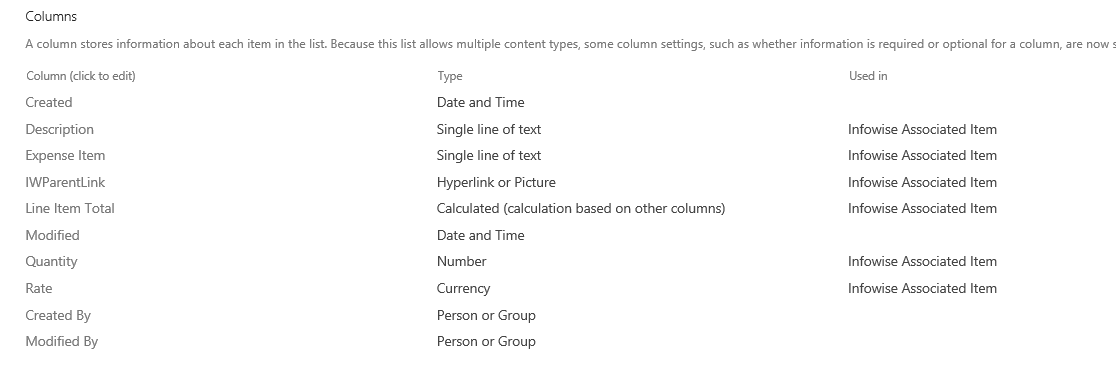
Now we are going to want to create another list that we will call Expense Items. This list will house our Child records for our Parent record of Expense Report.
Go ahead and create the columns as you see below. Ignore the IWParentLink column for now.
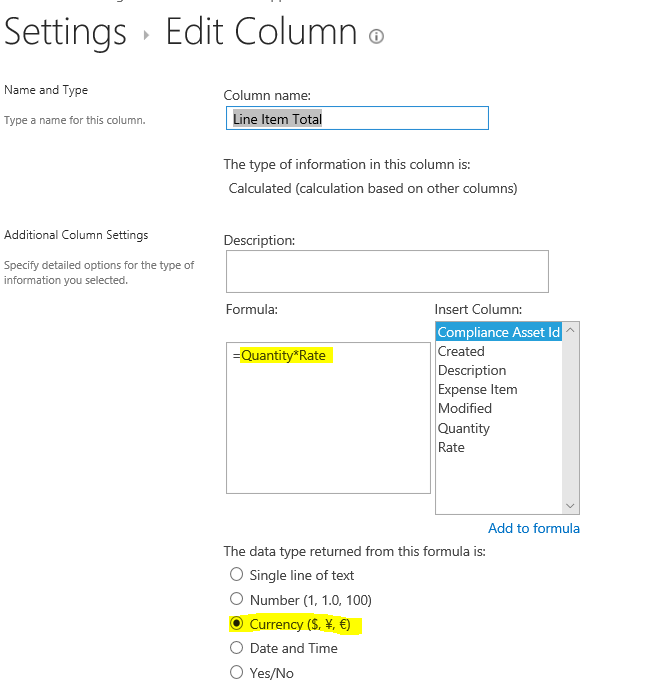
The Line Item Total field is a calculated field with the formula as shown below:
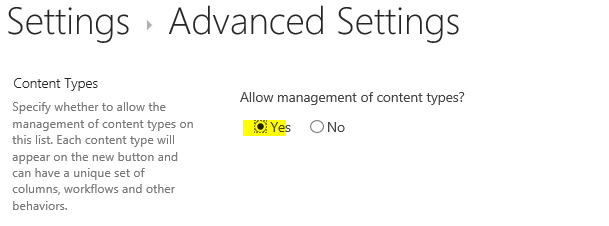
Now that we’ve created our columns, we want to assign the Infowise Associated Items content type to our list. Navigate to the Advanced Settings, and select Yes under Allow management of content types.
Click save and once back in your settings screen, select Add from existing site content types.
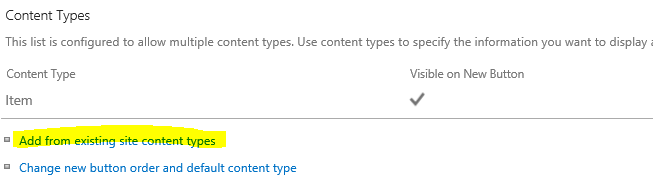
In the drop-down at the top, select Infowise. Then select the Infowise Associated Item content type and click add.

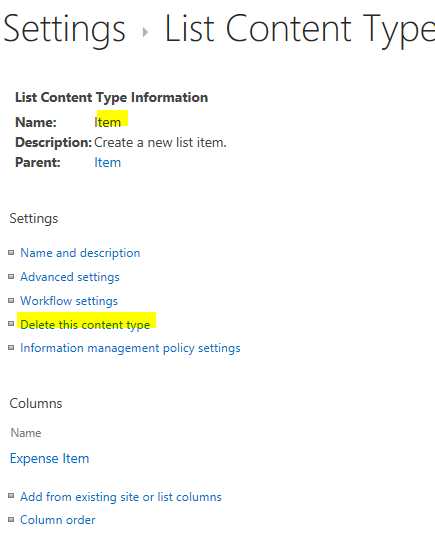
Next, go into your Item content type and select Delete this content type
Next, head back to your list and go to the Infowise Design screen.

Under the Configure Columns selection, go into the Associated Items screen.

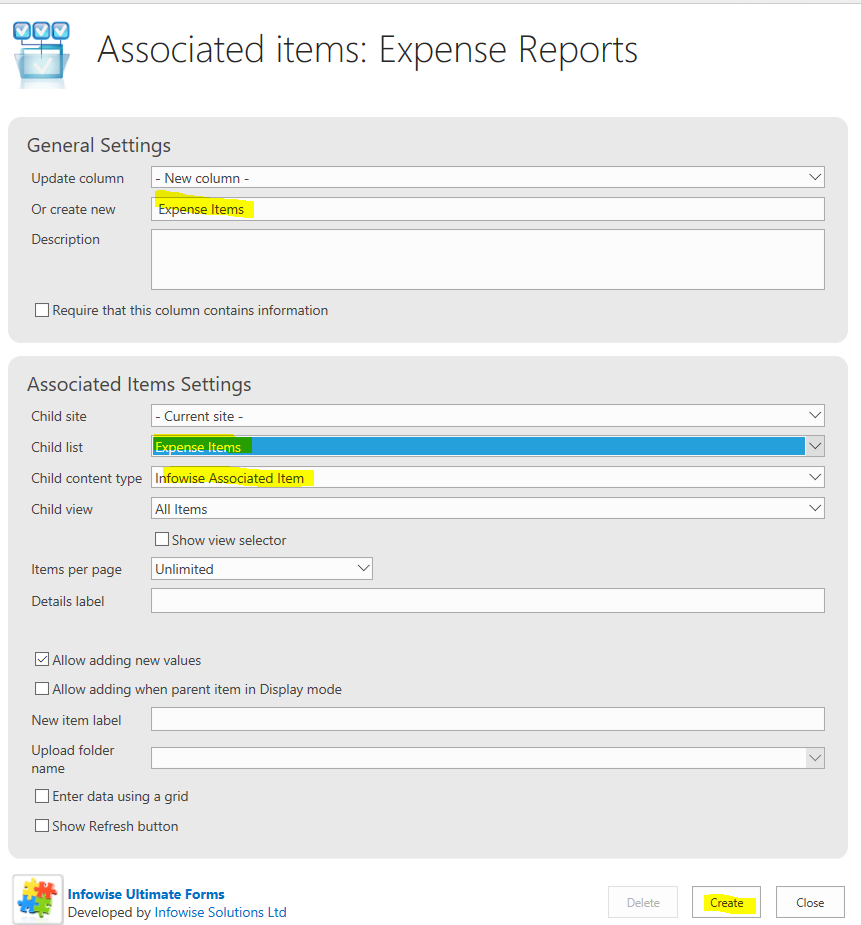
Give your new Associated Items column a name. Select your Child list of Expense Items. The Child Content Type field should update automatically. Then click the Create button.
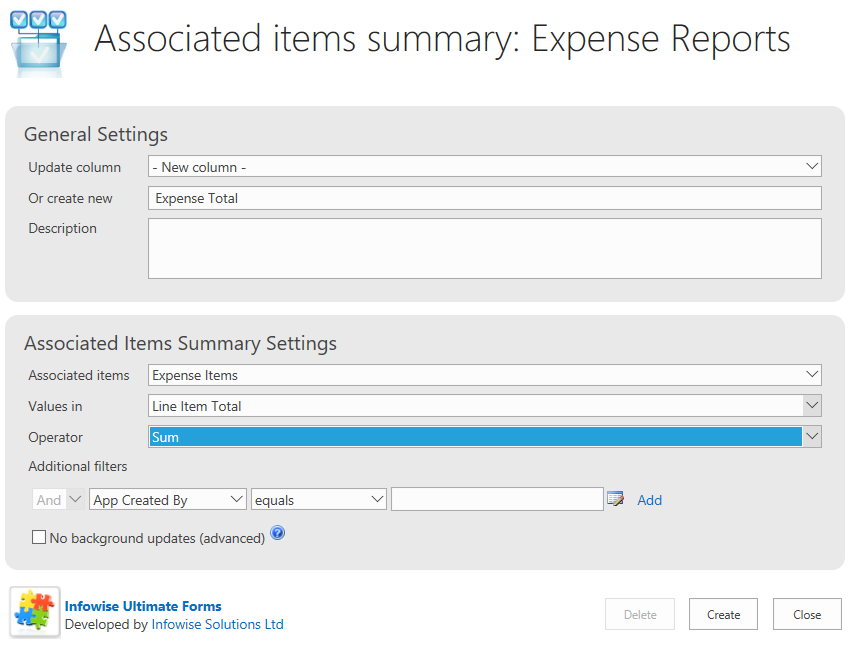
Click close to navigate back to your Infowise Design screen. Once again in the Configure columns section, navigate to the Associated Items Summary screen.
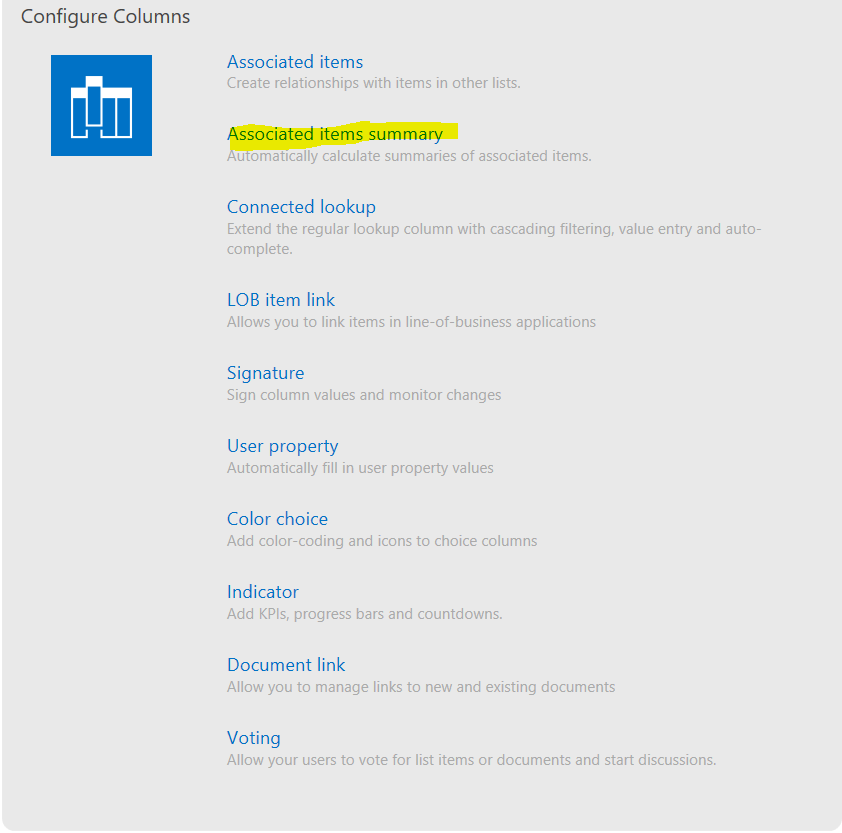
Once in here, give your summary column a name such as Expense Total. Ensure that the Associated Items field is pointed to the correct Expense Items list and that it is referencing the field value of Line Item Total. Next, change your operator to Sum and click Create.
You have successfully established a relationship between your Expense Report and it's Child Expense Items that should become more clear in the next section.
Form Building
In this section, we are going to decide which columns to include in our form and their order of appearance.
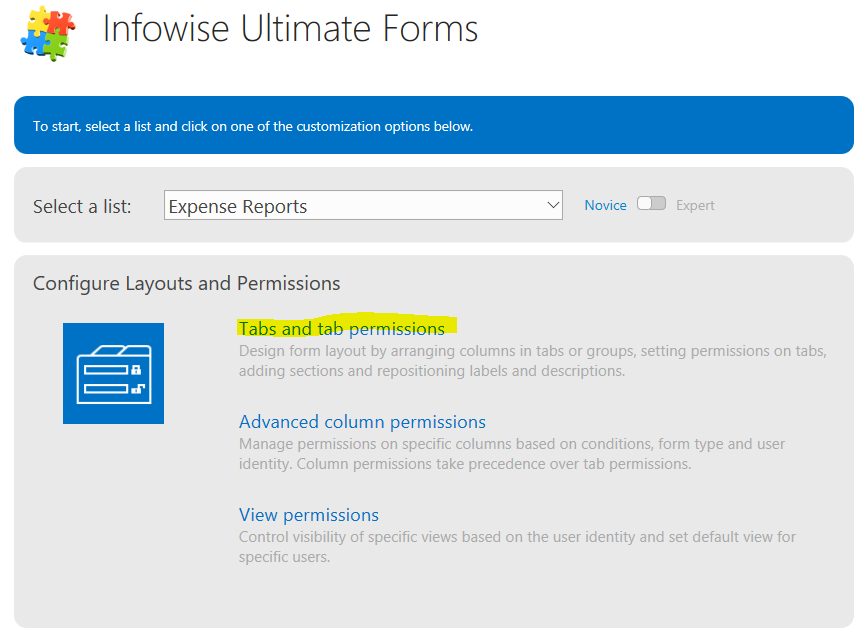
Once you have created all of your columns, you can head back to your list and select the “List” tab to head into the Infowise Design screen as shown below:

In the Infowise Design screen, we will navigate to the Tabs and Tab Permissions section.
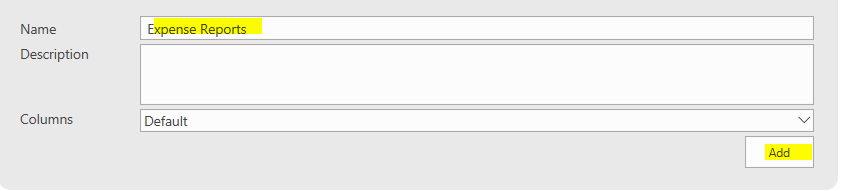
First, give your tab a name and click the Add button in the bottom right.
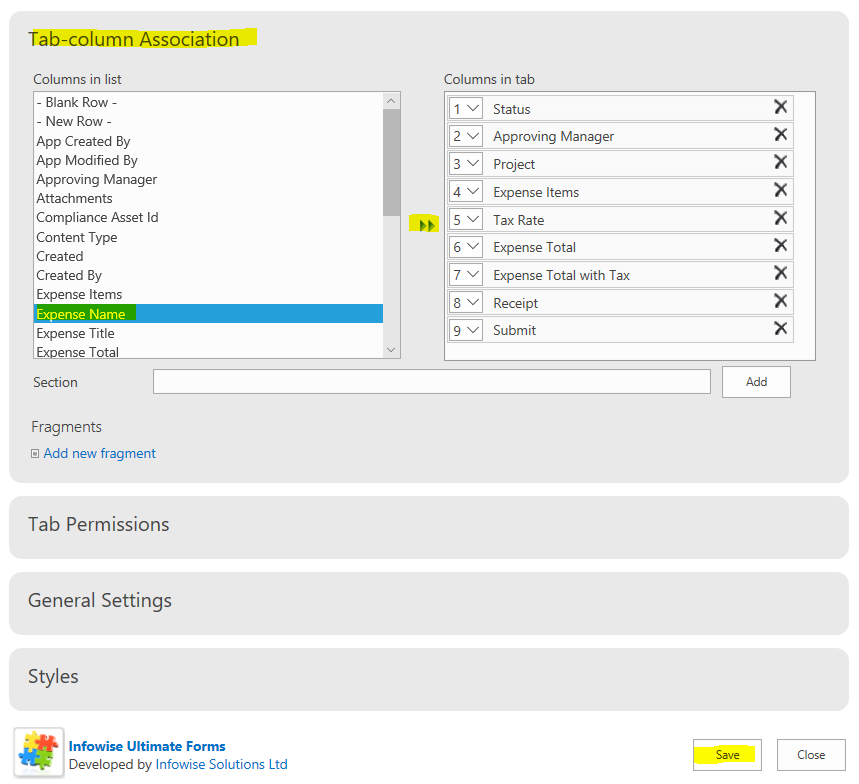
Now that your tab shows up above, click the Edit button to add columns to your tab.

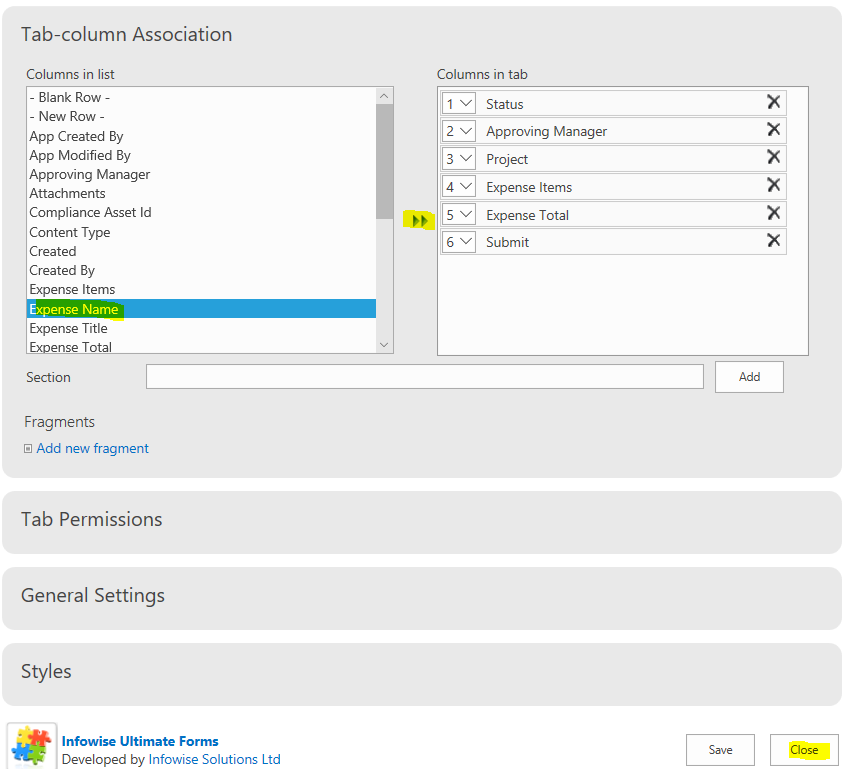
Go ahead and expand the Tab-Column Association section below and begin adding your columns. Adding a column is as simple as selecting it on the left and clicking the double arrow to move it to the Columns in tab section. Reorder them as you see fit. Once you have added all your columns, make sure to click the Save button in the bottom right.
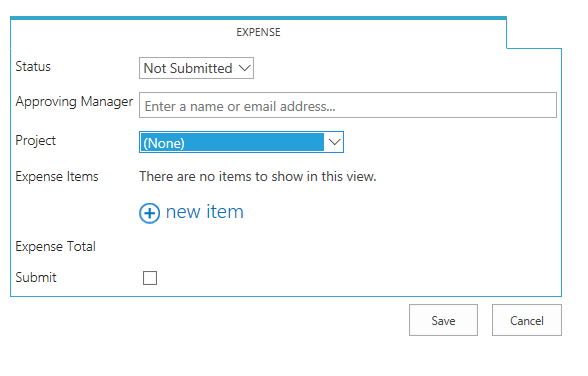
Now let’s navigate back to our list and click New Item to see what our form looks like. Your form should look similar to the below:

Actions
Here we will be creating an Action to change our status to pending if the Submit checkbox is checked.
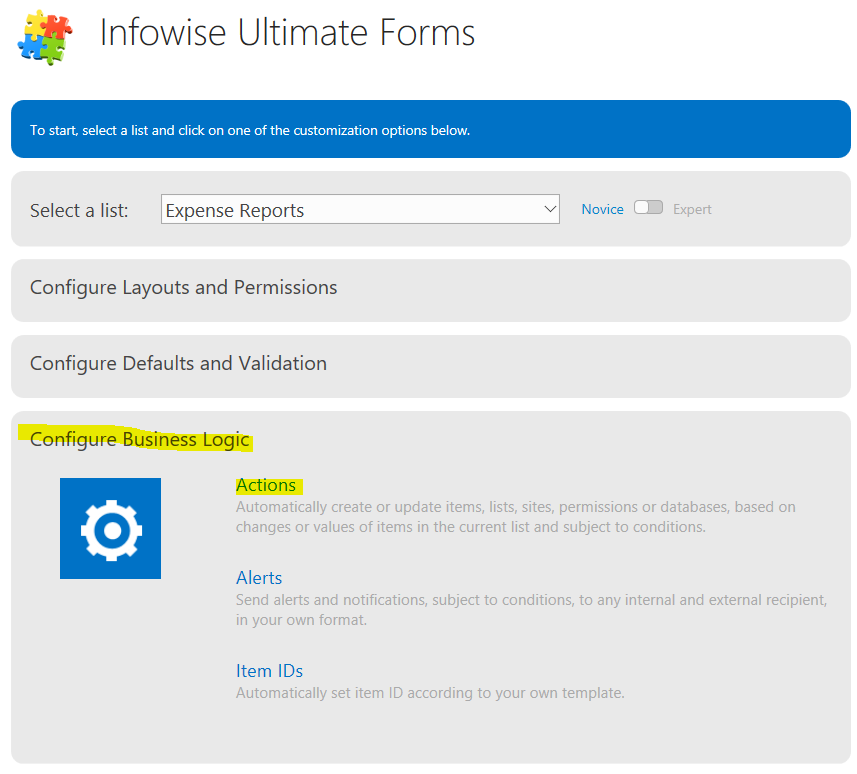
Once your form is set up, we will navigate back to our Infowise Design screen and into the Actions section under Configure Business Logic.
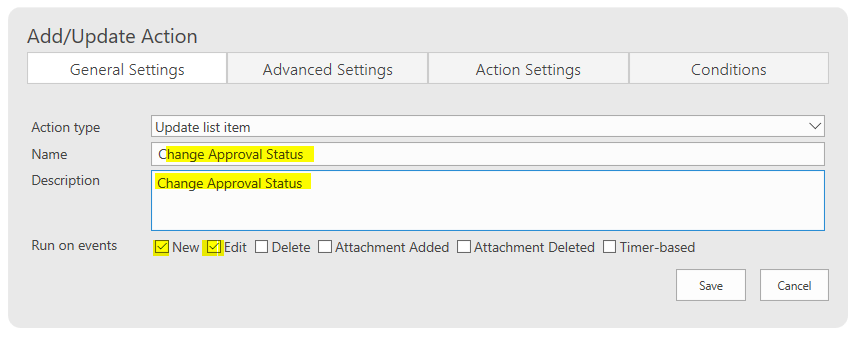
Using the Update List Item Action type, give your Action a name. Ensure that the Run on events New and Edit are selected.
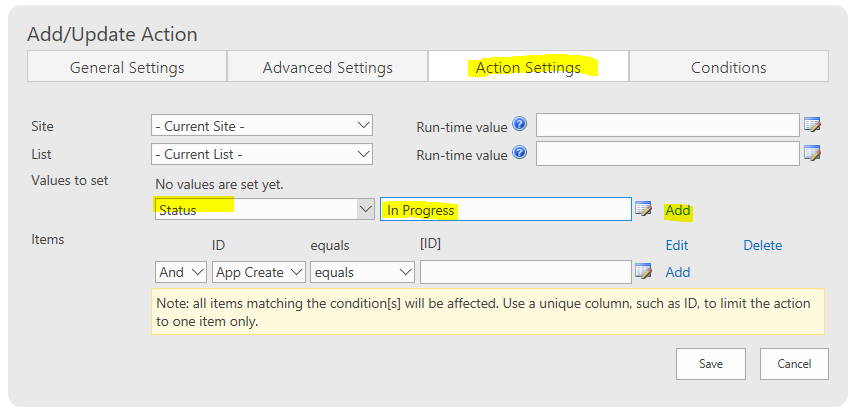
Next, navigate to the Action Settings tab. In the Values to Set section, select your Status column and enter in a value of In Progress.
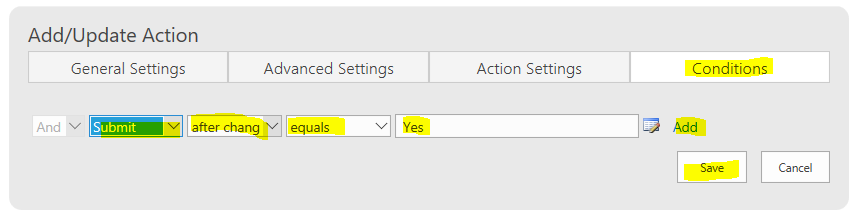
Next, we will want to set the condition for which this Action will run. Navigate to your Conditions tab.
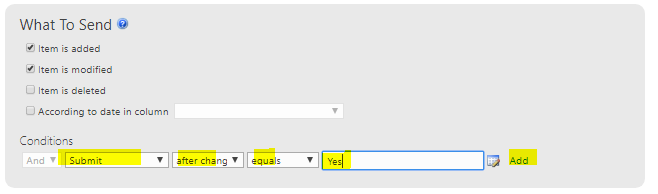
Select the Submit column from the drop-down and set the condition to: “Submit after change equals Yes” as shown below. Then click the Save button to save your new Action.
Alerts Section
Our final steps will be to add three different Alerts: one to notify the Approving Manager of a request; one to notify the Submitter that a Request has been Approved and one to notify the Submitter that a Request has been Rejected.
We can set up our Alerts either through the Configure Business Logic section in our Infowise Design Screen or by simply clicking the “Add Alert” button in our ribbon.

Also, we can set up our Alerts either through the Configure Business Logic section in our Infowise Design Screen or by simply clicking the “Add Alert” button in our ribbon. In the General Settings section, give you Alert a descriptive name. Ensure that the correct list is selected.
We will start with our Alert to let the Approving Manager know that there is an Expense Report waiting for approval.
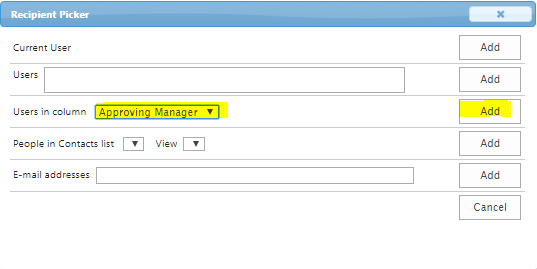
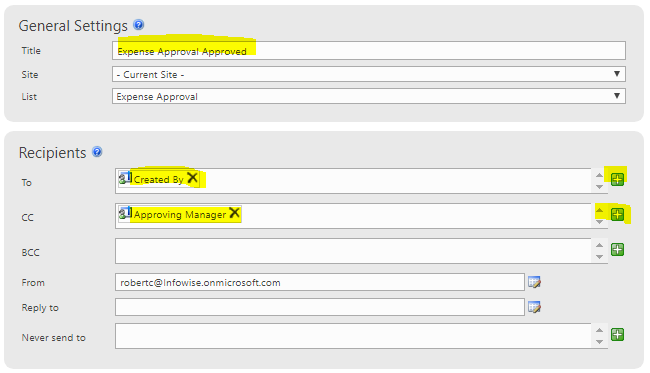
In the recipient’s section, we want to add our Approving Manager as the recipient of the email and “CC” the user who created the record. To do this, click the green plus box next to the “To” section and the following box will appear. Select the “Approving Manager” column in the “Users in column” section and click the “Add” button. Repeat this with the “CC” section and the “Created By” column.
Your General Settings and Recipients sections should look as follows.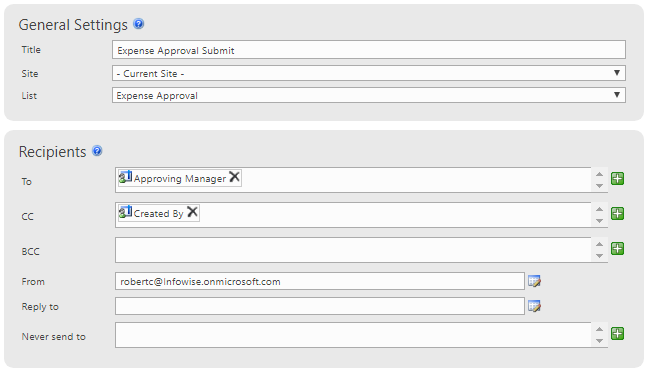
Next, in our “What to Send” section we will add a condition identical to the one we used to trigger our Action. Once this is set, click the “Add” button to save the condition.
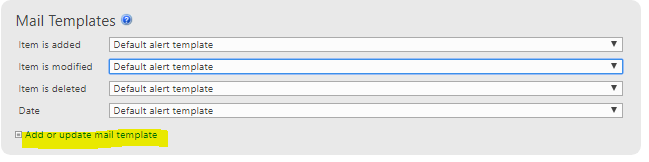
Our last step for this Alert is to add a template. In the “Mail Templates” section, click the “add or update mail template” button.
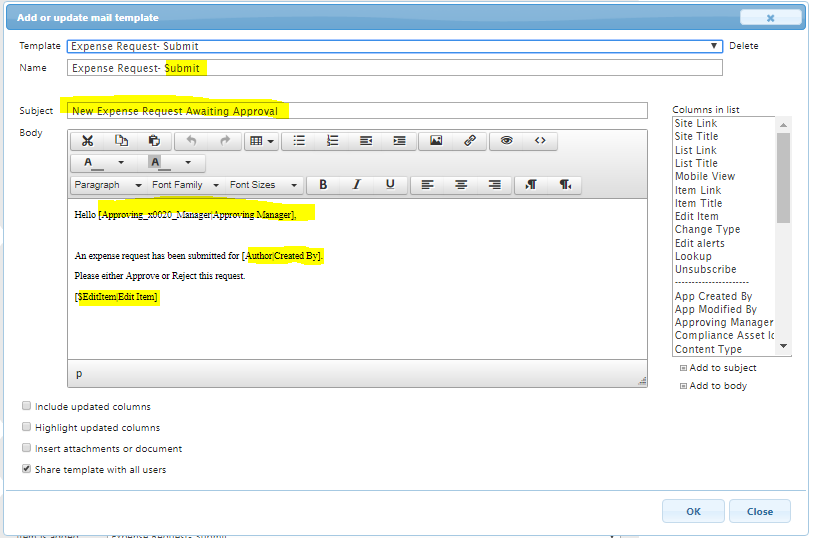
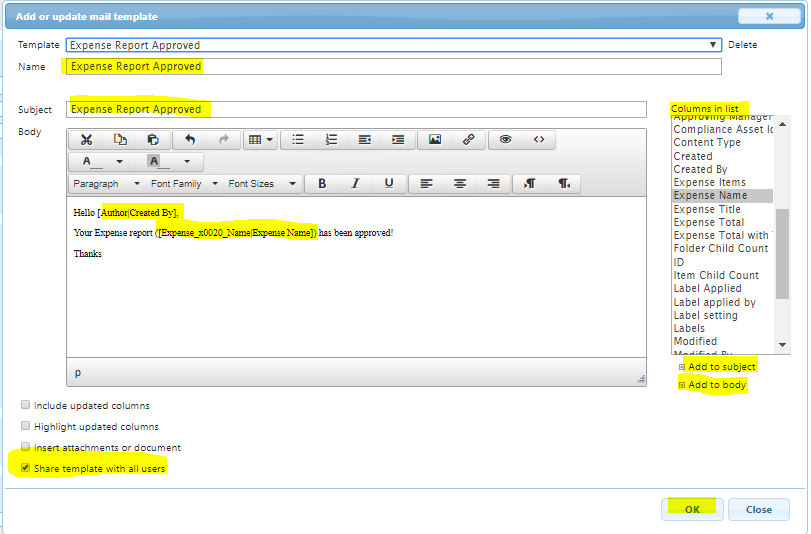
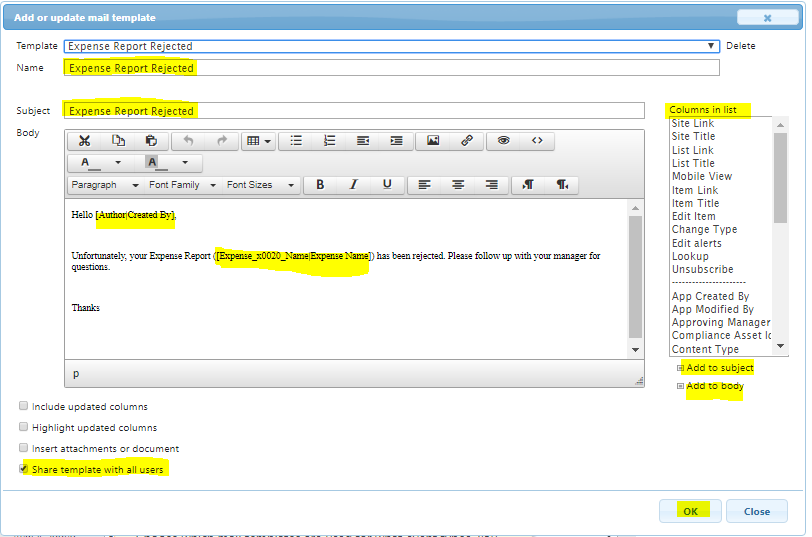
We will Want to give our Template a descriptive name. We want to include column information in our Alert to keep our recipients informed. We can add column info by selecting them from the “Columns in List” section and click either the “Add to Subject” or “Add to Body” button below. Since this is an Approval email, I recommend including a link to edit the item at the bottom. Check the “Share template with all user’s” checkbox and hit OK.
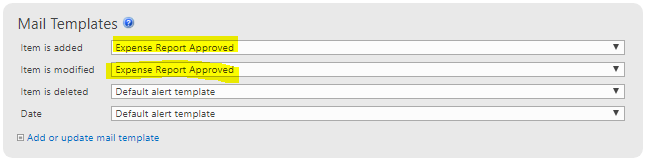
Finally, set our newly created alert as the mail template for when an item is added or modified and click the “Add” button at the bottom of your screen.

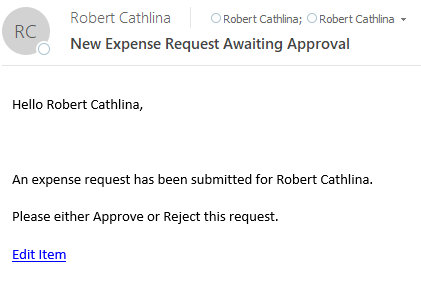
We have successfully created our first alert to notify our manager that a request is in the system. We just need to repeat these steps for our Approval and Reject alerts and we will have a working vacation request system! Below is an example of our Alert:
Let’s start building the Approved alert. Give your Alert a descriptive name. Use the green picker box next to the “To” field to add the Created By column. Add the Approving Manager column to the “CC” field.
Similar to our previously built Alert, we want to add a condition to trigger our new Alert. We want to send our Alert when the Status column equals Approved after a change. Click the “Add” button to ensure that your condition is saved properly.

Next, let's build our Approved Request mail template. Give your Template a descriptive name. Add some text letting your user know that their request has been approved. Your Template should look similar to below:
Make sure and set the new Template to send when an item is added or modified.
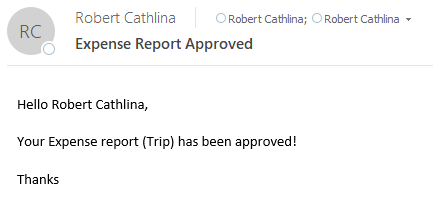
Here is an example of the actual email sent when a request has been Approved:
Our final step is to build our Rejection Alert. Give your Alert a descriptive name. Just like in the Approval Alert, use the green box to add the Created By to the “To” section and the Approving Manager to the “CC” field.
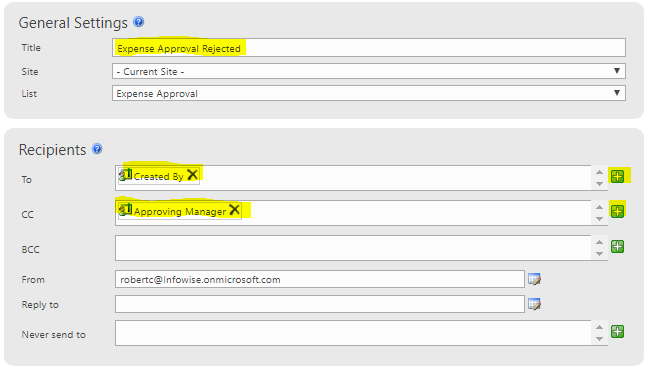
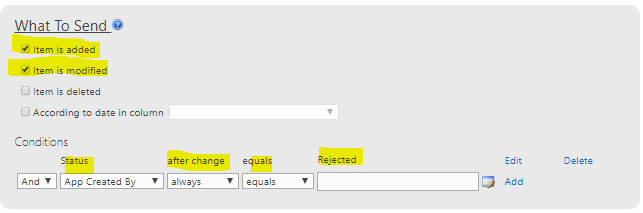
We want to add the condition that Status after change equals Rejected to trigger our Alert as shown below:
Now we need to create our Template for the rejection email. Give you new Template a descriptive name.
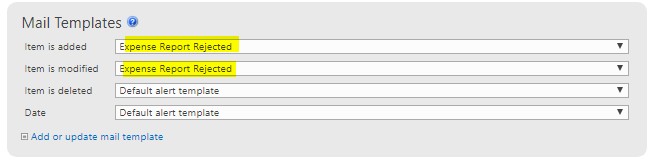
After you have constructed the Alert, set the Template to be sent when an item is added or modified:
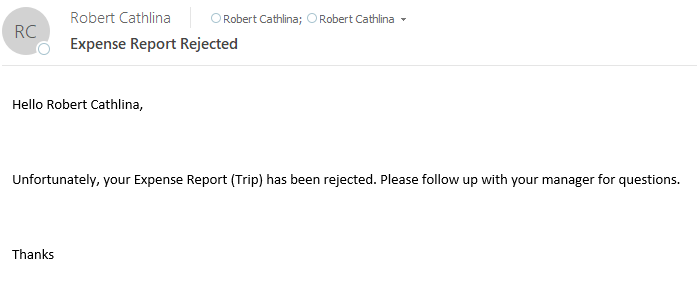
Here is an example of the email that is sent with our Rejection Alert.
Congratulations! You just built an expense report approval process using Infowise!
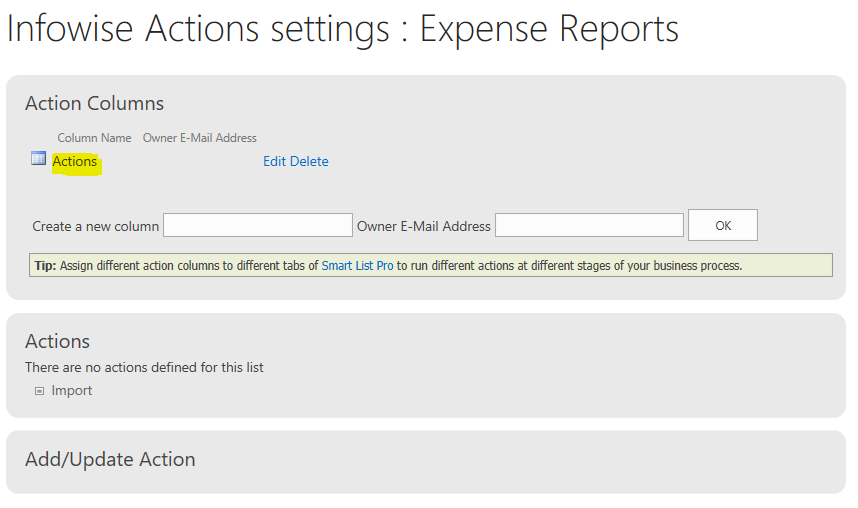
I do want to call out the difference in the process that our on-premise users might notice. When creating Actions in on-premise, you must first create an Actions column. If you navigate to your Actions screen, you will see something like the below. Simply click OK to add the column.
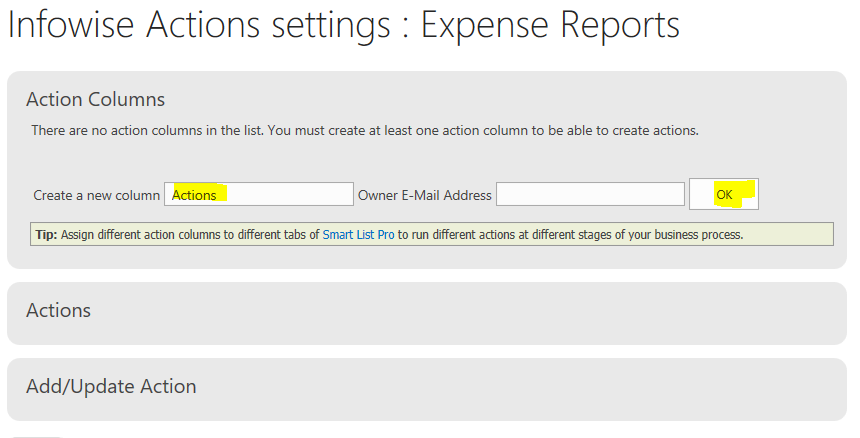
Once that has saved, your screen should look like the below and you can continue on making your Actions as shown above.