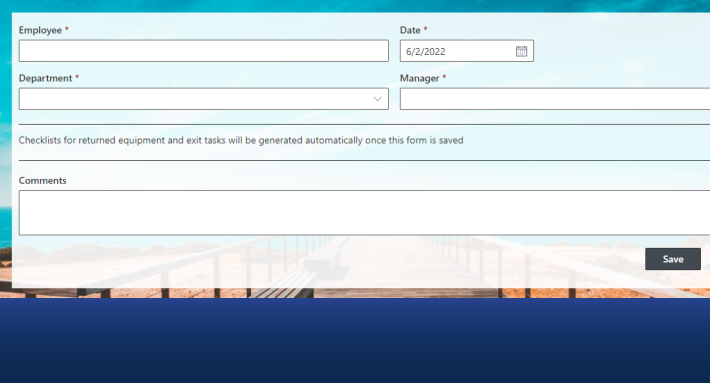
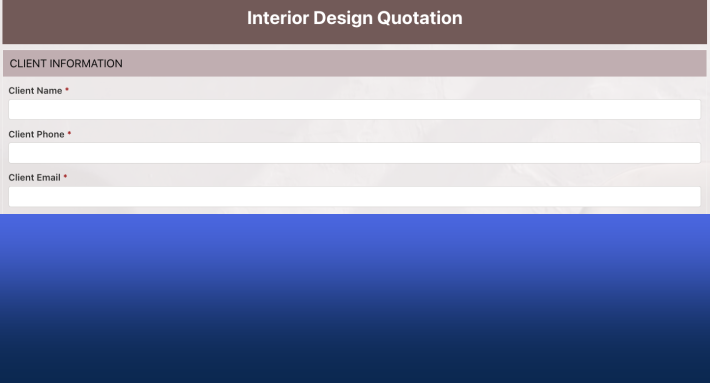
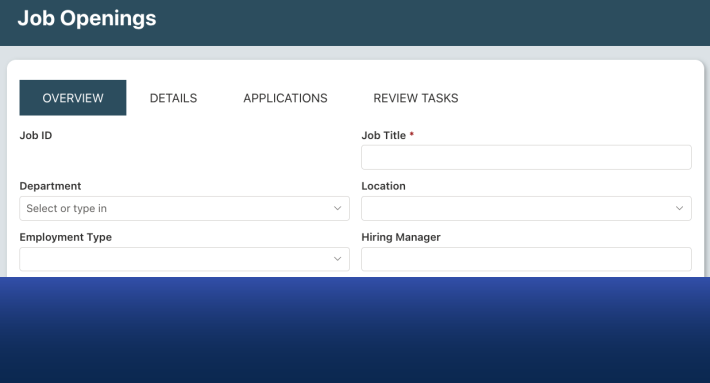
The key to professional-looking Word print templates in Ultimate Forms is tables. You design an ordinary Word document, place your SharePoint fields in double square brackets like [[Field Name]], and use Word tables to control exactly where every piece of data lands on the page: columns for side-by-side content, merged cells for headers, and invisible borders for clean alignment. The output is generated from your SharePoint items as a polished PDF or Word document, matching the fonts and styling of your template.
A print template without tables is a letter. A print template with tables is a document: a timesheet, an invoice, a work order. This article shows how to build the second kind.
Why tables are the foundation
Word is a word processor, and left to itself it flows content top to bottom in one column. Business documents don't look like that. A timesheet puts the employee name on the left and the pay period on the right. An invoice aligns quantities, unit prices, and totals in tidy columns. A work order groups the job details in one block and the site address in another, side by side.
The same principle that governs form design applies here: when laying out forms, we use multiple columns, and print templates follow the same logic. Tables are how Word does columns. Every area of the page becomes a cell, every cell gets its content or its [[field]] placeholder, and the layout holds its shape no matter how much data drops in. This is why the first step of every new print template should be inserting a table, before any content is written.
And here is the non-obvious part: use tables even when you don't want to see a grid. Borders can be switched off entirely, leaving perfectly aligned content with no visible table at all. The grid is for alignment, not decoration.
Setting up the template
If you have never used a Word print template, start with the walkthrough in our documentation: Setting Up a Word Template. The short version: design your Word document any way you want, referencing SharePoint fields in double square brackets, like [[Field Name]]. When the document prints, each placeholder is replaced with the live value from the item, matching the font size and styling you used in the template. (A practical tip: use a smaller font size for fields that may hold a lot of text.)
Although you design in Word, the output can be either a PDF or a Word document, and in most cases PDF is the format you want: it is final, portable, and looks identical everywhere.
To connect the template, create a print template in Ultimate Forms, pick the Word tab, select "Use MS Word template", upload your document, and click Save:
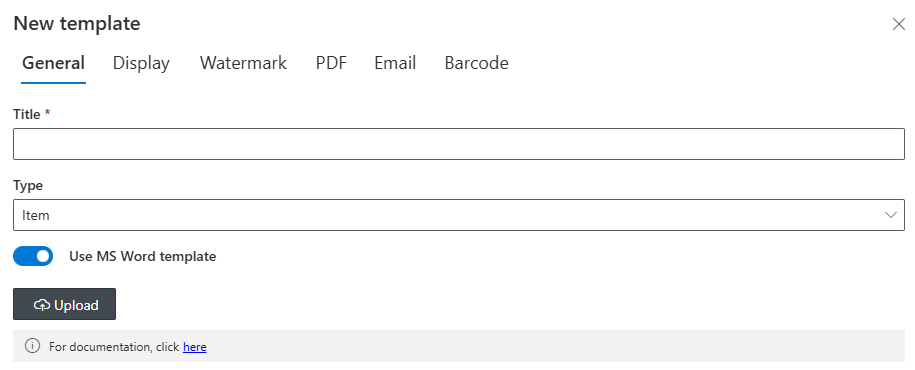
Here is what a finished table-based layout looks like, using a timesheet as the example:
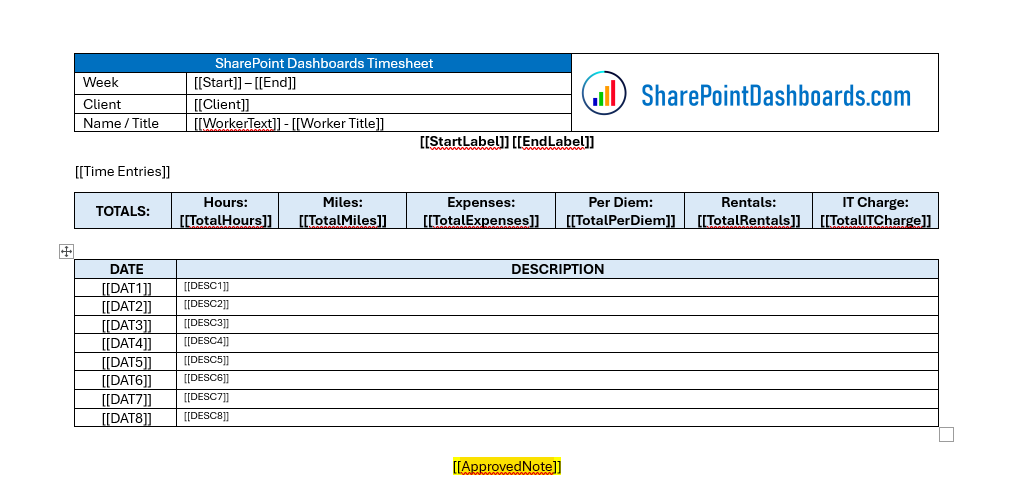
The content from the SharePoint list drops into each bracketed area, and the table keeps every value exactly where the design put it.
Building the layout, step by step
Begin by inserting a table into the document:
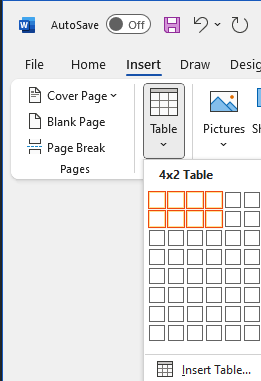
From there, four techniques cover nearly everything you will need.
1. Adjust column widths
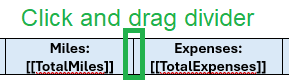
Hover over a column divider and drag it to size each column to its content, wide cells for descriptions, narrow ones for dates and numbers:
2. Style with the Table Design tab
The Table Design tab holds colors, background shading, and borders. Shade header rows to separate sections, and, as noted above, turn borders off entirely when you want alignment without a visible grid:

3. Shape the structure with Table Layout
The Table Layout settings insert additional cells, merge and split cells, and align content, both horizontally and vertically. Merging is how a title spans the full page width while the rows below split into columns; vertical alignment is what keeps a short label centered next to a tall block of text:

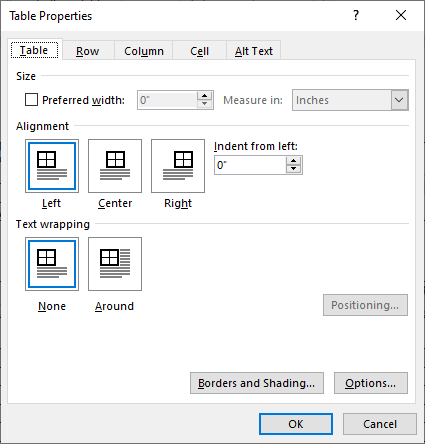
4. Fine-tune with Table Properties
For precise control, right-click any cell and select Table Properties:
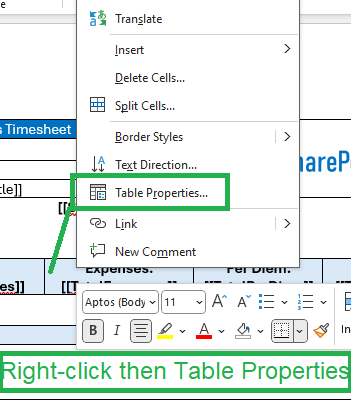
This opens a tabbed interface with the complete set of table options. Notice the scoping: settings can apply to the whole table, a row, a column, or a single cell, so pick the tab matching what you want to change. In most cases a few settings are all it takes:
From one template to a printing system
Table layouts are the design half of the story. The generation half, turning list items into documents automatically, batch printing, and exporting, is covered in Generate Documents from SharePoint Data Using Word Templates and Print and Export Word Documents in SharePoint. When your template includes related child records, an invoice with its line items, say, filters control exactly which records print. And for ready-made inspiration, see 10 SharePoint Print Templates for Easy PDF Output.
It takes a little practice to get acclimated to Word's table options, but the habit that matters is simple: insert the table first, then design. Do that, and every template you build starts aligned and stays aligned.
Frequently asked questions
Add your comment