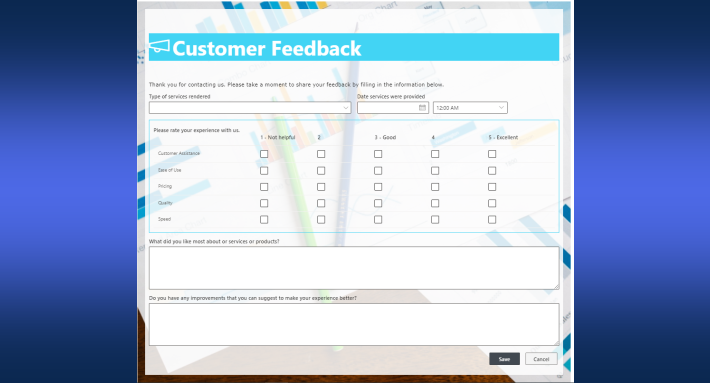
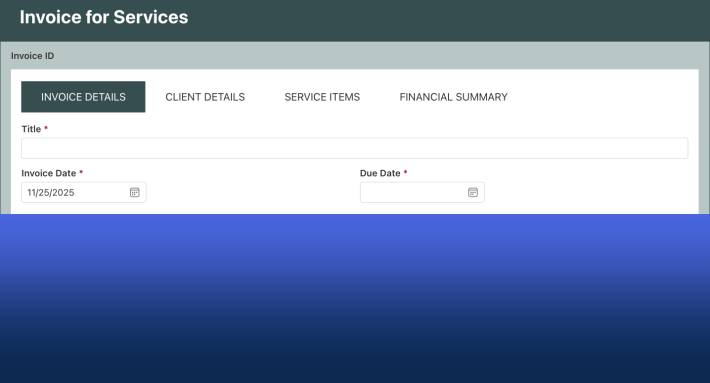
Every SharePoint business application starts the same way: someone needs to capture structured information from people and route it somewhere useful. A leave request. A purchase approval. An incident report. The data model is rarely the hard part. What eats the calendar is everything that comes after. Arranging the fields so they make sense, hiding what shouldn't be visible, validating what shouldn't be wrong, and getting the whole thing in front of users before the business need has moved on.
There are four distinct paths to that finished list-and-form combination. Three of them involve Ultimate Forms, one doesn't, and the difference in elapsed time between the slowest and the fastest is measured in days rather than minutes. Here's how each one works and where each one belongs.
Method 1: The built-in SharePoint way
The native approach is the one everybody knows. You create a list from the SharePoint site contents page, then add columns one at a time through the Add column dropdown or List Settings. Each column gets a name, a data type, and whatever configuration that type supports. When you're done, you open a list item and SharePoint renders a default form — a vertical stack of every column in the order you created them.
Pros: Nothing to install, nothing to license, and no learning curve for anyone who has used SharePoint before. For a genuinely simple list — a contact directory, a document register, a sign-up sheet — this is entirely sufficient, and reaching for anything heavier would be over-engineering.
Cons: The default form is a stack. There are no tabs, no sections, no headers, no way to put two related fields side by side. Conditional visibility exists but is driven by hand-written JSON formulas that reference internal column names, which means one typo produces a form that silently fails. Validation beyond "required" means more formulas. Multi-stage approvals mean leaving SharePoint entirely for Power Automate or Power Apps, and that's where the timeline stretches — the aerospace firm in this CAPEX case study spent 35 hours in Power Apps and still didn't have a working application.
Realistic time to a polished business form: days, not hours, once conditional logic and routing enter the picture.
Method 2: Adding columns directly in the Form Designer
Once Ultimate Forms is installed, every list toolbar gains a Design button. This is where the second method begins — and the important detail is that you never have to visit List Settings at all. Columns are created inside the Form Designer itself, in the same screen where you're laying them out. Add a column, set its type, drop it into position, and keep going.
That single change collapses a workflow that normally involves constant context-switching. In the native approach you define a column, navigate back to the list, look at the form, decide the order is wrong, navigate back to settings. In the Form Designer, definition and layout happen in the same place, so you see the form take shape as you build it.
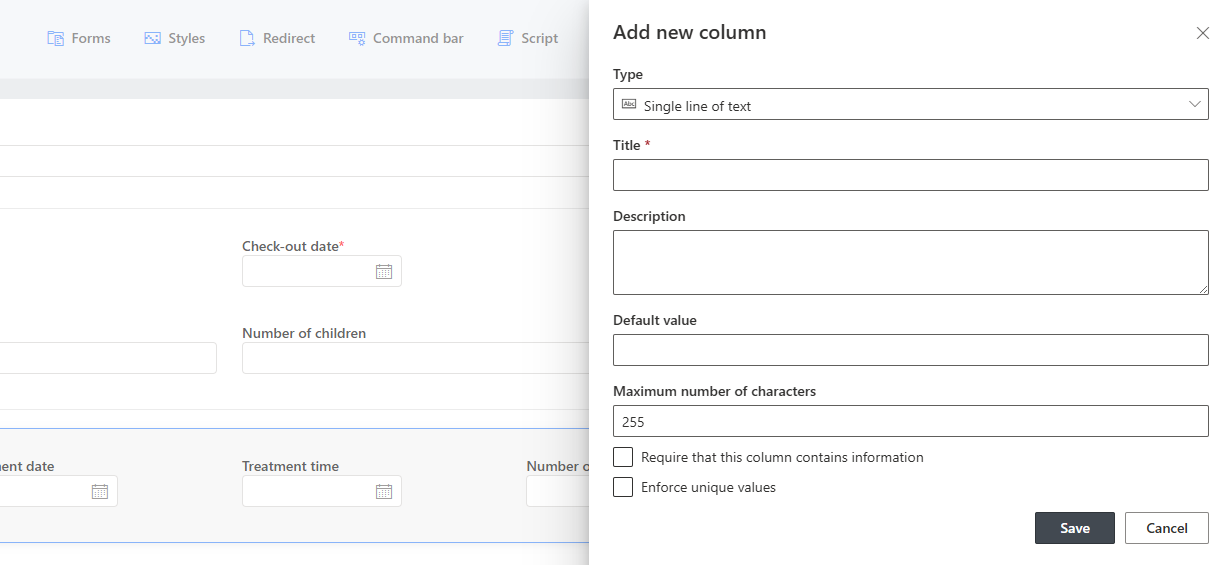
Pros: Drag-and-drop layout with tabs, containers, headers, and buttons. Specialized column types the platform doesn't offer natively — electronic signatures, repeating sections, color choice, document links. Permissions applied to any element, not just the item, and applied dynamically as values change. Dynamic rules that set values, hide fields, or make them required based on conditions, configured through dropdowns instead of formulas.
Cons: You're still creating every column by hand. For a form with thirty fields, that's thirty rounds of naming, typing, and configuring. Faster and less error-prone than the native path, but the effort still scales linearly with the size of your form.
Realistic time: an hour or two for a substantial form with real business logic.
Method 3: The Form Generator, with and without AI suggestions
The Form Generator is a wizard that produces a complete list-and-form pair rather than an empty list you then fill in. It runs in two modes.
Without AI suggestions, you skip the prompt step and build from scratch inside the generator. Even here you're ahead of Method 2, because the generator gives you a single consolidated grid for defining every column — title, data type, calculated value, permissions, validations, dynamic rules — instead of a separate dialog per column. You can also select several columns and promote them into a repeating section in one action. Everything gets created at the end in one pass.
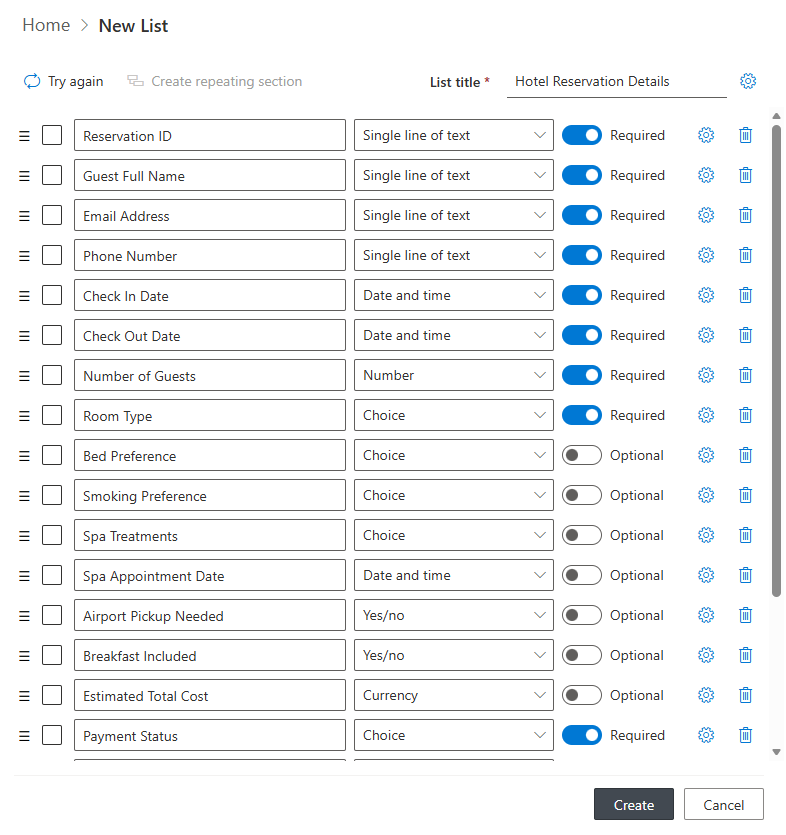
With AI suggestions, you describe what you need in plain language and specify roughly how many columns you want. The AI engine analyzes the description and returns a proposed column set. A prompt like "Invoice form for software products, include tax information as well as sold product version" comes back with a structured list of fields, appropriate data types already assigned. From there you adjust: rename, retype, delete what you don't need, add what the model missed, then layer on rules and permissions in the same grid before generating.
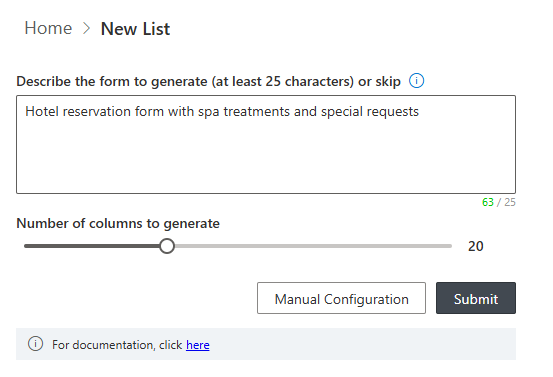
The practical tip is to ask for more columns than you think you need and delete the extras, since removing is faster than adding. The models run on Microsoft Azure OpenAI, and your input travels through private channels — it isn't used to train anything.
Pros: The blank-page problem disappears. The AI is genuinely good at remembering the fields people forget in the first draft — status, priority, requester, dates, notes. Column creation, rule configuration, and form generation all collapse into a single pass. Excellent for building something that has no obvious existing template.
Cons: Suggestions are a starting point, not an answer. The engine doesn't know your terminology, your site taxonomy, or your approval hierarchy, so review is mandatory rather than optional. Vague prompts produce generic column sets — the more detail you provide, the better the output.
Realistic time: ten to twenty minutes to a working list and form.
Method 4: Installing a solution template, as-is or modified
The fourth path skips creation entirely. The solutions gallery contains pre-built, fully configured business applications — Project Management, Help Desk, Leave Request, Employee Training, and more — and they install directly into your site, free.
Installed as-is, you have a running application in minutes. Not just lists and forms, but the Actions and Alerts that make it function, plus views and dashboards. Nothing is faster.
Installed and modified is the more common reality, and it's still the strongest option. You get a working reference implementation built by people who have configured this pattern many times, then adapt it — rename fields to your vocabulary, add your site-specific columns, adjust the approval chain. Modifying something correct is consistently faster than building something from nothing, and it teaches you the platform's conventions along the way.

Pros: Fastest route to production. Complete rather than partial — the surrounding automation is already wired up. Doubles as a learning resource for how a well-built Ultimate Forms application is structured.
Cons: Only helps when a template matches your process. Heavy modification of a template that's a poor fit can cost more than starting clean, and inheriting a structure you don't fully understand carries its own maintenance risk. Check the fit before you commit.
Realistic time: minutes as-is; under an hour with meaningful modification.
So which one wins?
For raw speed, the ranking is unambiguous: template as-is > template modified > Form Generator with AI > Form Generator without AI > Form Designer columns > native SharePoint.
But speed and efficiency aren't the same measure. Efficiency is time-to-working-solution divided by how well that solution fits the requirement — and by that standard, the winner for most real projects is the modified solution template, with the AI-assisted Form Generator taking over whenever no template matches your process.
The native approach still has a legitimate place. If you need a flat list with six columns and no logic, use it. But the moment your requirements include conditional fields, multi-stage approvals, or automatic routing, the native path stops being simple. That's precisely the boundary the aerospace firm hit — and crossing it dropped their build from 35 incomplete hours to a finished application in under ten.
Ready to compare for yourself? Try Ultimate Forms free, browse the documentation, or see how other organizations made the switch in our case studies.
Add your comment