I like using lookup columns in lists not only because it makes things easier for the user – they just pick from a drop-down, no typing required! – and takes away opportunities for incorrect entry, but also because it allows me to manage the column data separately from the list data.
Of course, wouldn't it be nice to be able to create cascading look ups? Where the value in column one pre-defines the available selections in column two?
Guess what? You can do that with Infowise Connected Lookups.
Let’s walk through it. It can be a little tricky - the thing to get right is the parent/child relationship of the information. For this scenario, I've got products that I sell. Each one of these falls within one of my various product categories. The types are the parent information. The products themselves are the child information.
|
Product |
Product type |
|
Skis Snowboards Snowshoes |
Winter |
|
Football cleats Shinguards Goalie gloves |
Football |
|
Pool cues Chalk Rack |
Billiards |
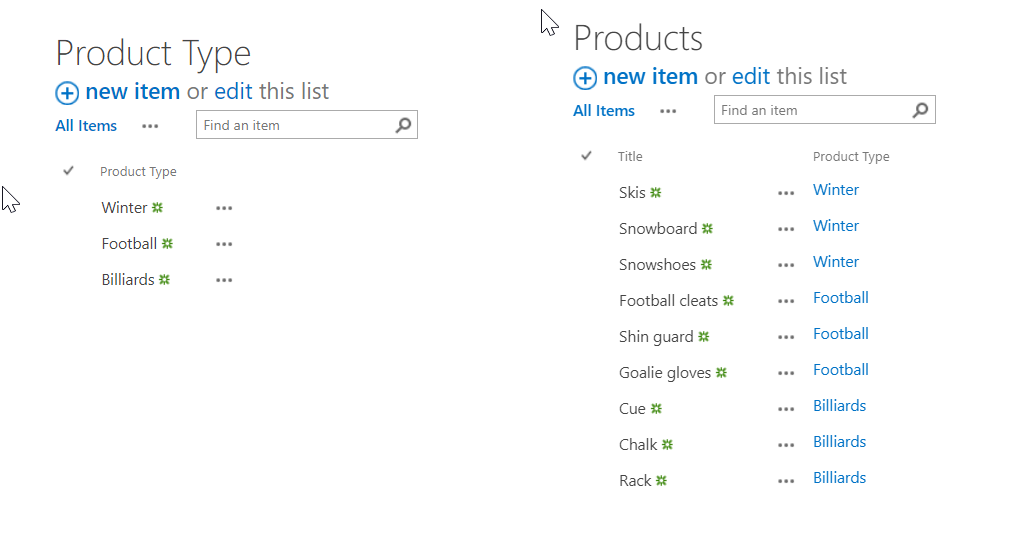
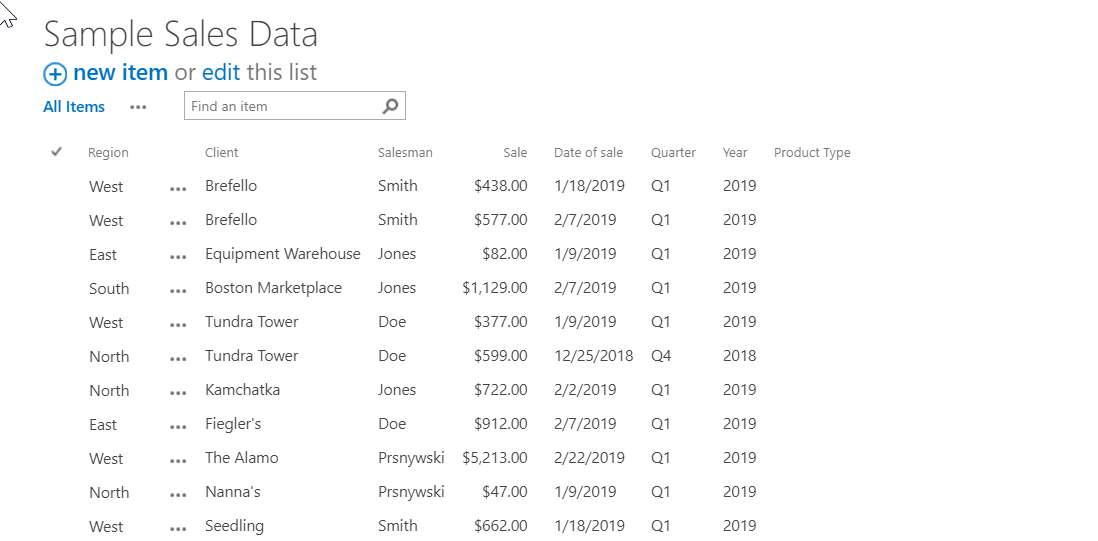
I’m going to add product type and product information into a sales list. Before I can do that, I actually need to build lists that contain the product and type information.
Start at the parent level – in this case, product type – and create a simple list. Then, create a list for the detailed level – product – and add product type as a regular lookup column.
One last bit of set up - I need to add a product type column to my sales figures list as a look up referring back to the product type list. To be honest, this is one place where I sometimes get a little confused. You have to add a column for the parent list, not the child, or it won't work properly.
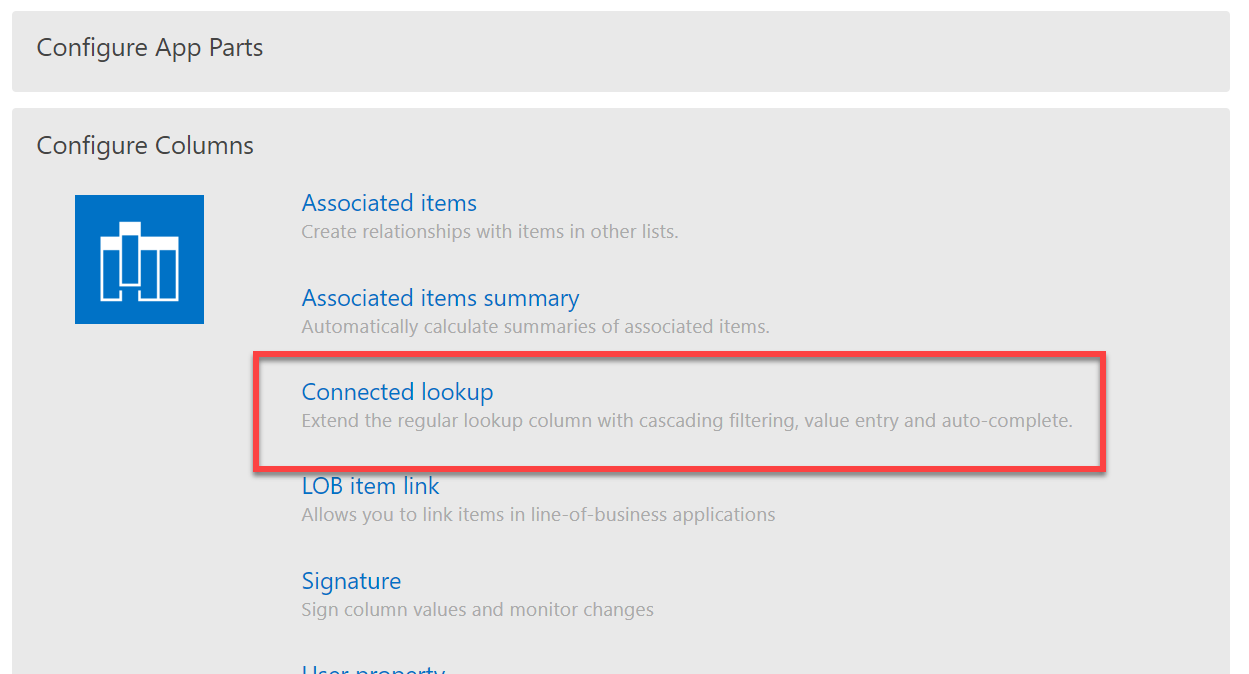
Now it’s time to work in Infowise. Down in the configure columns area, you'll find connected lookup.
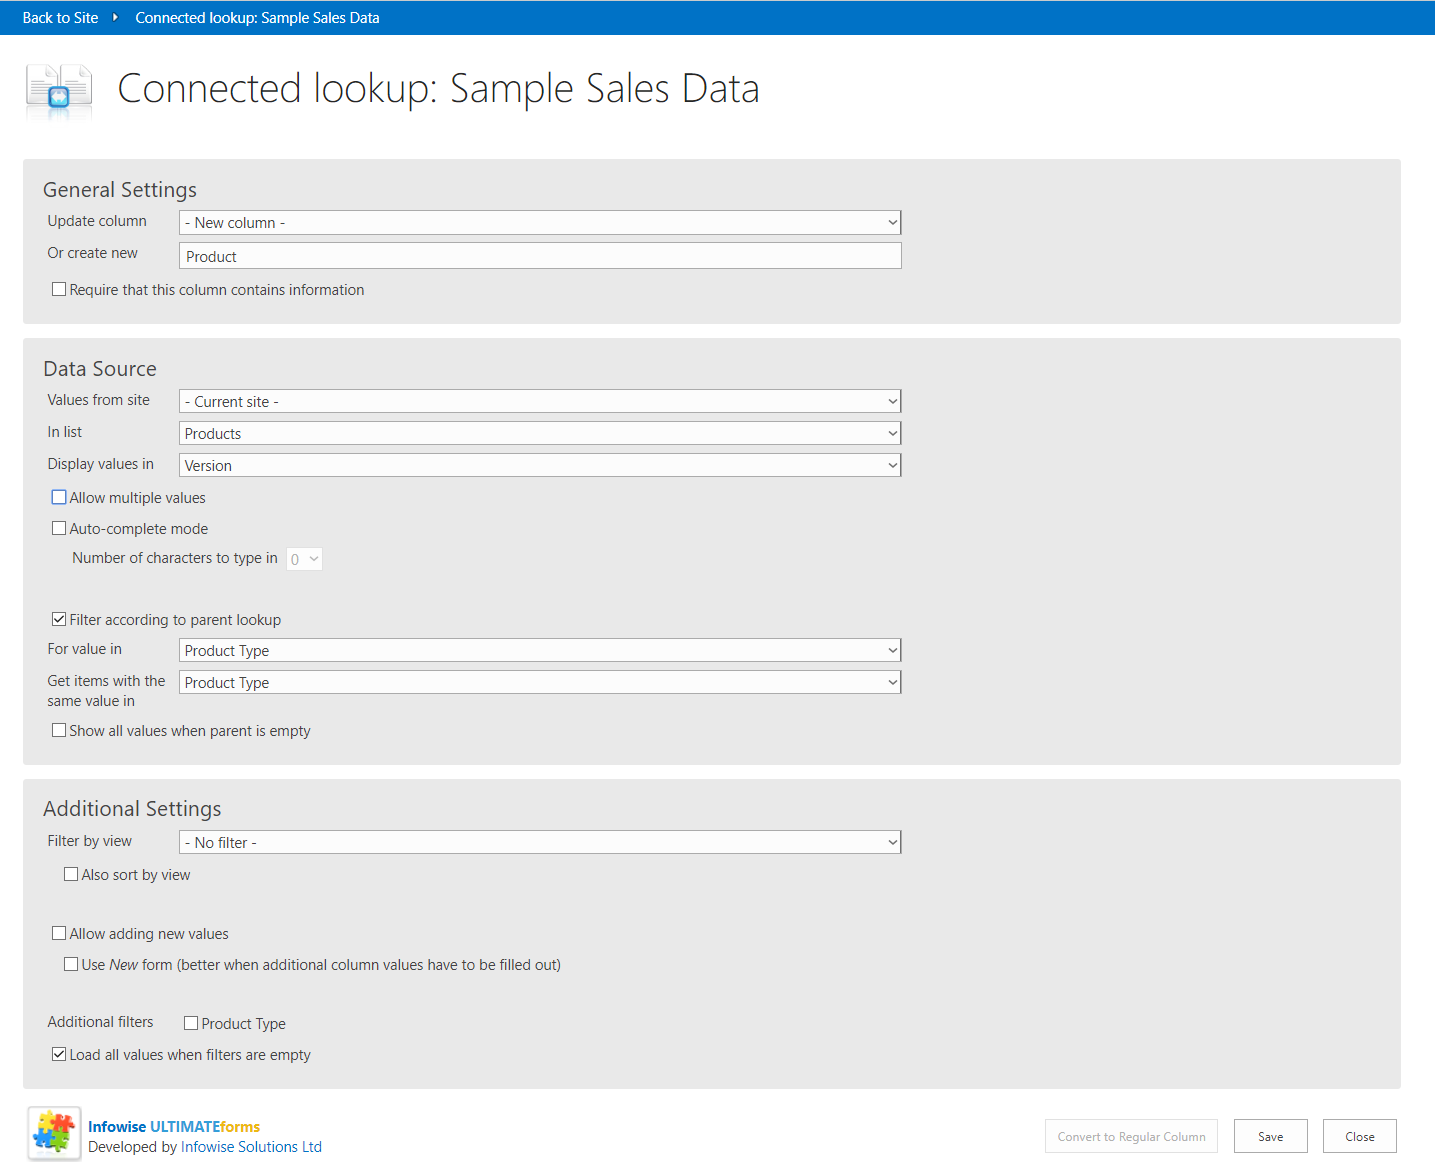
We are going to create a new Product column that will be added to the list. The data source for this column will be the existing list named products. Display values for the appropriate field – Be careful with this if you renamed fields! In this case, it’s Title, since we didn’t rename that.
I'm not going to allow multiple values or auto complete, but I will select filter according to the parent lookup. This has to point to the product type list, and we want to get items with the same value in product type. This is all we need for the moment, so I’ll click Save.
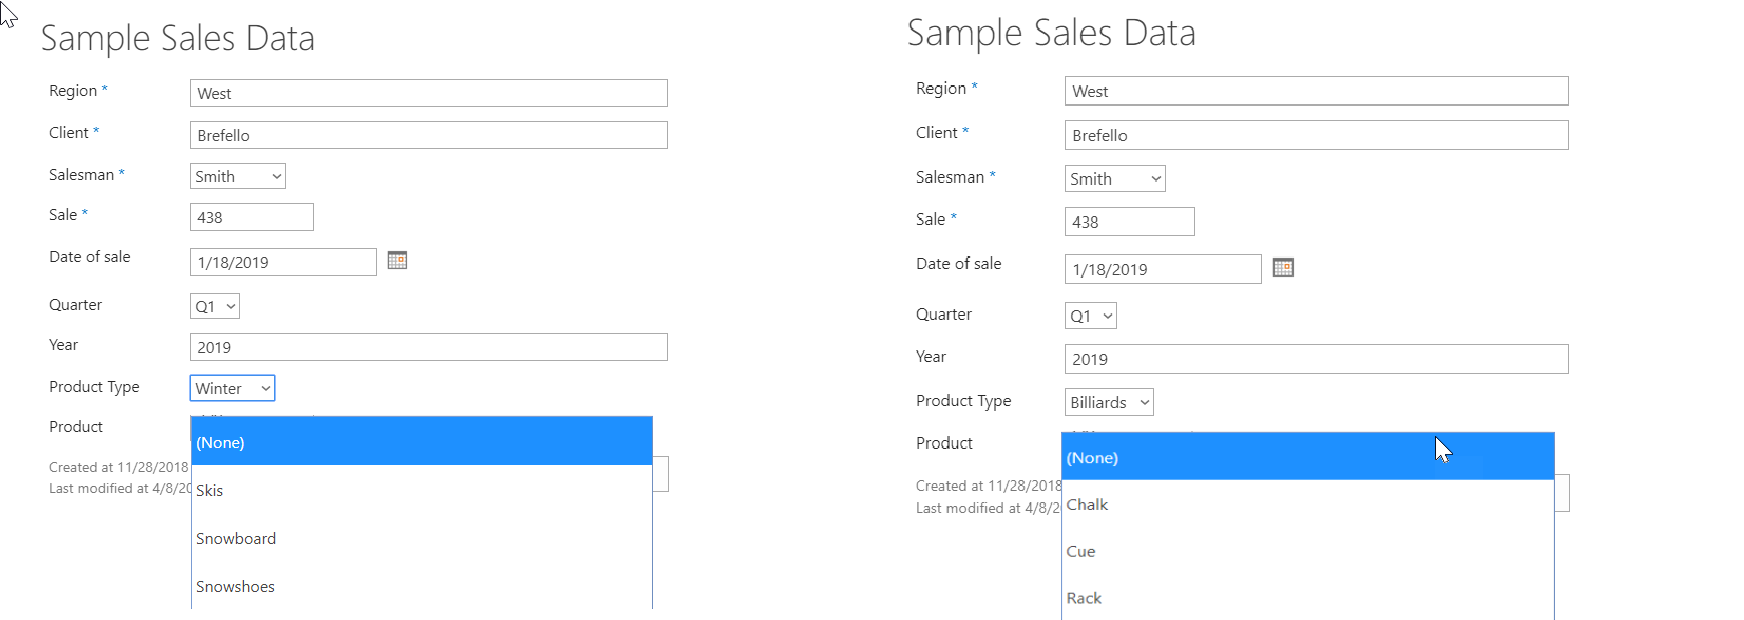
Now, when we add a new item, we have our two lookup fields in place. If I select a product type, the products are appropriately constrained.
A little bit of bad news is that this does not work properly in the quick edit mode. You may want to think about restricting entry only to the form mode – you can do that in the list’s advanced settings.
You can actually create multiple levels of hierarchy. If I wanted to, I could add in a fabrication layer on top of the product type layer, which is then on top of the products layer. Yes, you have to add another lookup column to the types list referencing fabrication type. And add the column to the sales list. And create another rule, etc. But by taking that extra time, you can really take the guesswork out of filling in forms for your users.
Add your comment