Import profiles are managed from Import Settings page accessible from Design ribbon button or List Settings. You must have permissions to edit list settings.
Profiles
This section lists the existing profiles.
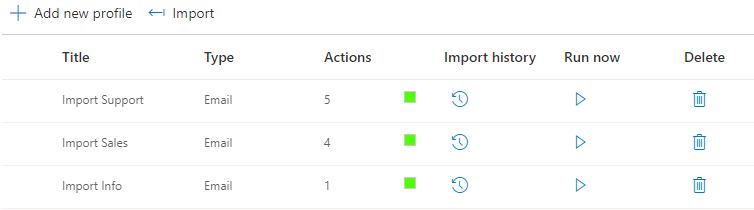
You can use this view to edit and delete the existing profiles, export profiles, view the import history and run profiles manually.
General Settings
In this section you set the main parameters of new and existing profiles, such as profile name and schedule.
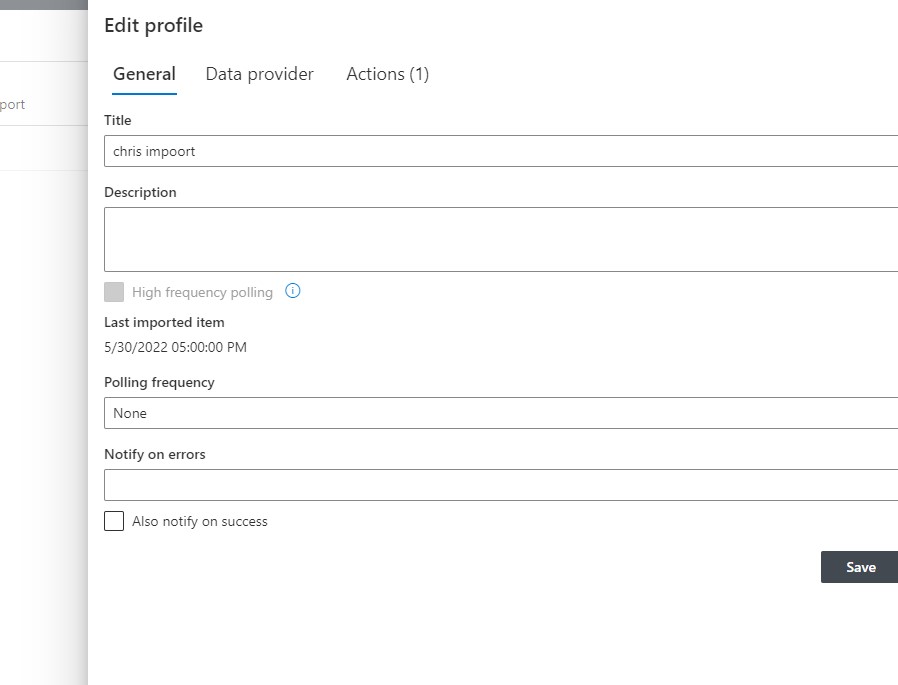
- Name – set the profile name to distinguish it from other profiles.
- Description - description of the import profile.
- Start time - set the date/time of the earliest item to import on the first run of the profile. This setting can only be modified when creating a new profile. By default it is set to the time of profile creation, so only future items are imported when a profile runs for the first time. If you need to import a backlog of items, set it to a past date. Note that importing a large backlog can results in reduced performance.
- Polling Schedule – define how often the mail server or the database are checked for new/updated items
- Immediately (SharePoint Online only) - subscribe to push notifications of Exchange Online and automatically import when new emails arrive. Microsoft 365 Email provider only. Default.
- Hourly – check every hour and repeat within the hour (0 – no repeat, 15 – every 15 minutes, 30 – every 30 minutes).
- Daily – daily at the specified hour.
- Weekly – weekly on the specified days at the specified hour.
- Monthly – monthly on the specified day at the specified hour.
- None - only by manual execution with "Run Now".
- Notify on error - define who will recieve the notification if there is an error in the import process
- Also notify on success - Set this to also send that same email contact a notification when the import completes successfully.
Provider
Set the connection information for the data provider. There are two provider types:
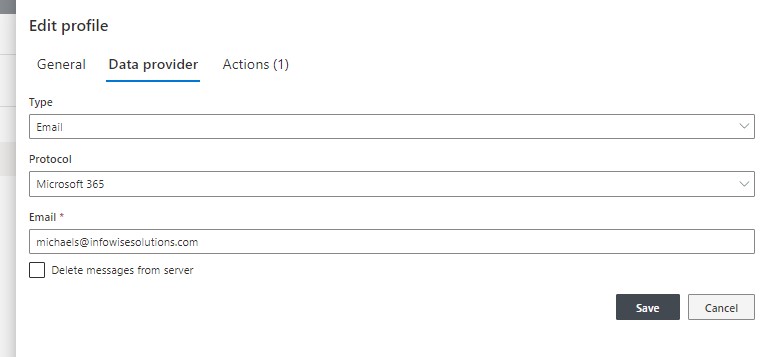
- Protocol – email server protocol or application to use:
- Microsoft 365 - Exchange Online for current tenant (Microsoft 365 clients only)
- POP3
- Exchange Web Services (2007 and up)
- Exchange WebDAV (Exchange 2003) - deprecated, on premises only.
- Microsoft 365 (advanced) - Exchange Online for any tenant. Refer to the dedicated article for more information.
- Gmail - refer to the dedicated article for more details
- Server – fully qualified name of the server (Exchange or POP3 only).
- Port – TCP port of the server (Exchange or POP3 only).
- User name – user name for authenticating against the mail server (Exchange or POP3 only).
- Password – password for authenticating against the mail server (Exchange or POP3 only).
- Use SSL – check to use encrypted communication channel with the mail server (if it is supported).
- Delete emails - delete emails once they are successfully imported. Not supported for Gmail.
NOTE: the email address will be automatically determined based on the given user name and password combination.
Once finished entering the server parameters click on Connect to proceed to entering actions.
Application
Import can connect to a variety of databases and 3rd party application.
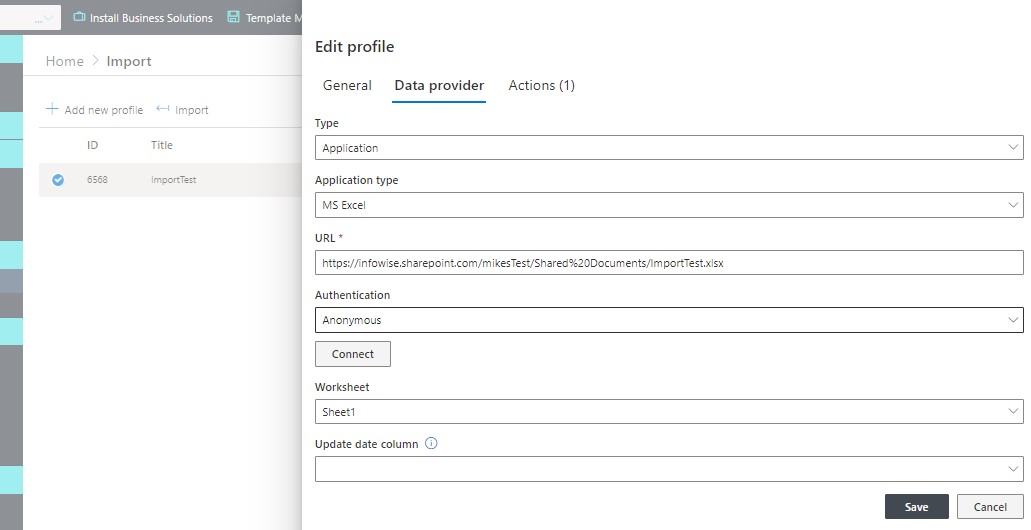
- Type – select from MS-SQL, Oracle (using Oracle native .NET provider ODP.NET, you must install it on your server), OLE DB provider for .NET, ODBC provider for .NET, SOAP web services, REST, Delimited Text file, Excel, Twilio or MySQL.
NOTE On premises customers: you must install the necessary native drivers for your database server. For Oracle, you need to download and install ODP.NET from Oracle. For MySQL, you will need to install a .NET Connector and possibly configure an Assembly Dependency in your config files, see MySQL configuration for more details.
NOTE Microsoft 365 customers: you cannot install drivers, as they have to be installed on our servers. We already have MS-SQL, MySql and Oracle drivers installed, if you need drivers for other database types, please let us know and we will try to accommodate. - Connection string – enter a connection string in the format matching the selected database type or the URL of your web service.
- Authentication – you can authenticate using username/password combination specified in the connection string itself, or use Windows Integrated Authentication (if supported) using the Service Account (the account running the SharePoint Timer service) or an account specified by you. The specified account must be a domain account.
- Table/view/method – click Connect and select table/view to query or the name of the web service method to execute. Note: only table/views belonging to the default schema are supported. For REST web services, provide a sample item URL, more details in the specific REST instructions page.
- Update date column/parameter – select a Date/Time column or parameter from the table/view/method used by the system to identify new/updated items. Your table/view/object must contain such a column for the import to be possible.
NOTE: number columns are available for selection, only use those when they contain a Unix time value.
For database connection string settings, please refer to this site: https://www.connectionstrings.com. For each database type, use the .NET provider connection string.
NOTE Microsoft 365 customers: if you would like to connect to a database or web service server located on premises, you would need to allow access to it through your firewall. Please read more regarding our outgoing IP addresses.
Note: you can import items from a web service under the following conditions:
- The method returns an object or an array of objects
- Each object contains a date/time property which can be used as last updated date (e.g. used to distinguish new/updated items to handle since the previous import cycle)
- The method can optionally contain a date/time parameter for the update date, used to return only the objects added/modified since the last import. Ideally the parameter should have the same name as the update date property of the result object. If a date/time parameters exist by different names, the first one will be used as an update date parameter. It is web service provider’s responsibility to handle the input correctly.
Actions
You must specify at least one action for each import profile. Actions define what the imported data is used for. You can select from the following action types:
- Create list item/document – creates new list item, document or wiki pages.
- Update list items – dynamically select one or more list items/documents and update their values.
- Sync list item/document – creates new list item, document or wiki pages when no corresponding item exist for a given single or composite key. If an item exists, updates that item.
Create List Item/Document Action
Use this action to create new items or documents based on incoming emails or database items.
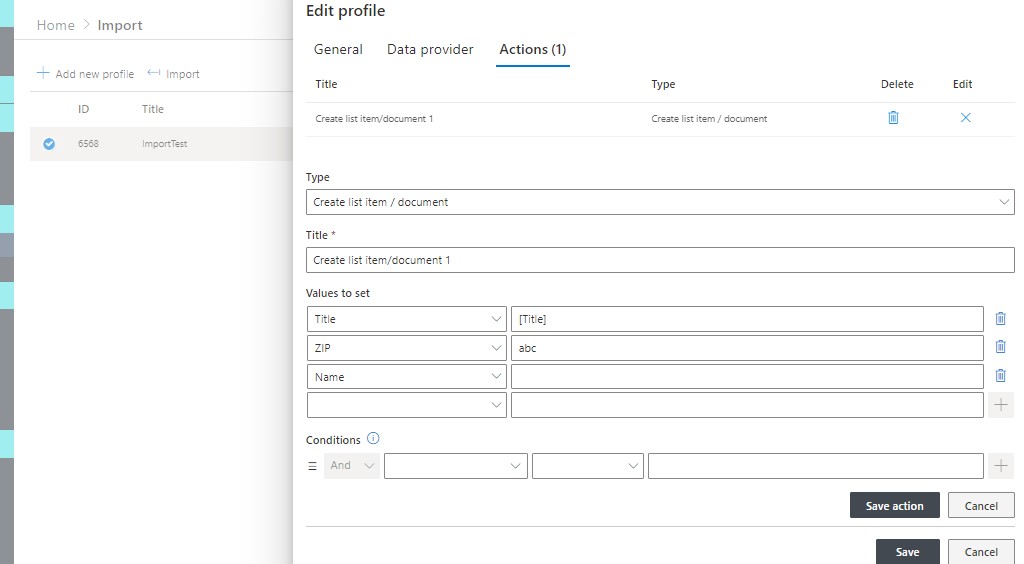
You need to specify a descriptive name for the action. Then you map your list columns to data returned by the provider, such as email subject. You can use the Value Builder to lookup possible values and also use functions, such as Extract or Year. You can map as many columns as you need.
Update List Items Action
Use this action to update one or more existing items with the data from incoming email messaged or database items. The item selection itself is based on condition using email/database values as well.
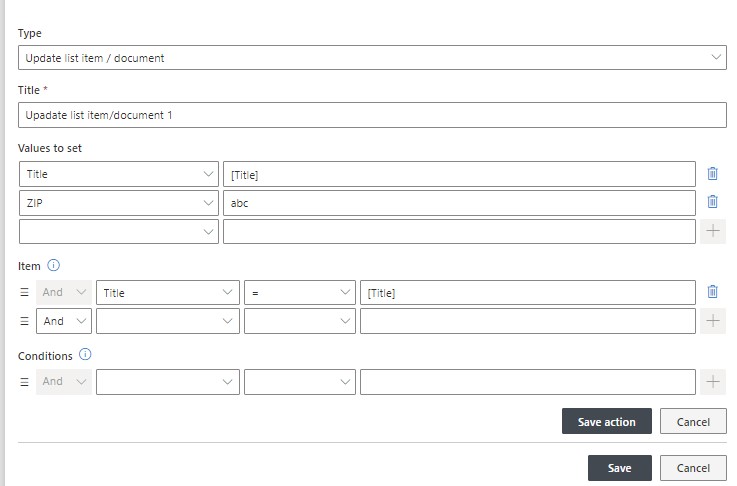
Add item selection conditions to specify which items you are updating. You must specify at least one condition. Choose columns to update and set a value to set for each column. You can use the Value Builder to select from available fields and functions.
Sync List Item/Document Action
Use this action to automatically create or update items according to a unique key defined in both source and target.
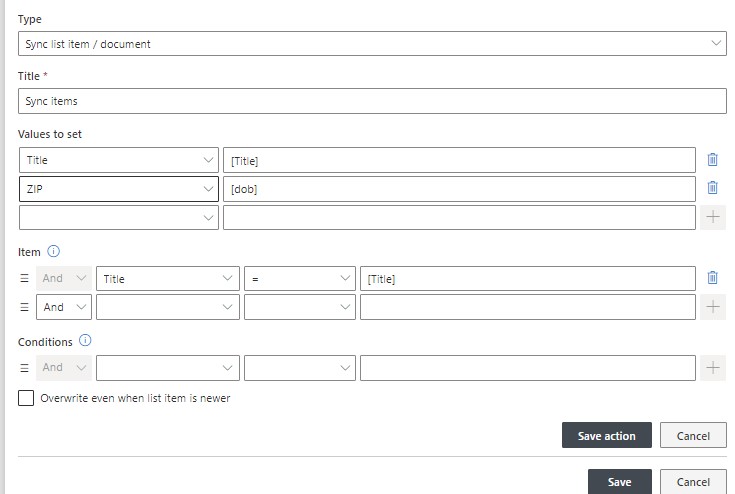
The key can be made up of one or more column values and should only correspond to one item in both source and target. Enter your key mapping under Item section of the configuration.
Note: the key columns must be listed in both Item and Values to set sections and mapped to the same values in both cases.
Note: in most cases the operator for the key should be Equals (=). Other operators could result in multiple items being returned. The sync action cannot perform updates on more than one item and will produce an error.
When no item is found in the target according to the key value, a new item is created. If a single item is found, it is updated with the new values.
When the local item is more recent than the incoming data, the action would need to have Overwrite enabled to update the item.
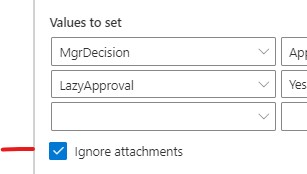
When using the Email provider, you can choose to ignore the attachments on emails, including the images that are part of a signature added to an email.