
In my last post, I went back for a look at an older feature in Infowise – Color Choice. I’m going to continue in that vein of recapping features, and the one we’ll examine today is Column Validation.
Just in case this is a new concept for you, let me explain what it means. Column validations allows you to define the format or value ranges for data being input in the column. Here's an example:
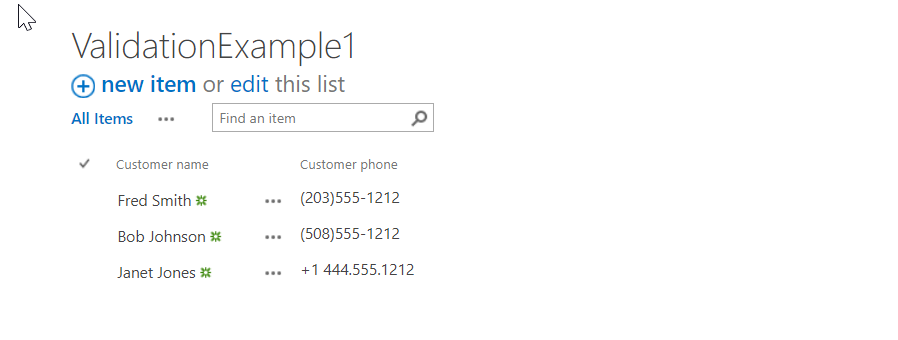
I'm collecting customer phone numbers, and I want people to add the phone numbers with the area code in parentheses and hyphen. But that's not a standard data format in SharePoint. I can add instructions telling people how I want them to enter the number, but there's no guarantee that they'll read the instructions. Even if they read them, there's no guarantee that they'll follow the instructions. Sad but true.
Without validation, they could put in pretty much anything they want. If I want my information to be useful, I need this protected.
Luckily, this is super easy in Infowise. Look for the item Column Validation under the Configure Defaults and Validation section and click into that. To create a new rule, start by selecting the column name and the column name is client phone.
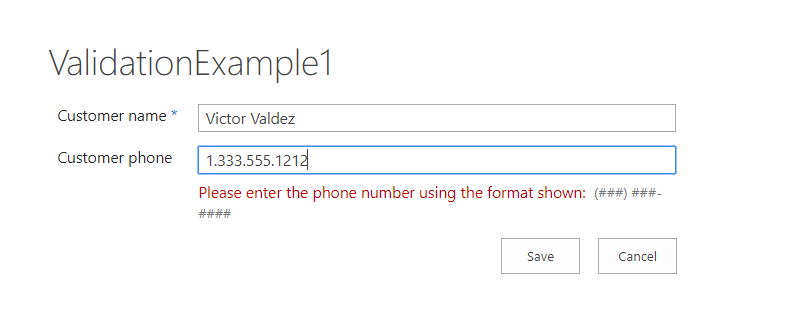
The type will be pattern. For pattern, there is a prebuilt “Phone” choice, but that is broadly enough defined to accept any valid phone format. I want to be really fussy, so I’m going to make a custom pattern (###) ###-####. I’m also going to put in an error message that will display if people input the number incorrectly.

Now, if we input the wrong type information in the field, we get a message letting us know and it can't be saved until it's fixed.
There's something I have to show you though. If you use the quick edit mode for the list, the validation will not apply.
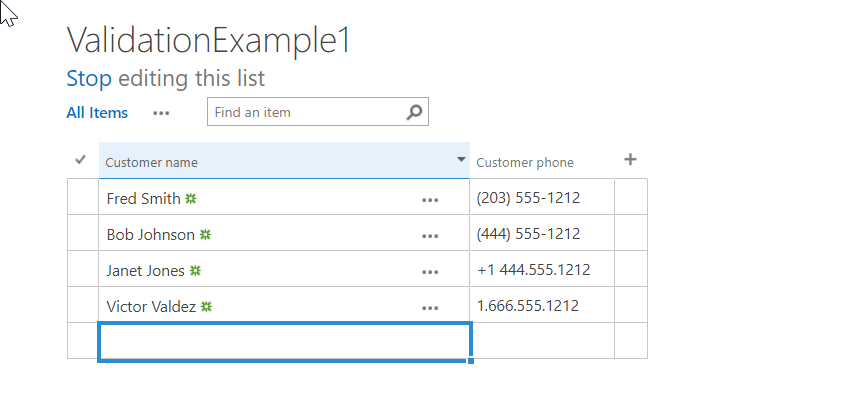
So, if you have validation rules for your list you also really need to turn off quick edit. You’ll find that control in the list settings under Advanced Settings.
You can find more information in the Validation tutorials online.