When implementing repeating sections in SharePoint forms using Associated Items column you might eventually hit a limitation. The built-in grid entry is extremely powerful and convenient. It allows the user to stay within the parent form and add child rows directly. But it comes with some limitation that might be a deal breaker in certain implementations. There is no conditional logic. Column-level permissions do not apply. Validation rules are limited to required columns only. The grid works well for simple, flat data entry. It is not enough when more complex processes are involved.
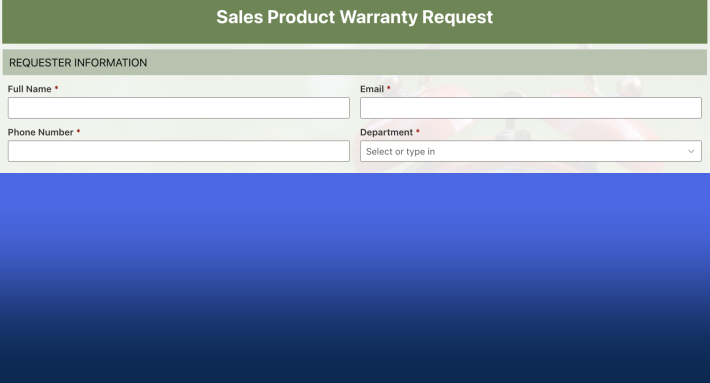
Ultimate Forms addresses this with the "Display in form format" setting. It renders a fully designed child form inline within the parent form for each associated item. The user fills in a complete form for each line item, saves it, and it appears as an entry within the parent. They add more, edit existing ones, or remove them — all within the same parent form view. The is no need to enter via a pop-up, preserving context and achieving a more streamlined experience.
The difference from grid entry is fundamental: each child item is entered through a genuine form, not a row in a table.
What the Inline Child Form Provides
Each child item is entered through a form designed in the Ultimate Forms Form Designer. As the result the full range of form capabilities is available at the line item level.
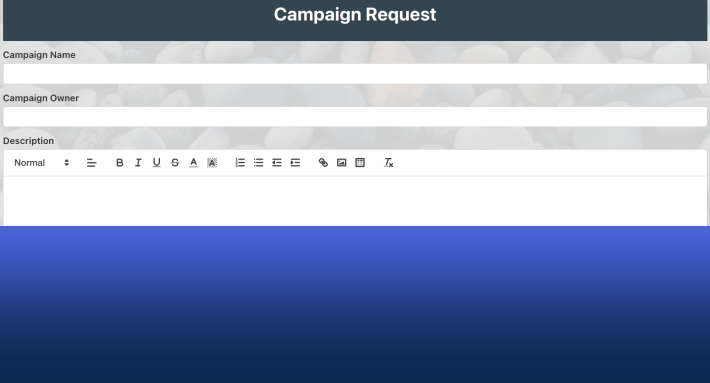
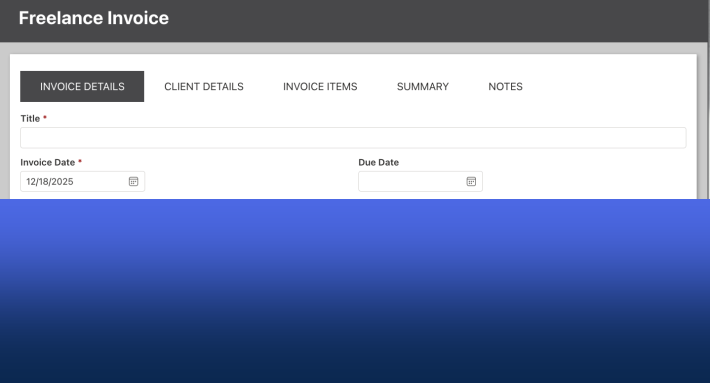
Layout control. Columns can be arranged into sections, placed side by side, and organized with labels and dividers. The entry experience for each child item reflects the structure of the data. It is not limited to a simpler list view. A line item form for an expense claim looks nothing like a flat grid row. It can be organized into logical groups, with related columns together. You add visual hierarchy that guides the user through the entry.
Conditional visibility. A column or section in the child form can appear or disappear based on the value of another column in the same child record. Selecting a product category reveals specification columns relevant to that category. Checking a custom option expands a section for additional details. The form responds to what the user is entering in real time.
Column-level permissions. The child form controls which columns are editable by which users. A unit price column can be read-only for requesters and editable for purchasing administrators. A discount column can be hidden for standard users entirely. These permissions apply within the inline form exactly as they apply in any full-page form.
Validation rules. Multi-column validation works in the child form as it does in the parent. End date must be after start date. Quantity cannot exceed available stock. Justification is required when the line amount exceeds a threshold. The user cannot save a child entry that does not pass the configured rules.
None of these capabilities are available in grid entry mode. All of them are available when the child form is designed using Forms in Forms.
A Real-World Example: Order Form with Custom Line Items
Consider a pizza order form used by a restaurant or catering operation. The parent form captures the customer's contact details, the order date, and delivery instructions. Within the same form, the customer adds their ordered items using the inline child form.
Each item entry is a fully designed form. The customer selects a size, a base, and standard toppings. When they select Custom as the pizza type, an additional section expands within the inline form showing custom topping options and associated pricing. When they enter a quantity, the line total is calculated automatically from the unit price and quantity. Required columns — size and quantity — cannot be left blank. A custom topping cannot be added without a base selection.
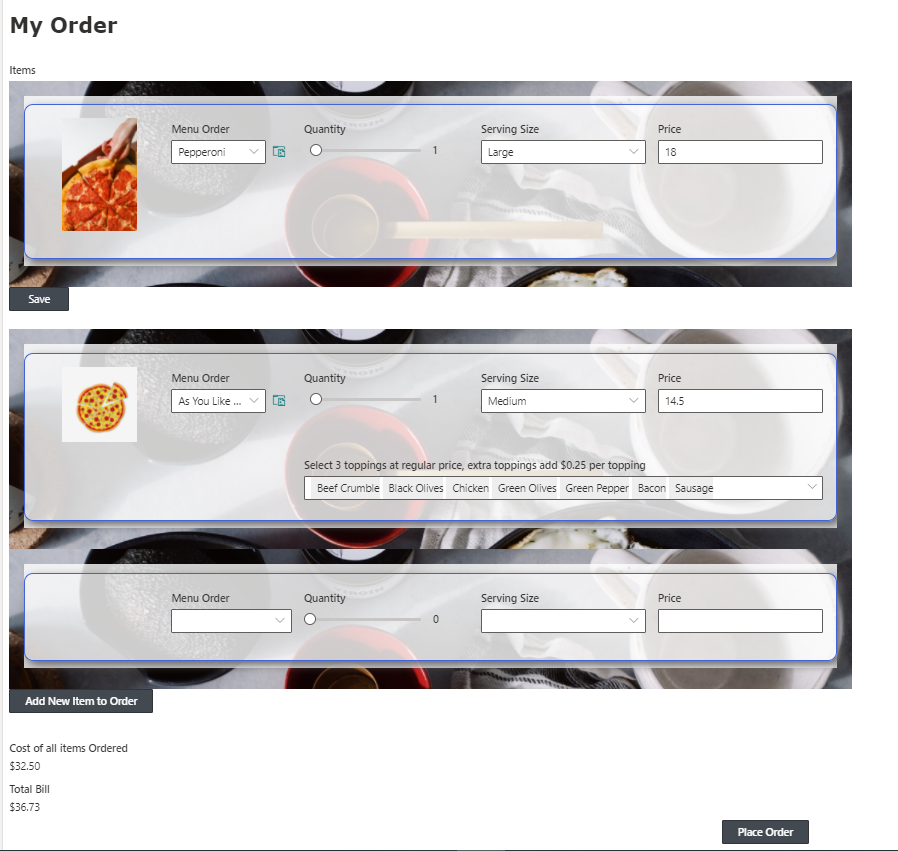
All of this happens inline in the parent order form. The customer sees the order header above, adds each pizza using the embedded child form, watches the running total update at the bottom of the parent form, and submits the complete order as a single SharePoint record.
From the administrator's perspective, the child form was designed once in the Form Designer. Same interface, same capabilities, same publishing workflow. And it is embedded wherever the Associated Items column appears in the parent form.
How to Enable It
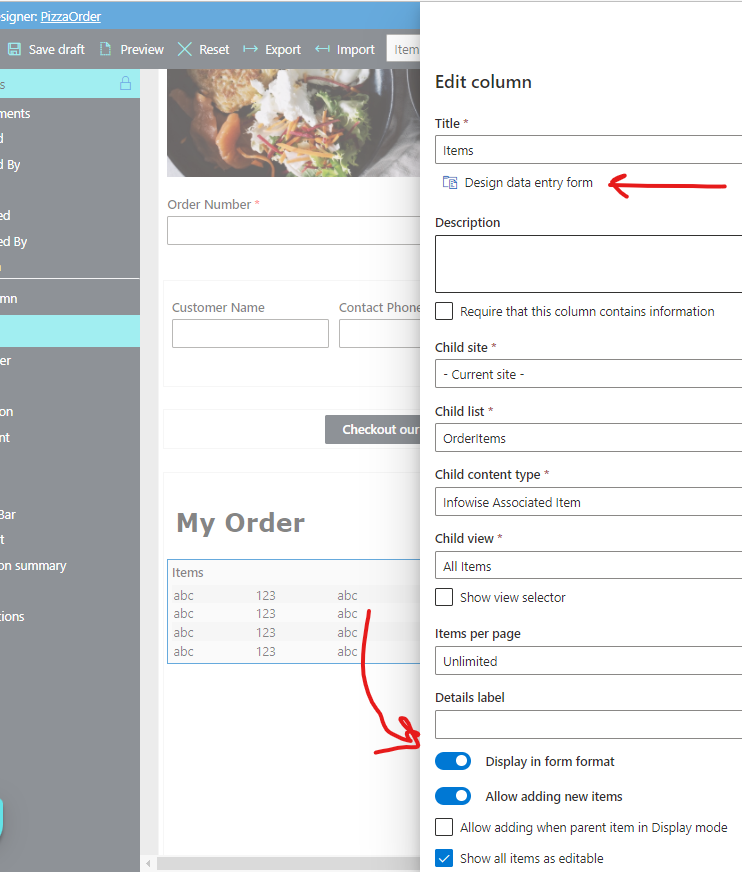
The "Display in form format" setting is configured on the Associated Items column in the parent form. Using the "Design data entr form" link you can open the Form Designer for the child list. The administrator designs the child form using the standard Form Designer features. Layout, rules, permissions, validation and event styling are all available. Once happy with the result, publish the form and it's ready to be used.
Where This Capability Applies
Any process that involves multiple child records per parent is a candidate for Forms in Forms feature. Consider it when the child entry requires more than basic column-by-column data entry:
Expense claims with line items that vary based on expense type — mileage entries show different columns than hotel stays.
Purchase orders where unit price is read-only for requesters but editable for purchasing administrators.
Inspection reports where each inspected item has a status, severity, and a conditional description that appears only when the item fails.
Training records where each completed module requires a score and a conditional remediation note when the score falls below a threshold.
Project task logs where each task has a conditional dependency column that appears only when the task type requires it.
In each case, the entry experience for the child item is richer than a grid row allows. The inline form sits where it belongs — within the parent form, in context, with full access to the logic that makes the data collection accurate and consistent.
Full documentation is available at infowisesolutions.com/documentation. A free 30-day trial is available at infowisesolutions.com/installer/uf.
Add your comment