Print templates and related output can sometimes be quite challenging. Especially with highly customized forms. In this post we'll look at another great option for printing which may help you save a lot of time while getting exactly what you need.
First - let's review the regular print options at a high level:
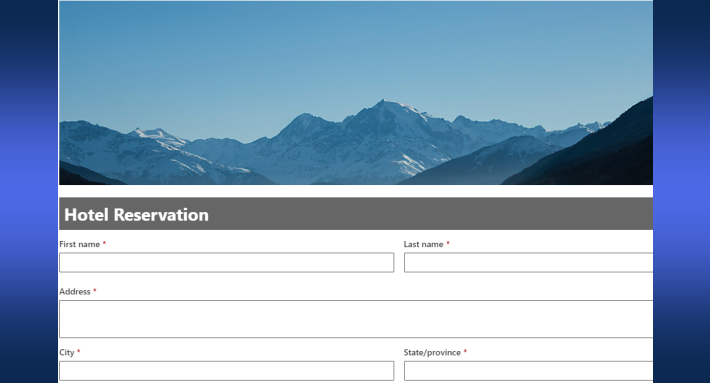
- A Simple Print Template allows you to put together a basic design by selecting fields and adding section headers. It's fast and easy, but the print output is basic and cannot be specially formatted.
- An Advanced Print Template allows you to put together a sophisticated template which can be highly configured for precise formatting and output. This is powerful and applicable in situations where you need to get precise output to match a pre-existing format. In many cases this may involve using custom HTML and CSS along with tables to get the output to match your precise requirements. It's possible to achieve a precise goal, but it can be time consuming to get there. Coding may be required!
- Word Templates are a much more user friendly option and generally the best option to produce advanced custom print layouts. This allows you to create a Word Document and format it exactly the way you want. You can simply reference your fields using square brackets like this: [Title]
These options give you a good variety of approaches to get the print output that you need.
Now let's talk about an additional approach that offers advantages and may save you some time and effort.
There are some drawbacks with print templates which we might want to overcome:
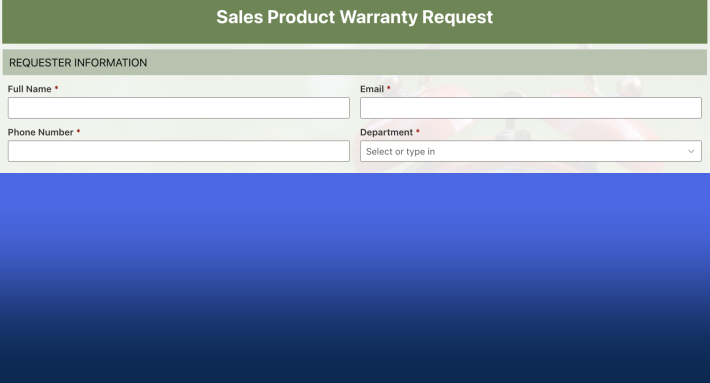
- With a highly customized form it may be desirable to match the form in your print output, but this is difficult and requires double work in that you have to repeat your formatting to reproduce the format in your print template.
- Forms often have rules to show or hide sections that are not applicable based on certain conditions. Print templates don't include this same logic. This may lead to showing sections in a print template with no data or having to develop multiple print templates to accomodate for these different situations.
- Print templates can be quite time consuming in the case of advanced forms. That means the work might just not get done at all.
An additional alternative approach is to use your browser print command
It sounds simple, but you can get the output you need and spend only a little bit of time setting it up. The basic idea is to direct users to the display form and use the browser print command on that screen.
You do need to make adjustments, but luckily these are simple and easily to repeat.
We'll walk through the steps below, but first we need to address limitations to this specific approach:
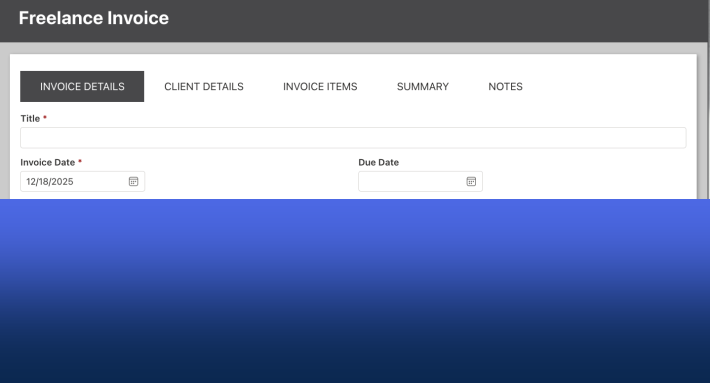
- Everything must be visible all at once on your form. Tabbed forms are not compatible because content remains hidden. If you are using an accordion control ensure that the Collapsable setting is disabled so that all sections are in view.
- Users need to apply some simple settings in the print dialog to get the desired output.
- This type of printing cannot be automated. The user must execute the print command manually.
Now let's get to this good stuff!
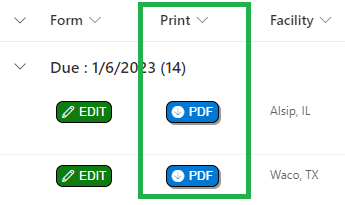
The first thing we need to do is provide a button which directs users to the display form.
You can create a text field called "Print" then add a View Button using this free template:
https://sharepointdashboards.com/PRE/?t2
You can set the button to include any text you want and even pick a custom icon. It could say "PRINT" or "PDF" or similar, but the only purpose of the button is to send users to the display form.
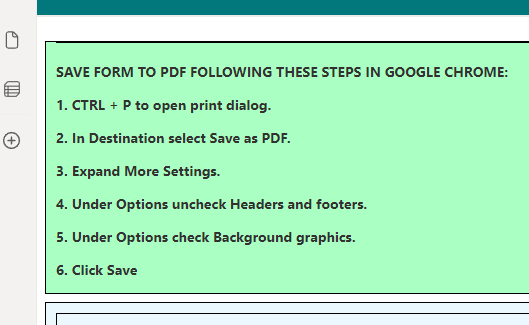
Now we need to add some print instructions to be shown on the of the display form screen to tell users what to do:
You can reuse this description or adjust as needed:
SAVE FORM TO PDF FOLLOWING THESE STEPS IN GOOGLE CHROME:
1. CTRL + P to open print dialog.
2. In Destination select Save as PDF.
3. Expand More Settings.
4. Under Options uncheck Headers and footers.
5. Under Options check Background graphics.
6. Click Save
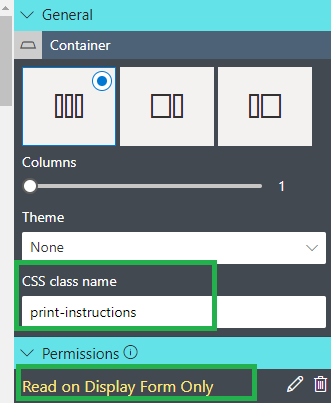
This section should be setup with these settings:
- Set a permissions rule to show it only on the display form.
- Assign a CSS class name of print-instructions to the container
Next, select "ToolBar" and disable "Show Toolbar" in the command menu. This is required in order to prevent this part of the UI from appearing in the print output.
Now we need to add some CSS to hide the print instructions and buttons on the print output:
@media print{.buttonBar, .print-instructions{display: none !important;}}

And that should be it!
Here is a summary of what we accomplished with this approach to printing:
- You do not have to create any print template at all using this approach.
- This allows you to get print output of the display form exactly as it appears in your browser.
- The special instructions at the top of the form ensure that users know how to print.
- The special CSS entry will suppress the form buttons and print instructions from appearing in your output.
- What you see is what you get. Your print output should match exactly what you see on screen.
This approach has limitations and won't accomodate certain scenarios like tabbed forms, but is it a viable additional approach which can benefit you in the case that you need custom print output that matches what users see in the form. So now you have an additional useful way to facilitate printing with your custom forms.
Add your comment