
In an enterprise who has adopted SharePoint whether on premise or online, they need to create lot of sites for various departments. Any large enterprise has various divisions or departments like HR, Finance, IT, development, support etc. Each department requires sites or sub sites for different business process. HR department may need to create sub sites for HR-UK, HR-USA, HR-Canada, and HR-India like this. HR-India may need another level of sub sites for HR-India-Bangalore, HR-India-Delhi or HR-India-Chennai etc. There are enterprises where they usually get number of requests to create sites/sub sites. There are multiple ways we can automate this site creation process. Either you can use SharePoint designer workflows or you can use any 3rd party tool like Nintex. We will see how to use Infowise Ultimate Forms action to create sites in SharePoint online Microsoft 365. The same will also be applicable to SharePoint on premise versions like SharePoint 2013/2016.
SharePoint 2016 Tutorial Contents
Overview of Infowise Ultimate forms actions:
Infowise ultimate form actions are no code solutions which can be configured inside the browser itself, you do not need to install anywhere else. You can check some useful articles which I have posted previously like: Infowise Ultimate forms is one the best alternative to InfoPath and also you can check about Infowise Ultimate forms pricing details. Also I have written another useful article on Infowise actions vs SharePoint workflows. Very easily we can send notification emails and copy list items using Infowise ultimate form actions.
Infowise Ultimate Forms Create Site Action:
We can use Create site action to create a site easily without using any code neither any workflow. Let us create a list where user can add items to create sites under a sub sites. The custom SharePoint online list has two columns: Title and SiteURL. The list structure look like below:
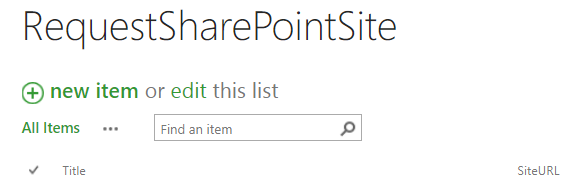
Now the requirement is when user submit an item, it should create site with Title as Title and URL as SiteURL.
First open the list and from the Ribbon click on Design icon like below:
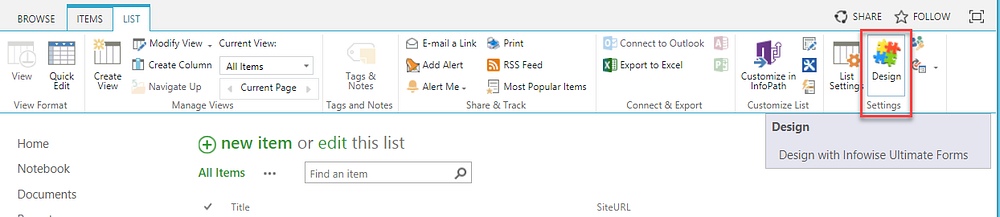
This will open the “Infowise Ultimate Forms” designer. In the home page, click on Actions under the “Configure Business Logic” section.
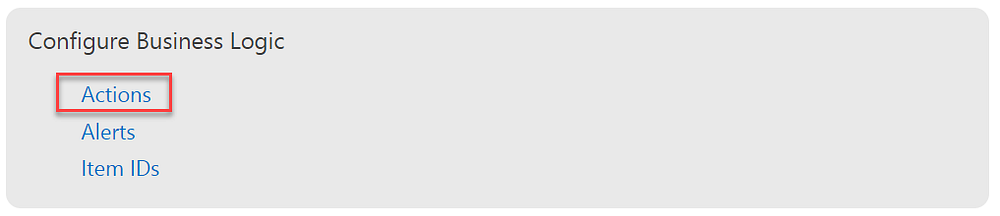
This will open the Add/Update Action page.
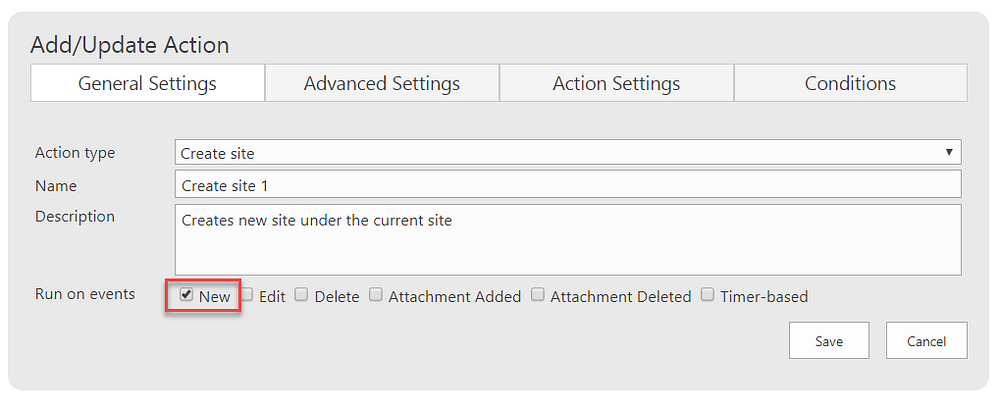
Create Site Action: General Settings:
In the General settings, choose the Action type as “Create site”. Give a Name and Description and then in the Run events check the checkbox “New”, because here we want the site is created only when user add an item.
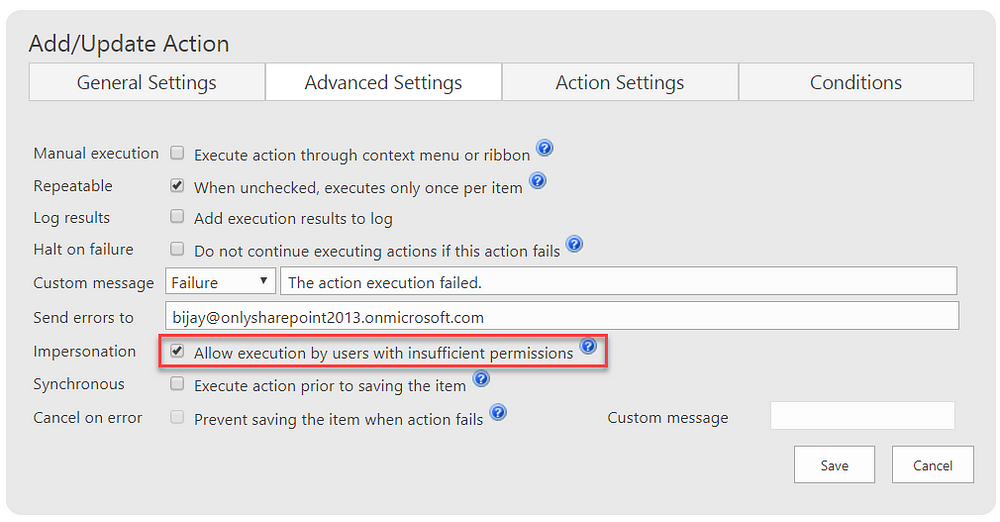
Create Site Action: Advanced Settings:
In the advanced settings, give a custom message for Failure and Send errors to an email address, then check the check box “Allow execution by users with insufficient permissions”, so that any user who does not have permission can submit an item, the site will be created successfully. This works like impersonation step.
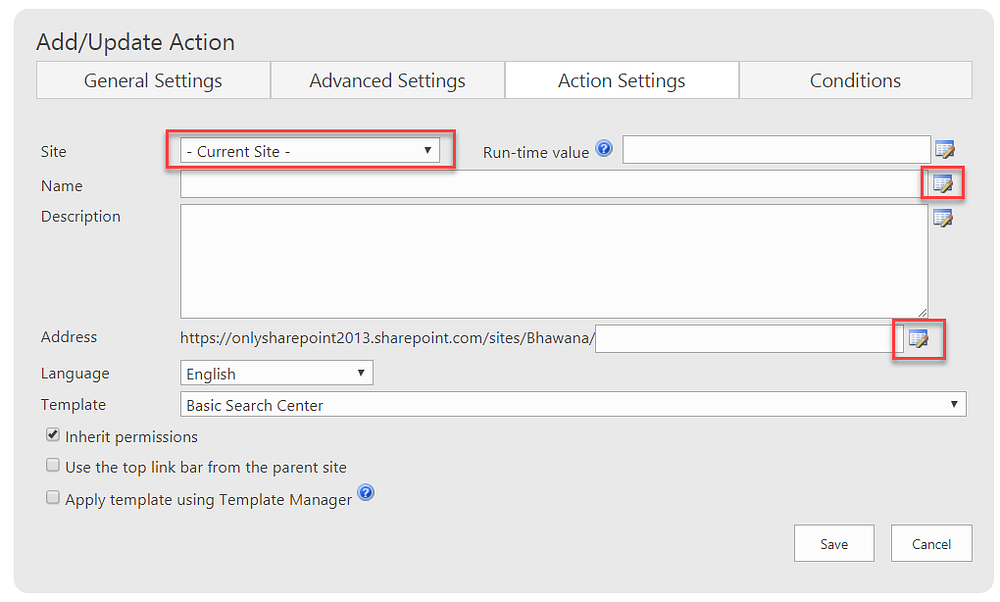
Create Site Action: Action Settings
This is an important step where we need to set the site URL, description and Site URL.
The screen looks like below. Here set the site as Current Site and then in the Name click on the icon, which will open the Value Picker dialog box.
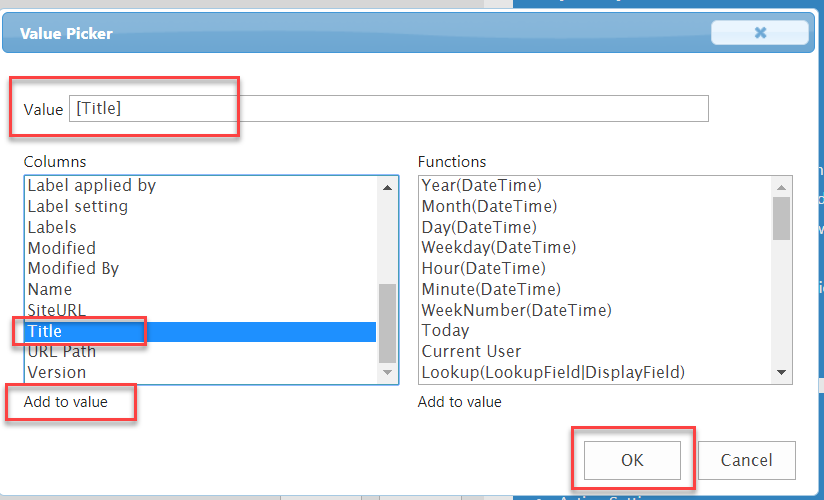
There select the Title column and then click on “Add to value”, then it will auto populate the Value field like below:
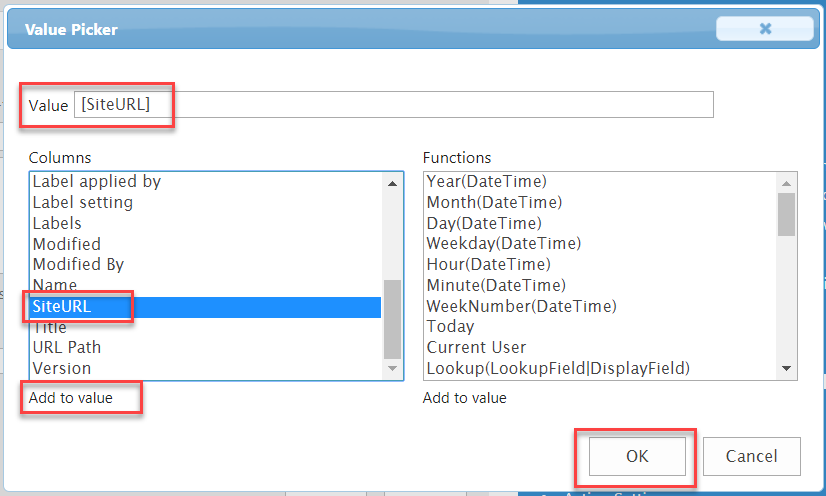
Similarly do the settings for the SiteURL property as below:
Then select the Template as “Team site”. The full screen will look as illustrated below: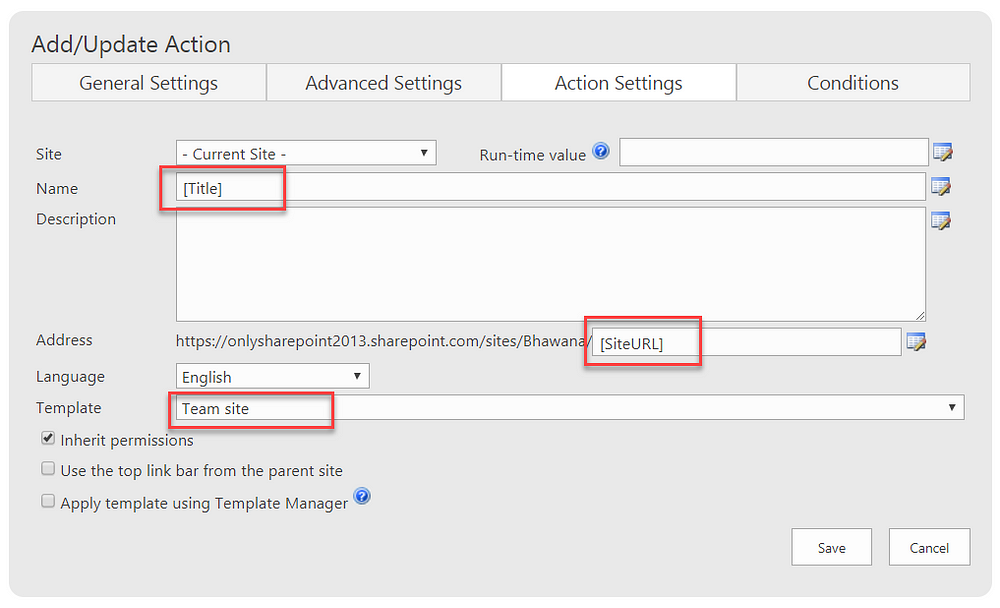
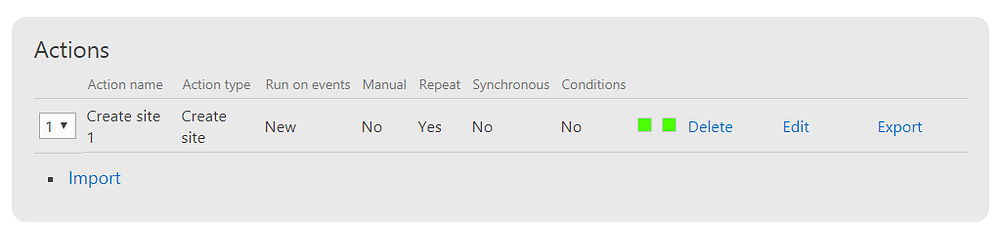
Once you Save the action, you can see the page as given below:
Test Create Site Infowise Ultimate Forms action:
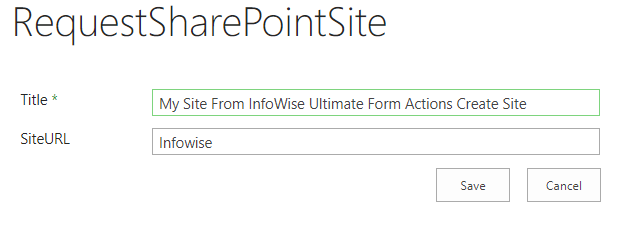
Once the action is ready, we can test the action if it is working as expected. Open the list for which we have added the action and then add an item as below. I have given the Title as “My Site From Infowise Ultimate Form Actions Create Site” and SiteURL as “Infowise”.
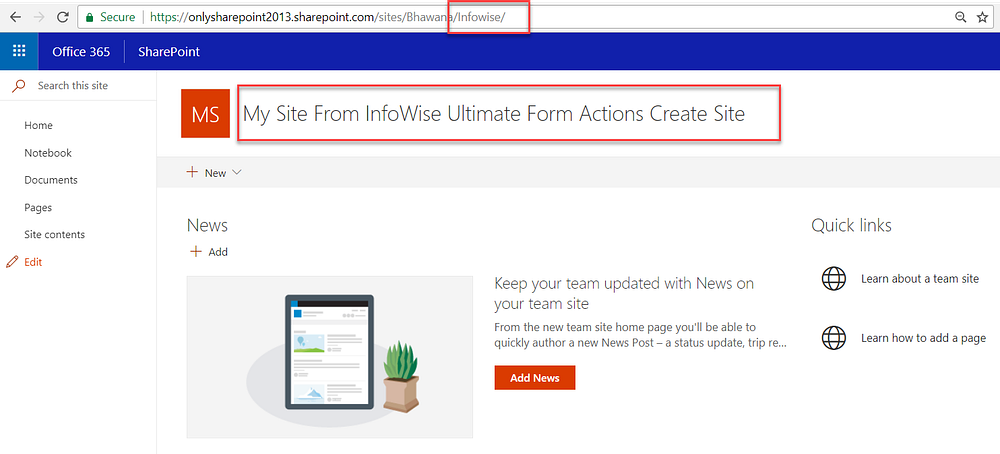
Once you Save the list item, the action will trigger in the background and if you visit the Site Contents page, you can see a site got created with the details mentioned above.

You can click on the site to see a team site got created successfully like below:
Conclusion:
As illustrated above we can automate creation of sites without using any code or without using any workflow, simply by using Infowise Ultimate Forms Action known as “Create Site”. Check out the pricing details of Infowise Ultimate Forms for Microsoft 365.