Creating Your First Approval Workflow
In the previous tutorial, you explored the Approval control and learned about its available configuration options. In this tutorial, you will put those concepts into practice by configuring a complete approval workflow.
Using the Purchase Requests list, you will configure a single-stage approval process, submit a request for approval, and follow the workflow through to completion.
Instructions
Prerequisites
Before you begin, make sure you have completed the previous tutorial:
Your Purchase Requests list should already contain:
- Approval control
- Approver person column
- Status column

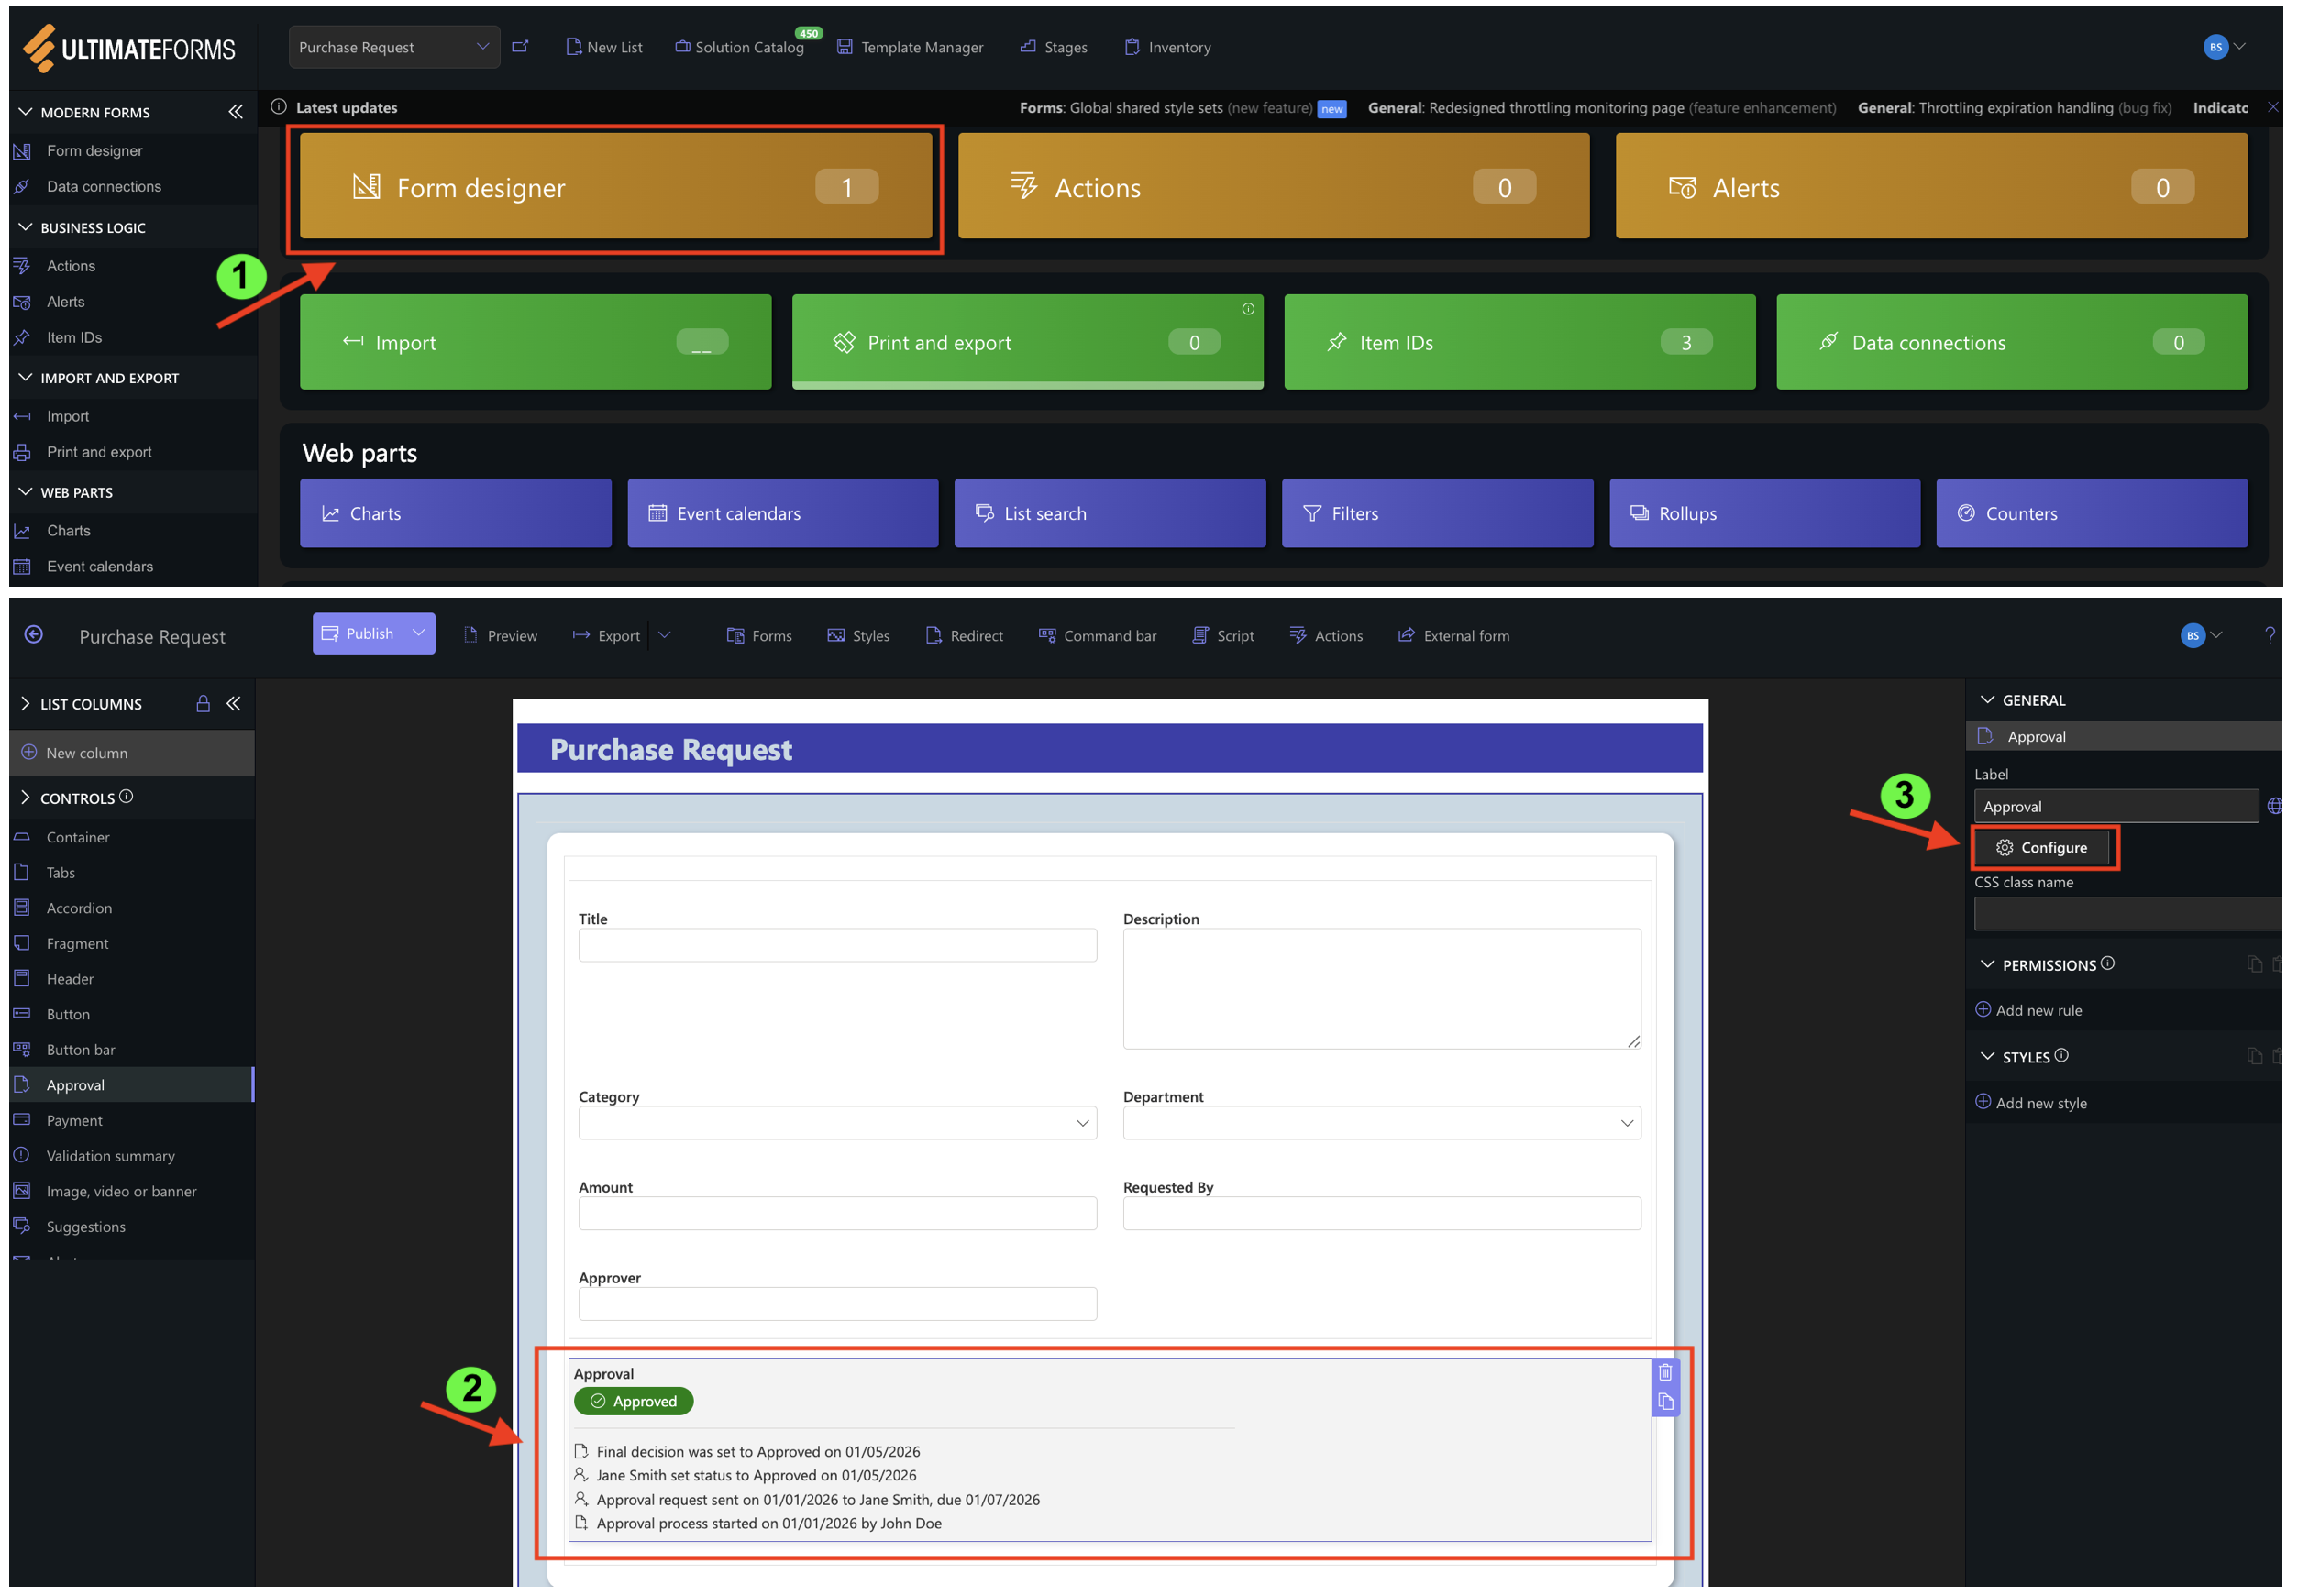
Step 1: Open the Approval Configuration
Open the Purchase Requests list.
- Click Design.
- Open the Form Designer.
- Select the Approval control.
- Click Configure.
Step 2: Configure General Settings
On the General tab configure the following values:
- When to start: Item is added
- Apply under the conditions: Leave empty
- Status column: Status
- Prevent editing during approval: Enabled
- Prevent editing after approval: Enabled
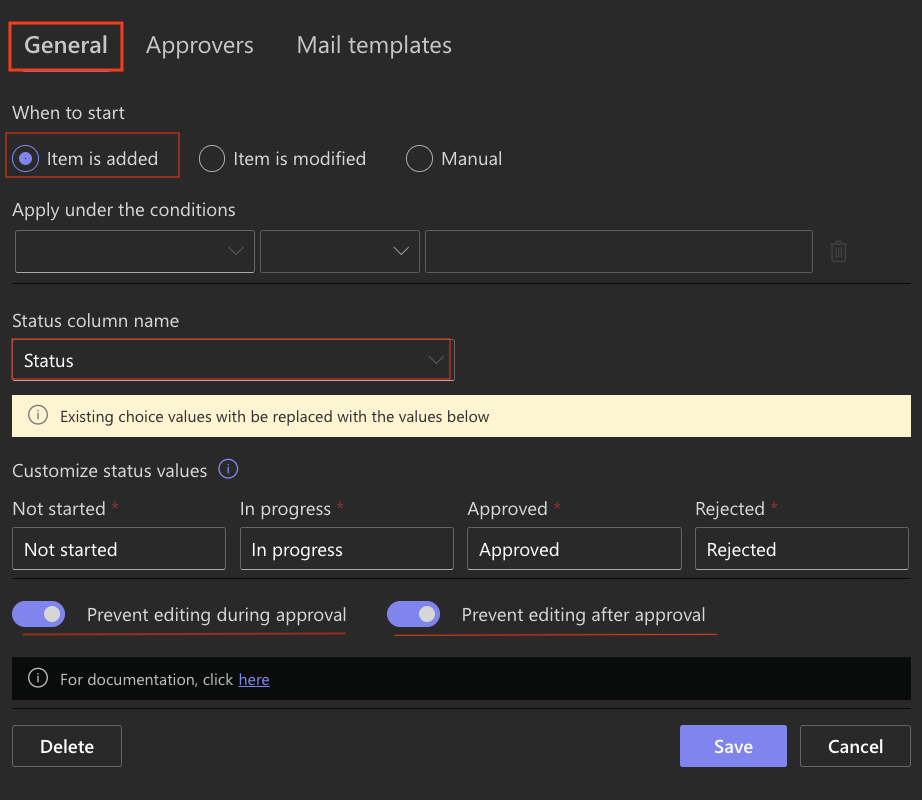
These settings automatically start the approval process when a new purchase request is created and update the Status column throughout the workflow.
Step 3: Configure the Approval Stage
Switch to the Approvers tab.
Create a single approval stage using the following configuration:
- Approver: Approver (Person Column)
- Days to approve: 5
- Approval Mode: Sequential
- Rejection Behavior: Set final status
- Require Comments: Optional
- Allow Reset or Cancellation: Always
- Allow Approver Delegation: Enabled
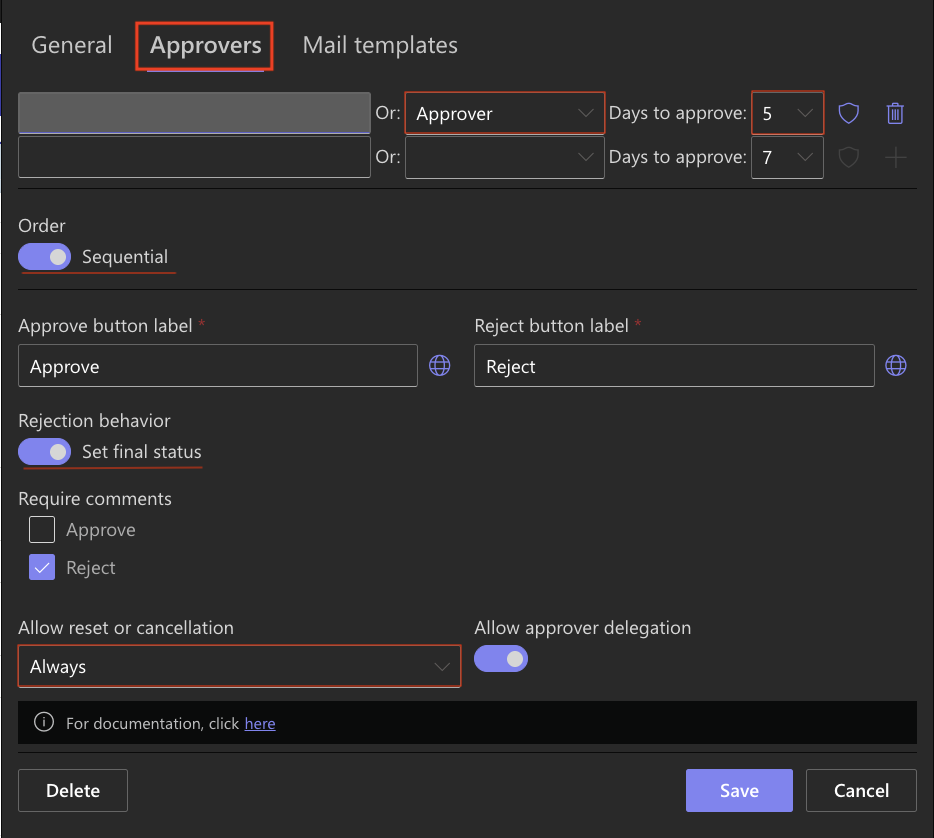
For this workflow, the approver is taken from the Approver person column, allowing each purchase request to be assigned to a different approver.
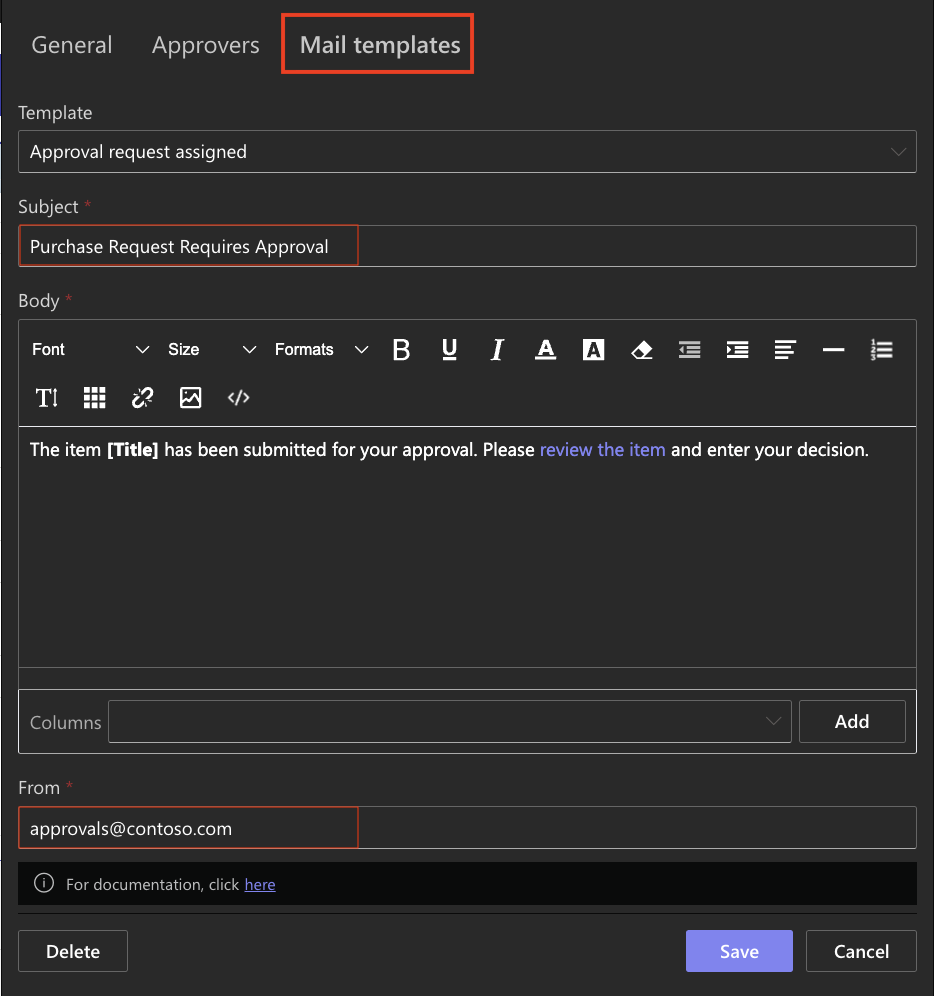
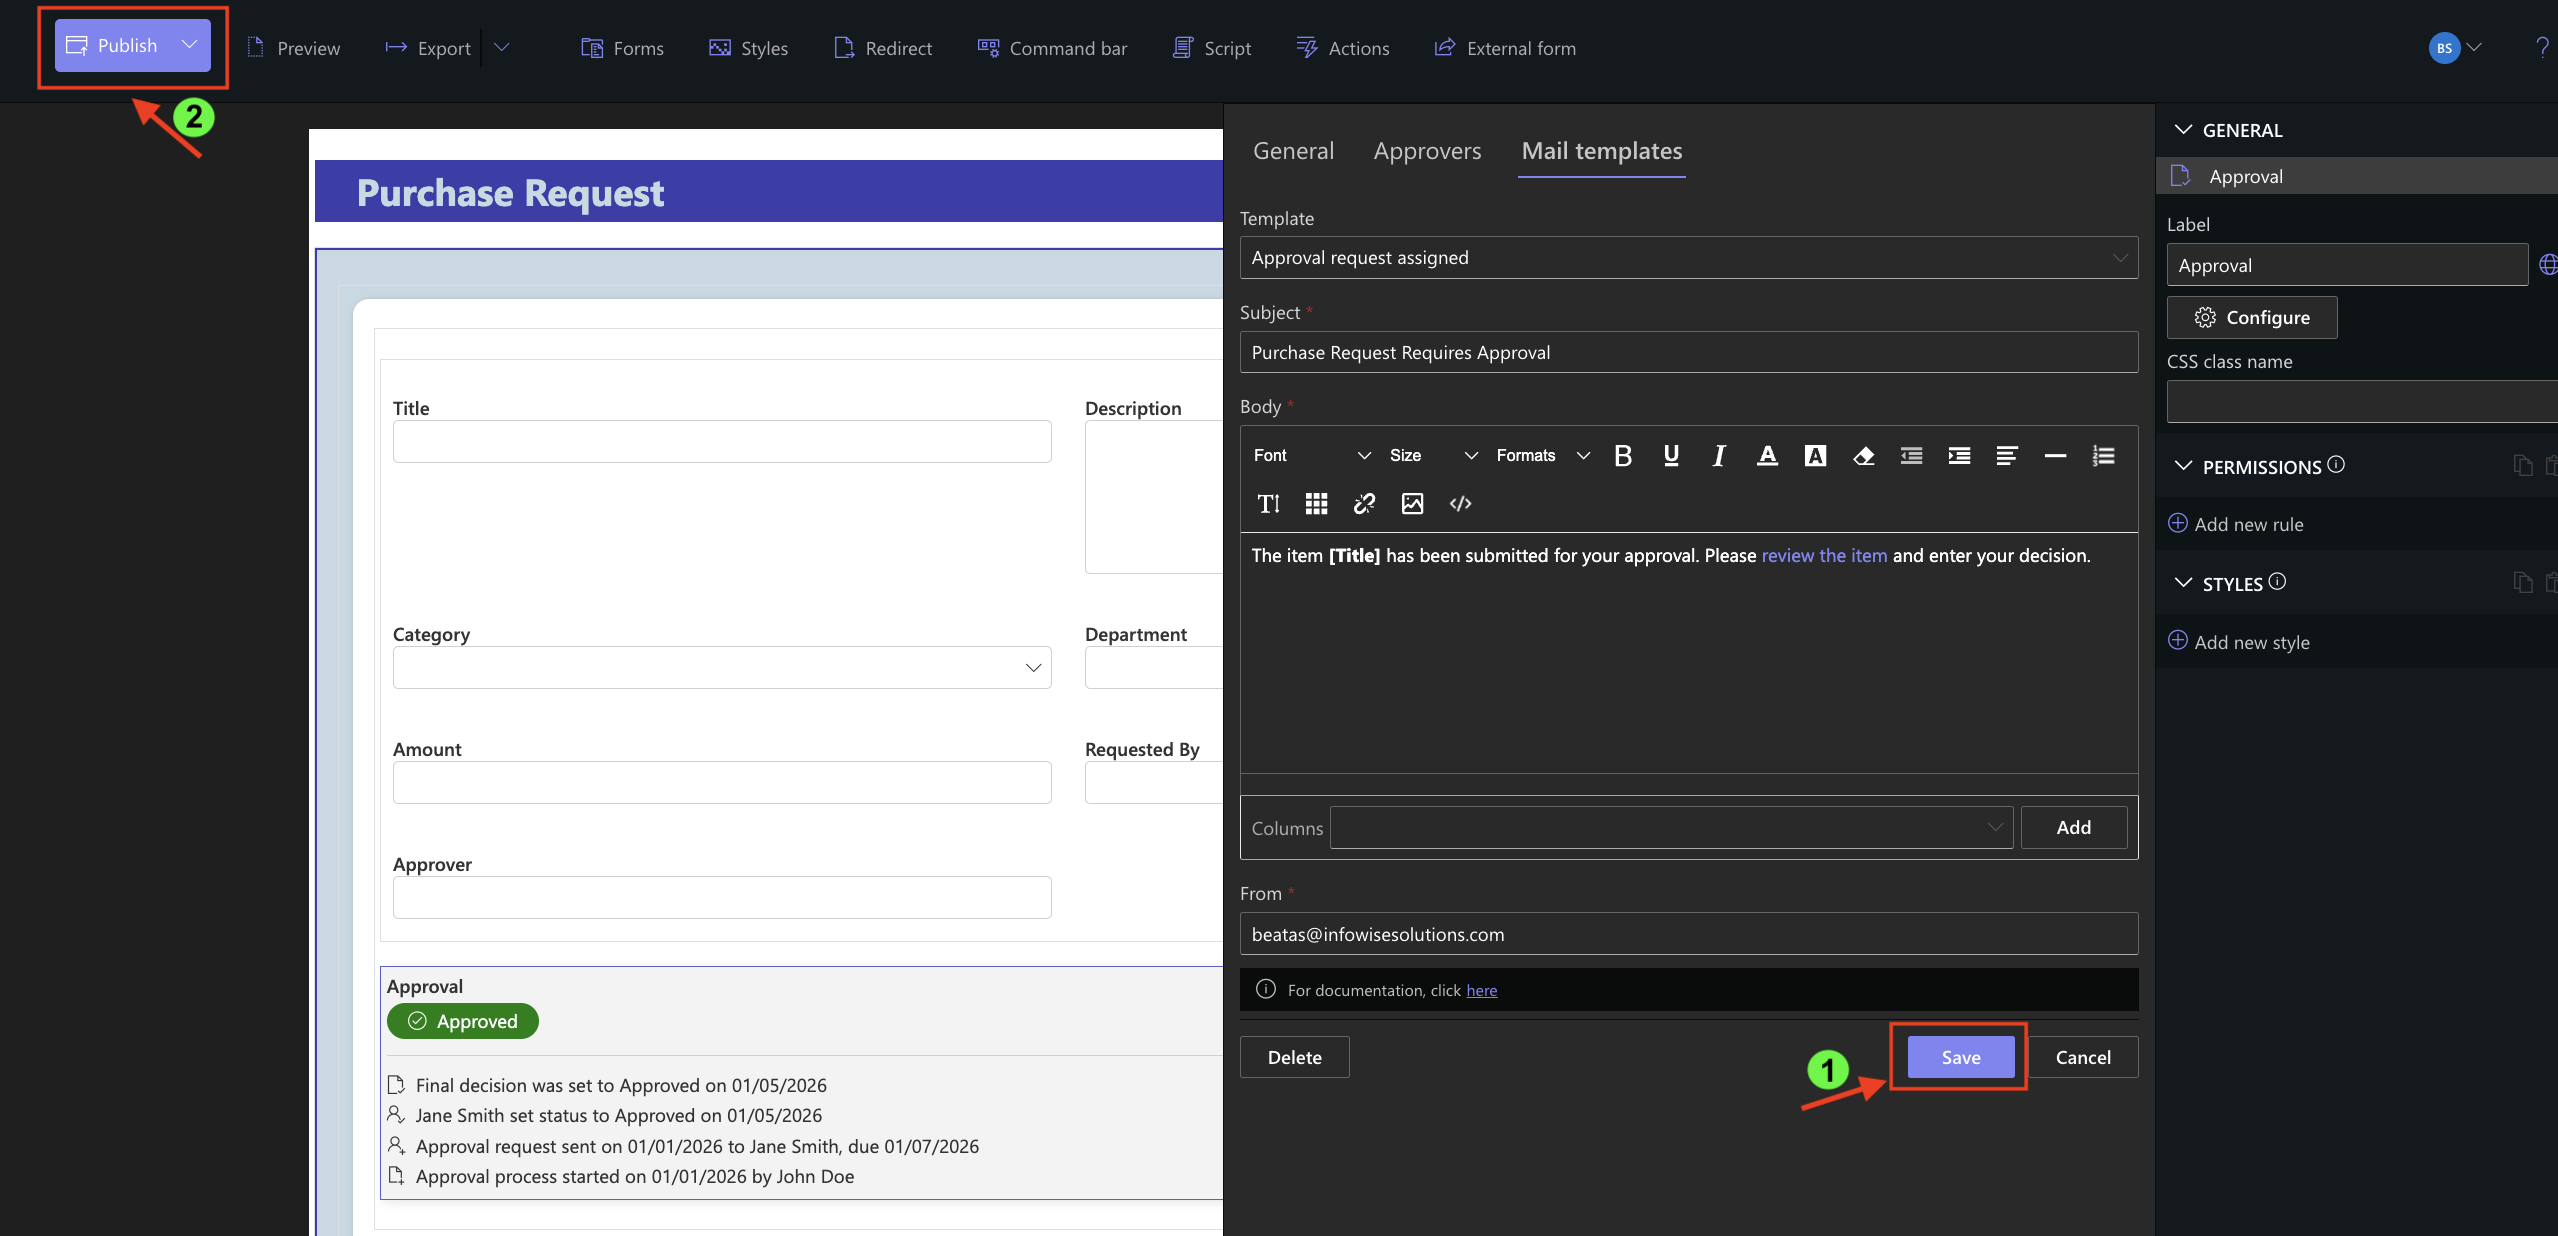
Step 4: Configure Email Notifications
Open the Mail Templates tab.
For this tutorial, keep the default templates or customize the Approval Request Assigned email.
For example:
- Subject: Purchase Request Requires Approval
- From: approvals@contoso.com
- Leave the remaining templates unchanged.
Step 5: Save the Approval Configuration
- Click Save,
- Publish the Forrm
The approval workflow is now ready to use.
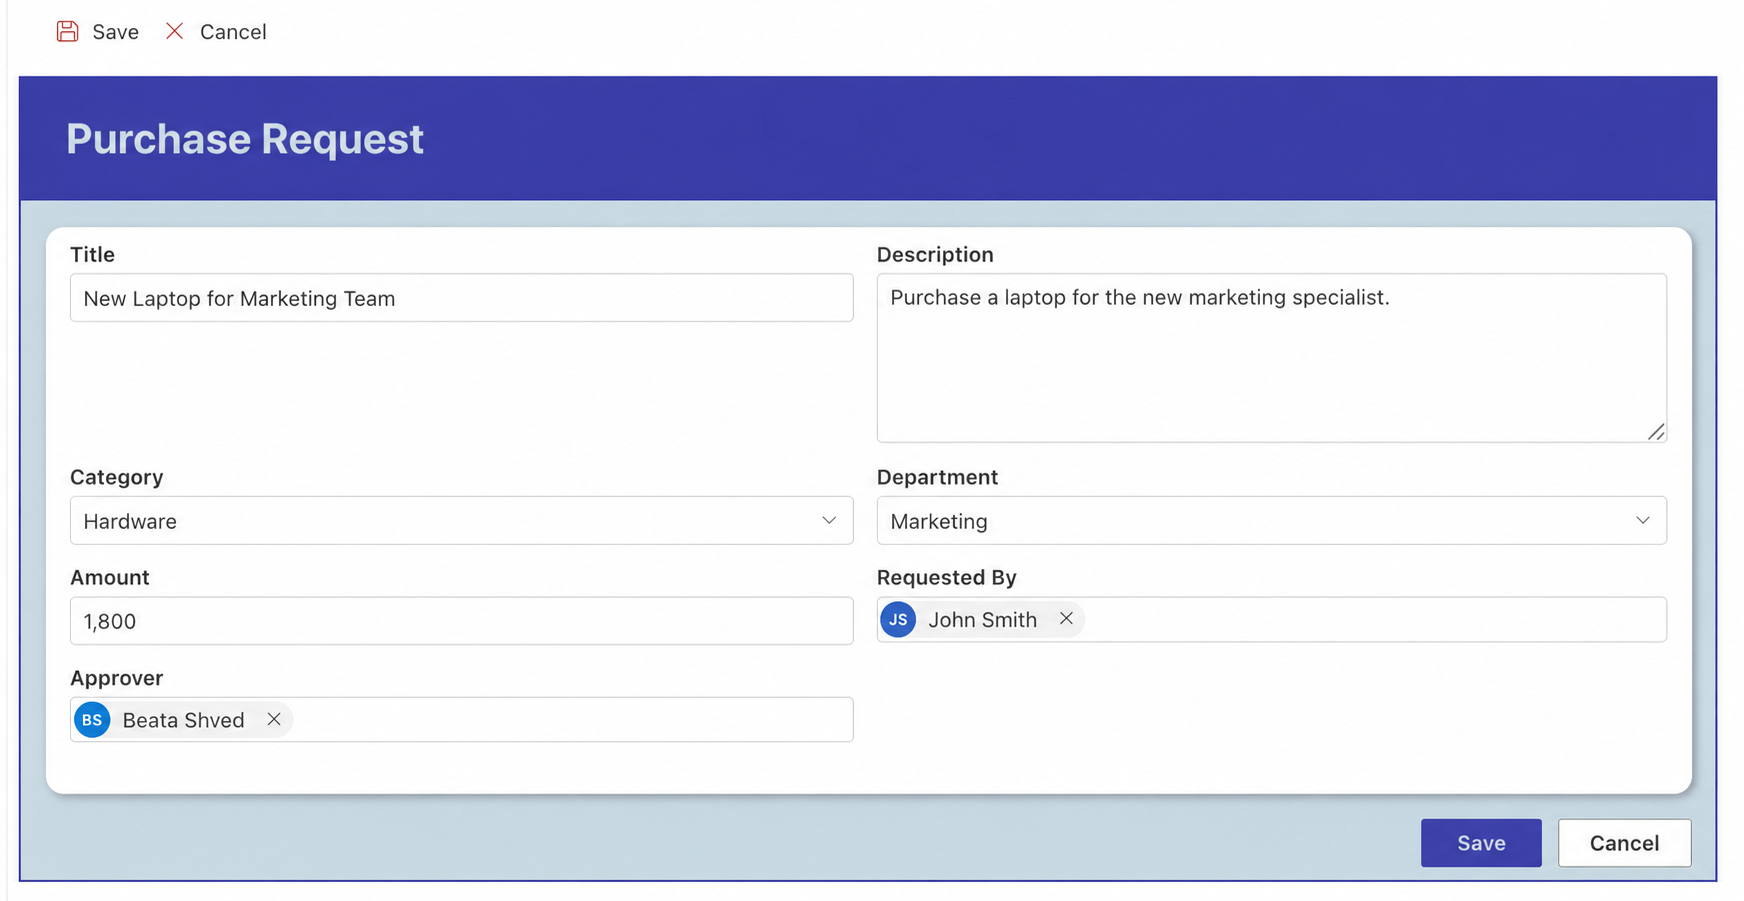
Step 6: Create a Purchase Request
Create a new item using the following sample data:
- Title: New Laptop for Marketing Team
- Description: Purchase a laptop for the new marketing specialist.
- Category: Hardware
- Department: Marketing
- Amount: 1800
- Requested By: Select User
- Approver: Select User
- Click Save.
Step 7: Review the Approval Process
After the request is saved:
- The approval workflow starts automatically.
- The Status changes to In Progress.

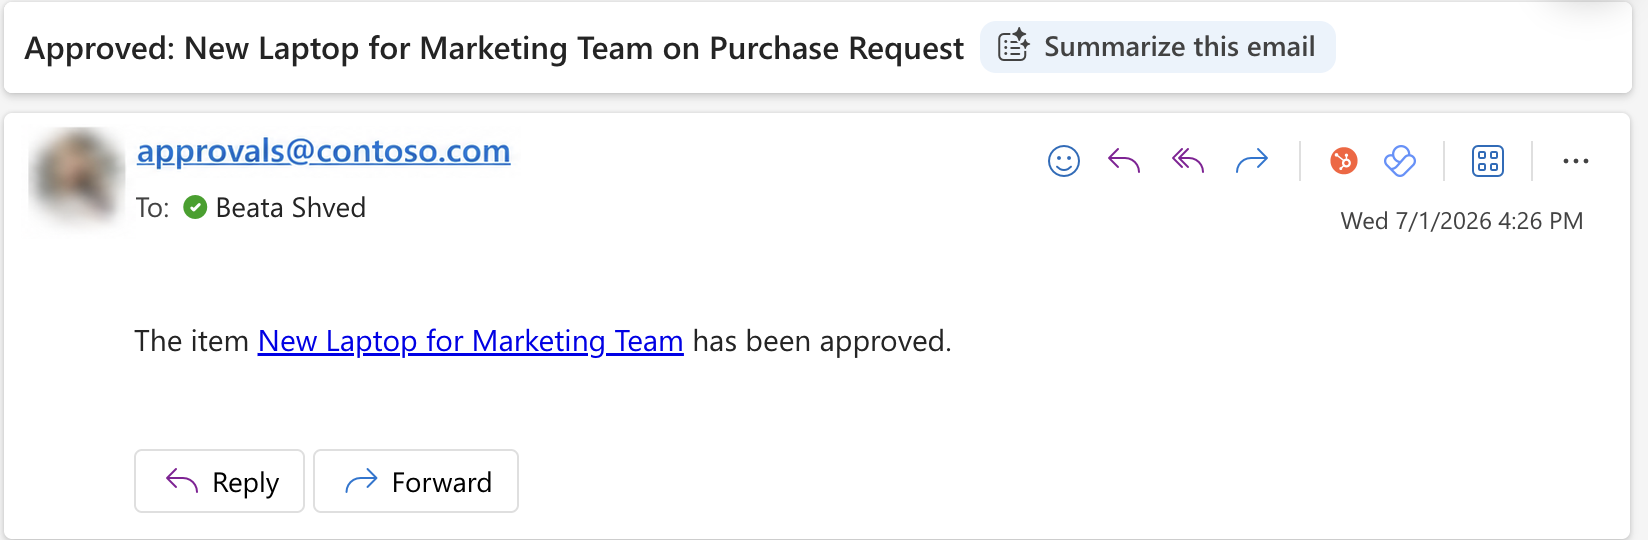
- An email notification is sent to the approver.
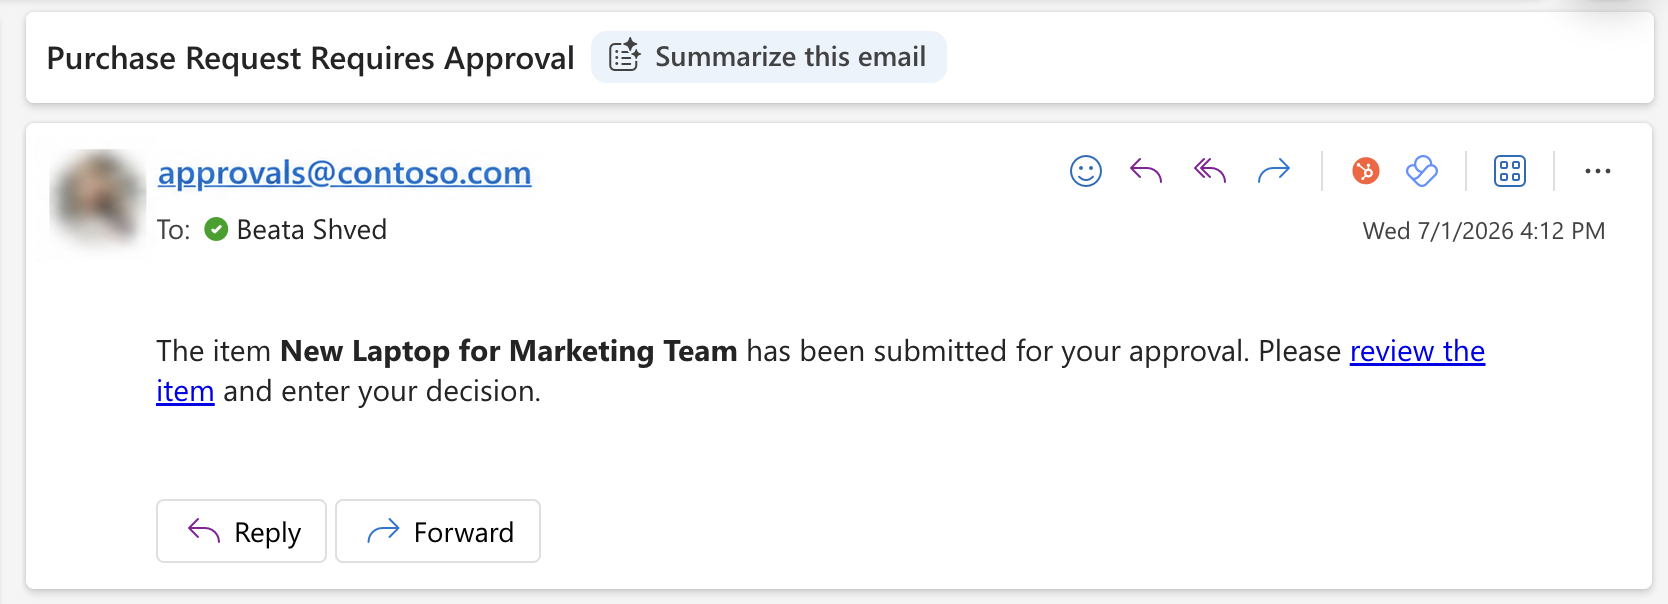
- The approver can open the request and choose Approve or Reject.
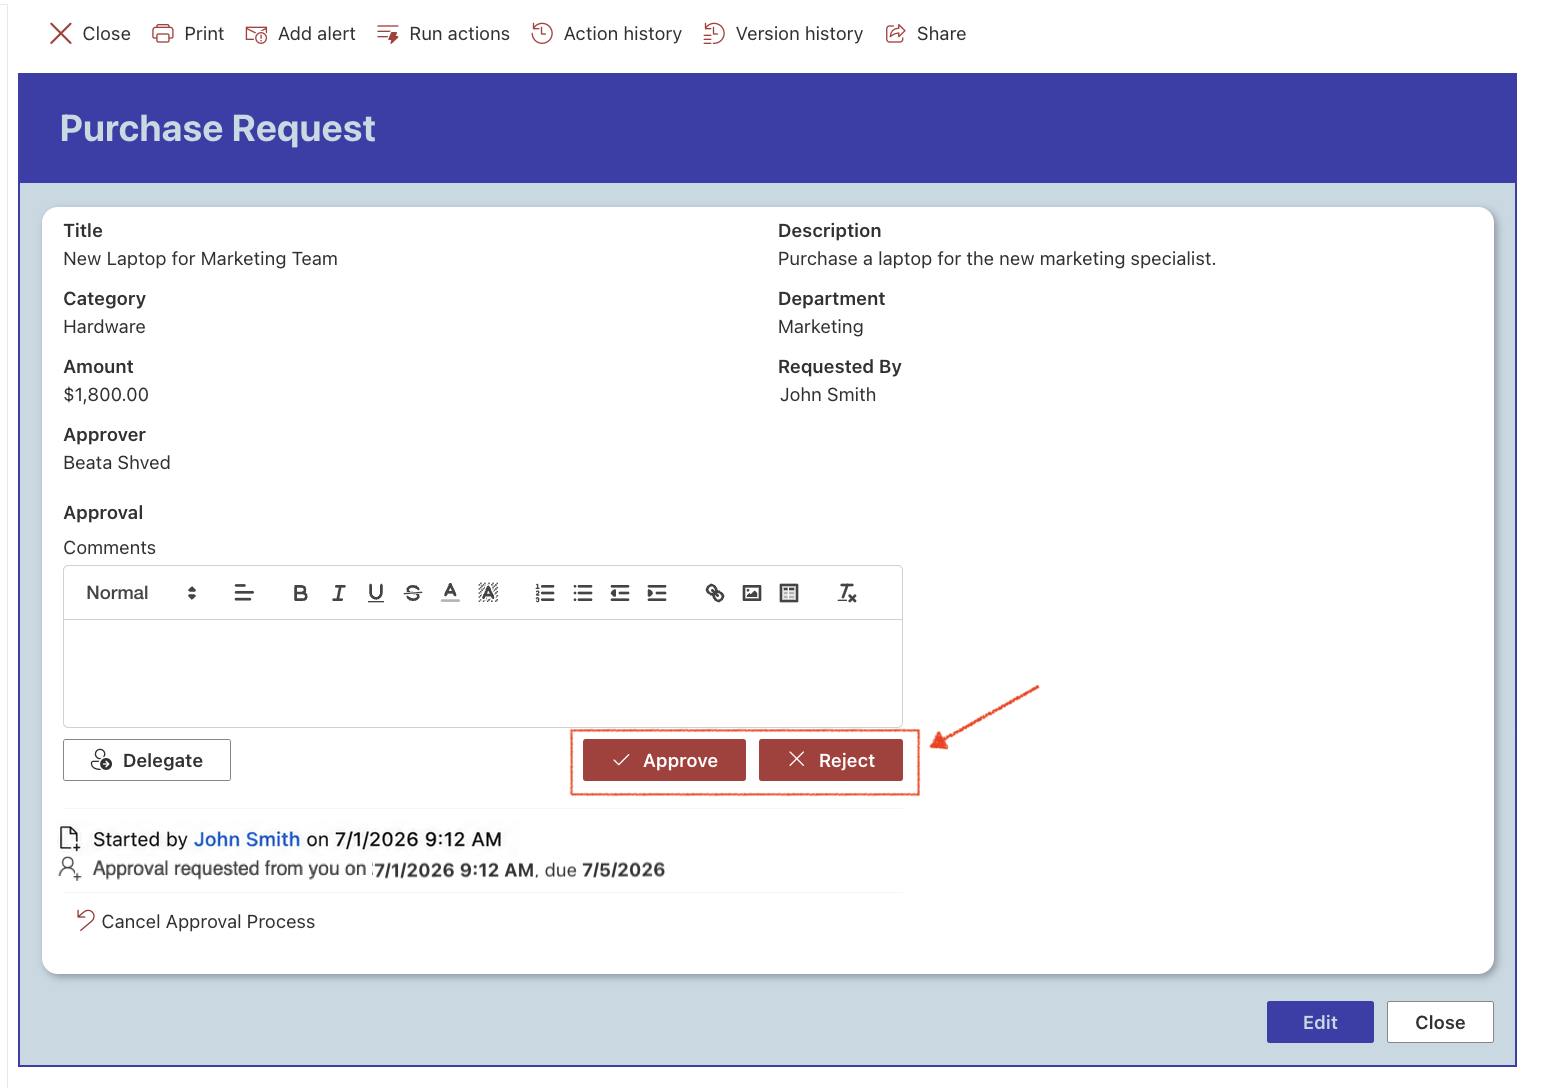
Step 8: Approve the Request
- Open the request as the assigned approver.
- Click Approve.
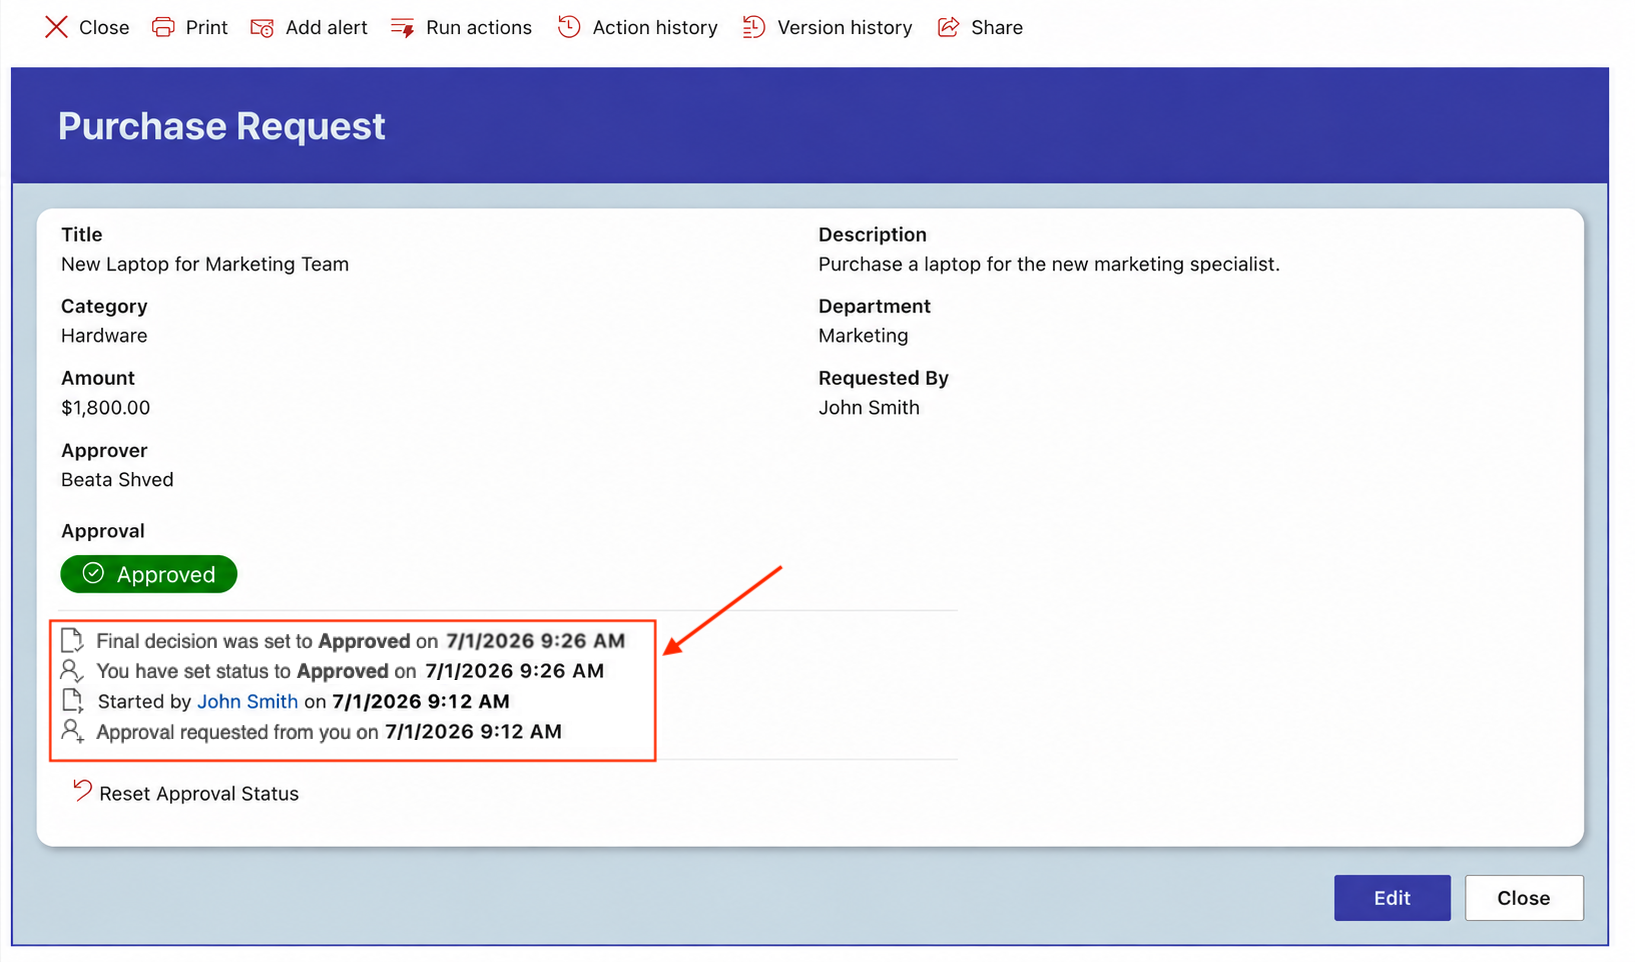
After the approval is completed:
- The workflow finishes.
- The Status changes to Approved.

- Notification emails are sent.
- The approval history is updated automatically.
Result
Your Purchase Requests list now includes a fully functional approval workflow. Each new request is automatically routed to the assigned approver, the approval status is updated throughout the process, and approvers can review and respond directly from the form.
Summary
In this tutorial, you built and tested your first Approval workflow. You now have a working approval process that automatically routes requests to approvers, tracks approval status, and records approval decisions. In the next tutorial, you will expand this workflow by adding multiple approval stages.