Importing Data from a Database into SharePoint
Many organizations store important data in external databases such as SQL Server, Oracle, or MySQL. This data often needs to be available in SharePoint for reporting, tracking, or further processing.Manually copying or synchronizing this information can be inefficient and error-prone.
With Import, you can connect directly to a database, retrieve data automatically, and create or update SharePoint items.
In this tutorial, you will import data from a database into a SharePoint list using an Import Profile.
Instructions
Before You Start
You will need:
- Access to a database (in this example, MS SQL)
- A table with data to import
Example database table:
- Table name: Products
- Columns:
- ProductName
- Category
- Price
- LastUpdated
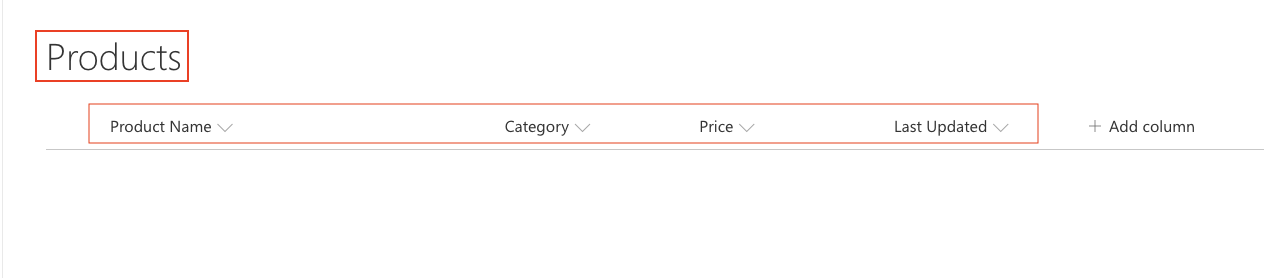
Create a SharePoint List
- Create a list to store imported data.
- List name: Products
- Columns:
- Title (Product Name)
- Category (Single line of text)
- Price (Number or Currency)
- Last Updated (Date and Time)
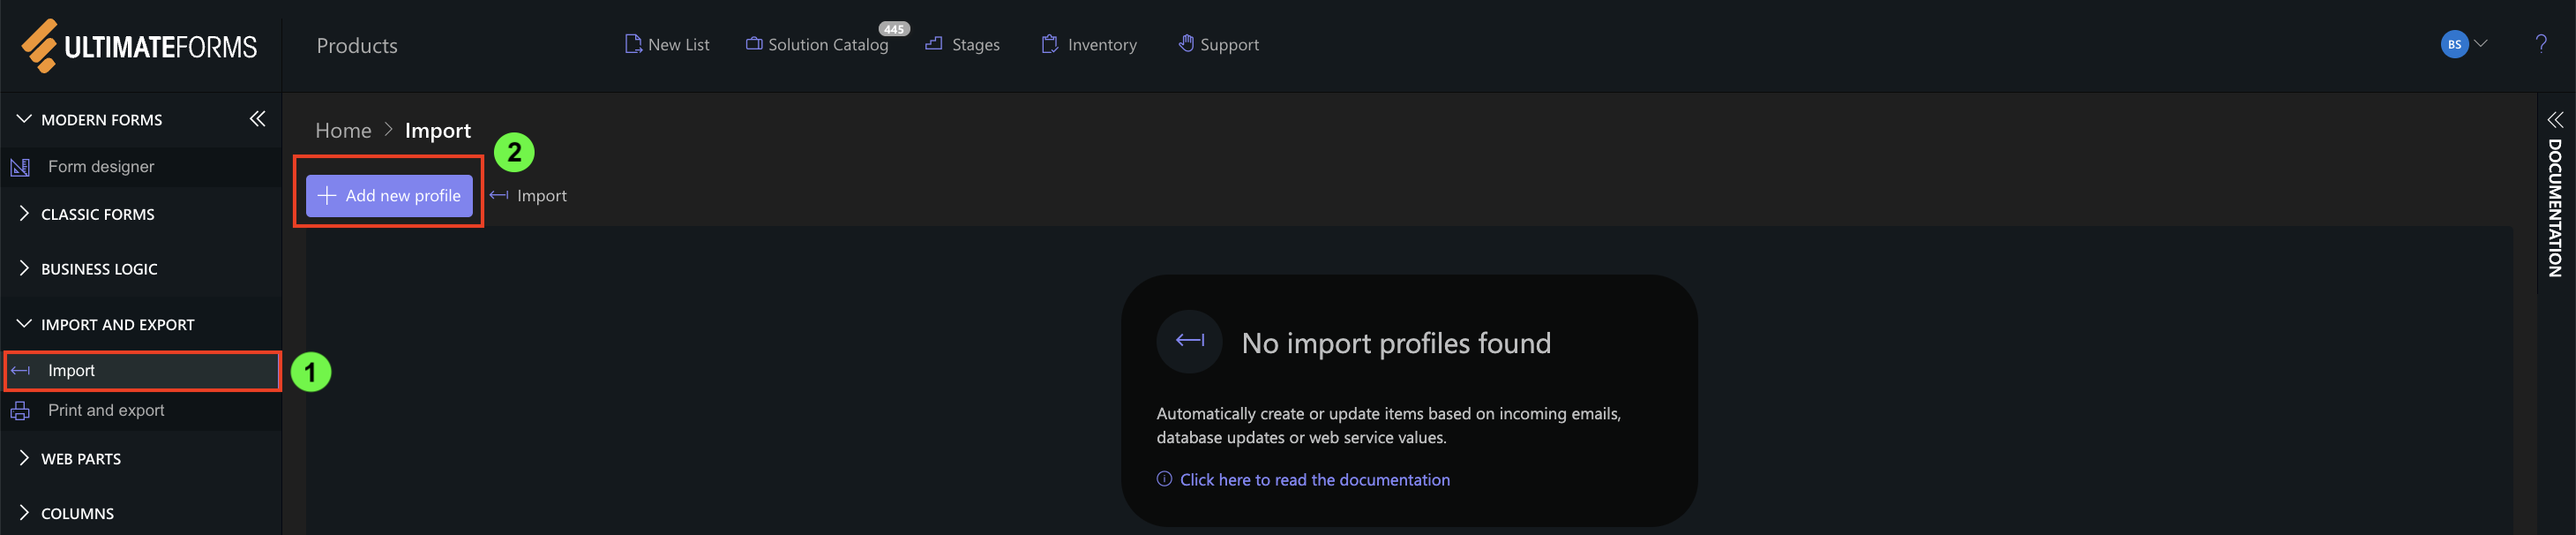
Step 1: Open Import Settings
- Open your SharePoint list
- Click Design
- Select Import
- Click Add new profile
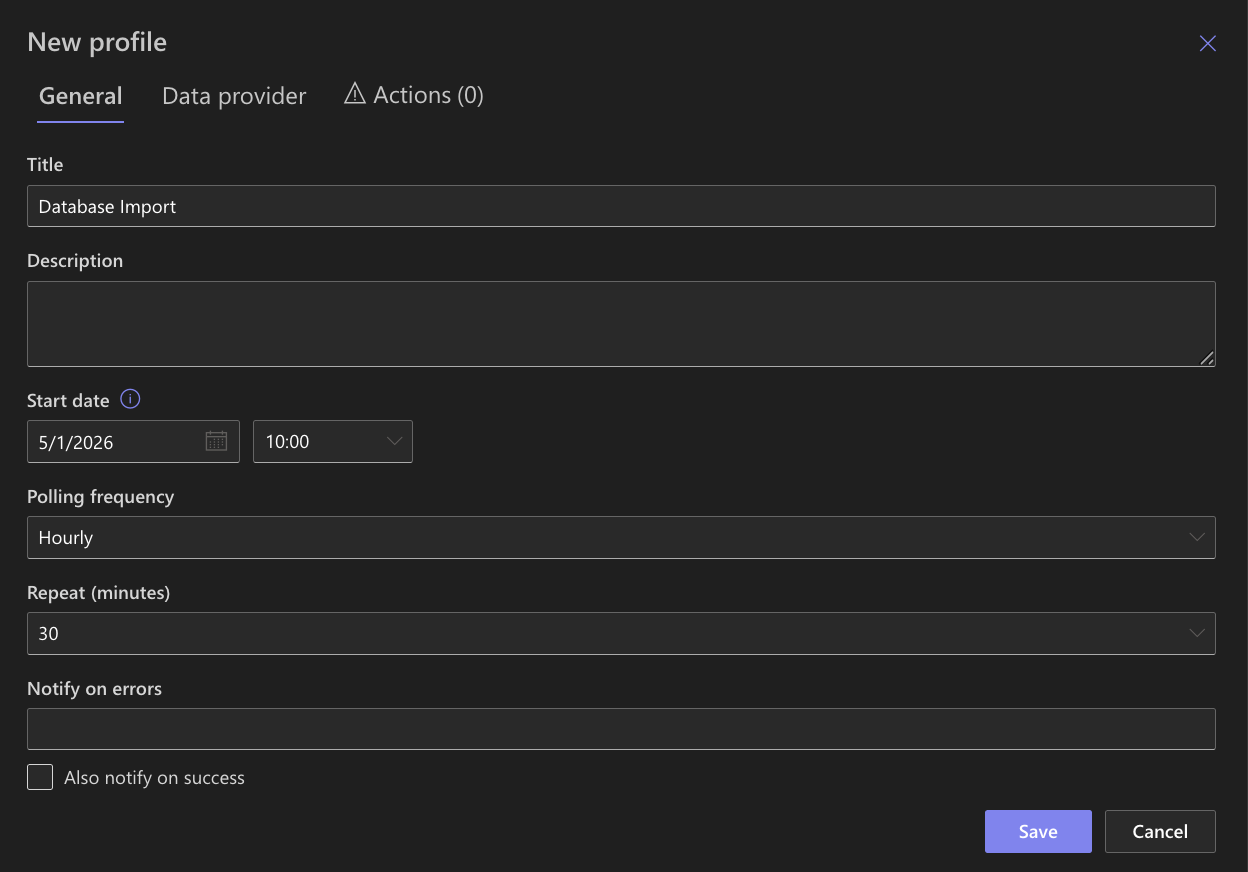
Step 2: Configure General Settings
Set basic profile settings:
- Title: Database Import
- Start date: Set to current date or earlier if you want to import existing records
- Polling frequency: Define how often the system checks for new or updated records
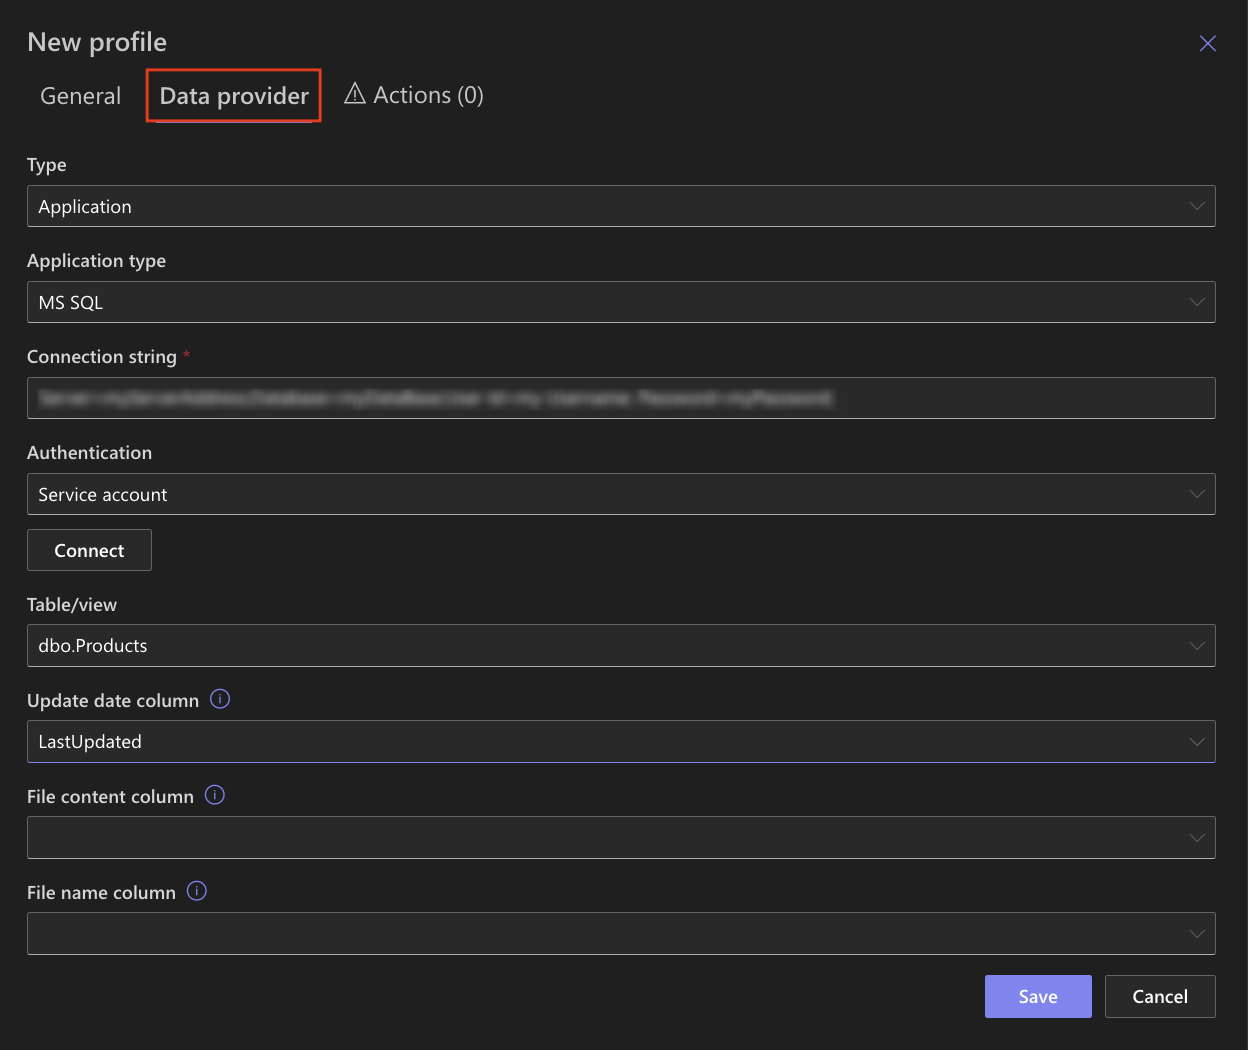
Step 3: Configure Database Provider
- Open the Data Provider tab
- Set:
- Type: Application
- Application type: MS SQL
Configure connection
- Connection string: Provide the database connection string
- Authentication: Use credentials with access to the database
Select data source
- Click Connect
- Select the table: Products
- Update date column: LastUpdated
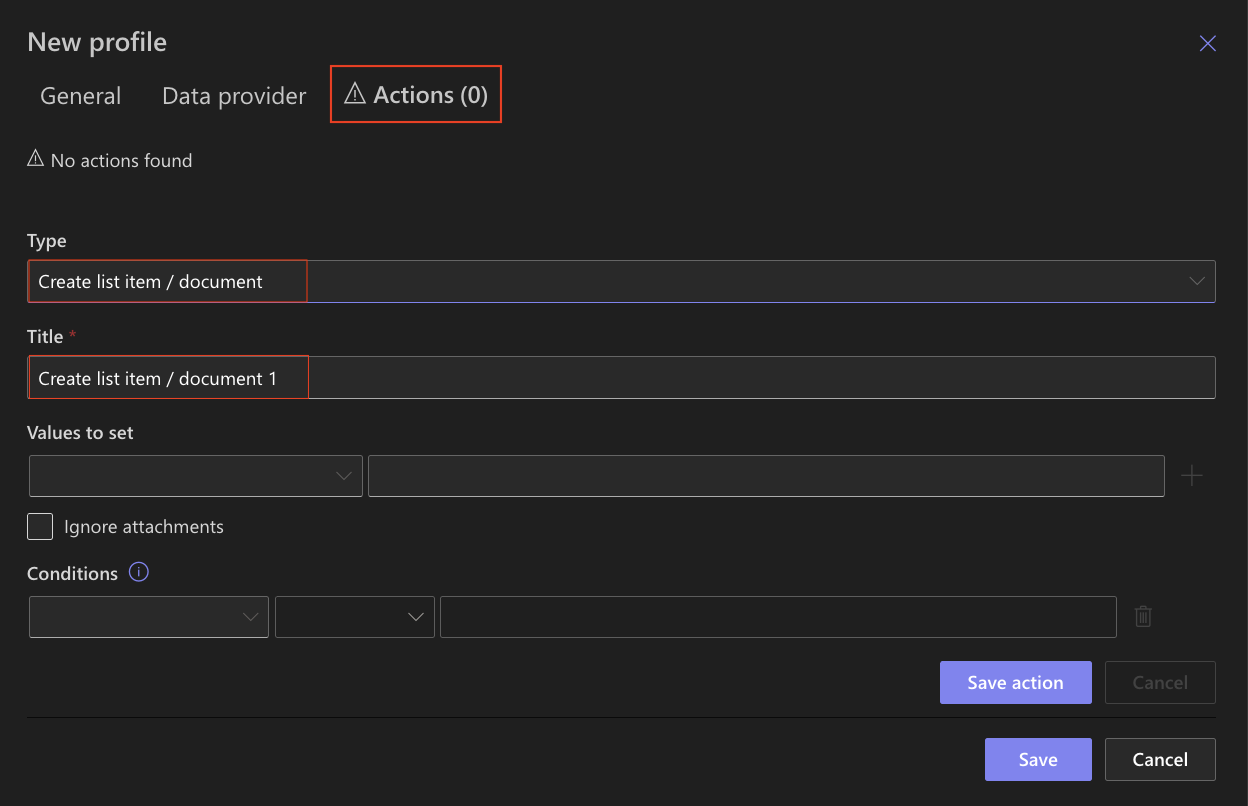
Step 4: Configure Action
- Open the Actions tab
- Click Add new action
- Select Create list item / document
- Ttle: Create Product Item
Step 5: Map Database Columns
Map database columns to SharePoint columns:
- ProductName → Title
- Category → Category
- Price → Price
- LastUpdated → Last Updated
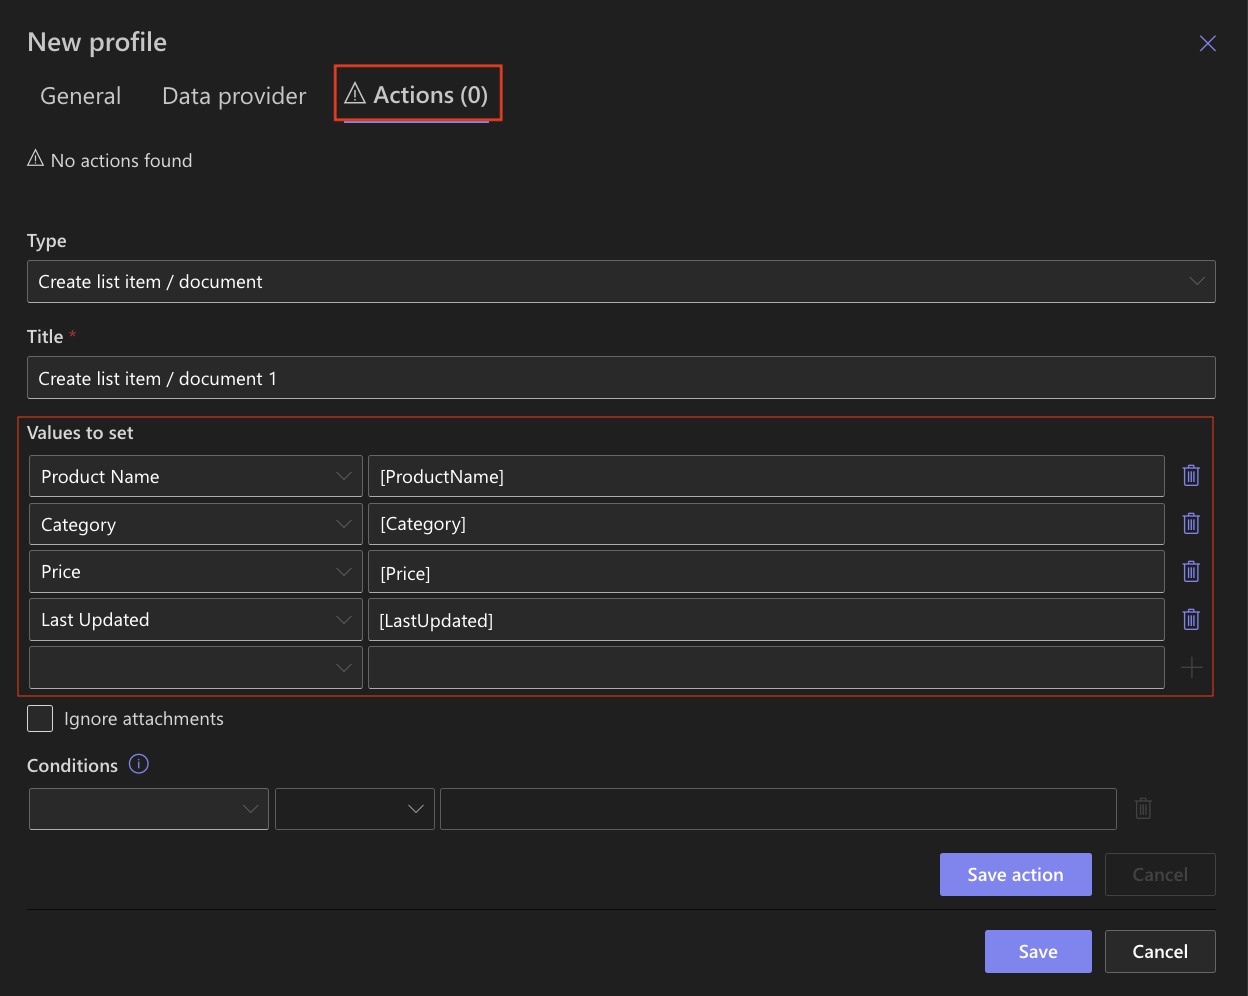
Mapping defines how database data is stored in SharePoint.
Step 6: Save and Run the Profile
- Click Save
- Click Run now or wait for scheduled execution

Step 7: Verify Results
After the profile runs:
- Open your SharePoint list
- Verify that items were created from the database
Example
The following database record: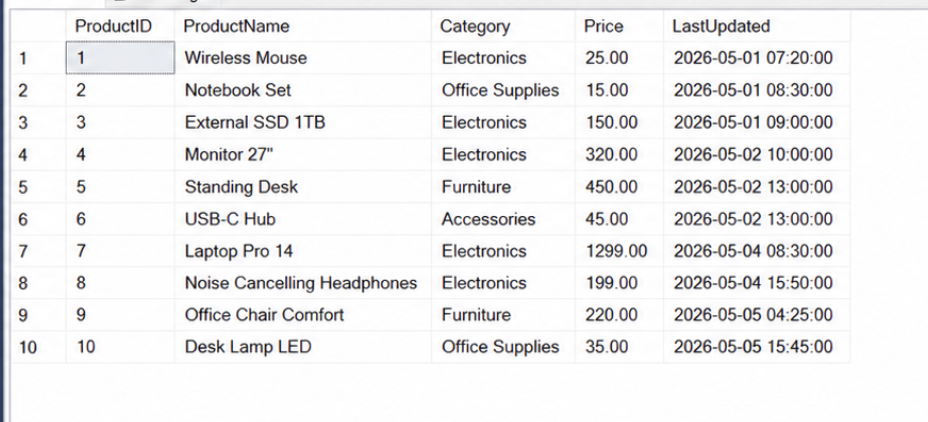
Is imported as: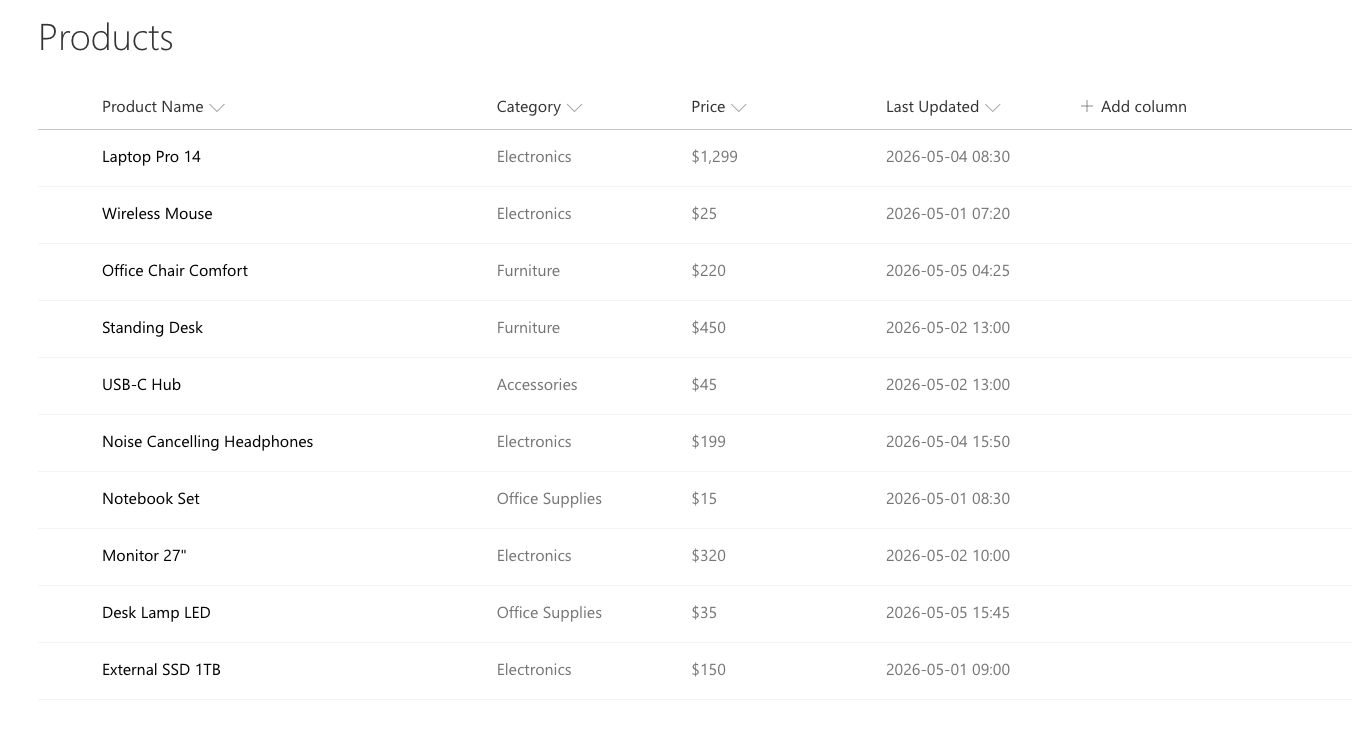
Each database row becomes a SharePoint item with mapped values.
Result
Data from the database is automatically imported into SharePoint and converted into list items.
This allows you to keep SharePoint synchronized with external systems without manual data entry.
Summary
You learned how to import data from a database into SharePoint using an Import Profile.
This approach enables automated data integration and helps ensure that SharePoint always contains up-to-date information from external systems.