Documentation
User Interface
The Print button is visible on item context menus, on display forms, in ribbon of views.
NOTE: the button under Items ribbon will print a single item when just one item is selected. When multiple items are selected, a list of items or multiple items are printed depending on selected template.
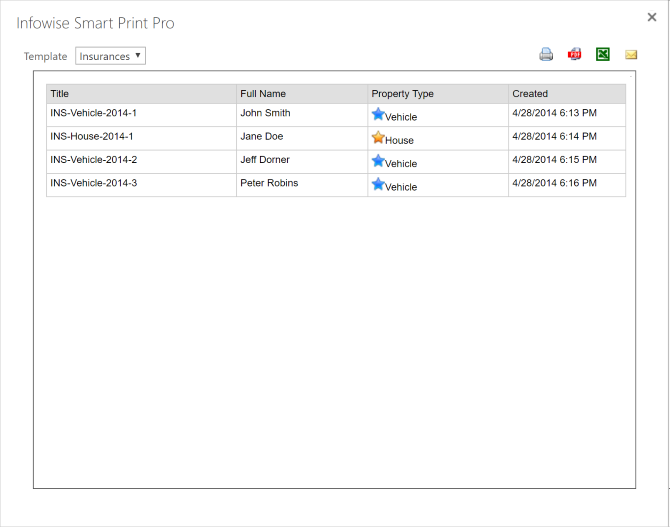
Once clicked, the Print Preview screen is opened, where you can view the print preview of the items/list view, choose the desired template and perform on of the following actions:
- Print – the preview is send to the printer. The regular print dialog is shown where you can choose a printer and set additional settings
- Export to PDF – the preview is converted to PDF format and the generated file is downloaded to your browser. The default file name is the list title.
- Export to Excel - the preview is exported to an Excel format file, which is downloaded to your browser.
- Export to Word- the preview is exported to an Word file, which is downloaded to your browser.
- Email – the preview is emailed to specified recipients, as text or PDF, with or without attached documents. Refer to the next chapter for details.
NOTE: When printing directly from the browser, an additional header/footer can be added by the browser itself (page number and URL). Go to print settings of the browser to disable those settings. You can also enable printing background colors there.
E-mail Feature
The e-mail feature allows you to send the print-out as text or PDF with or without attached documents.
Click on the E-mail button to show the E-mail panel.
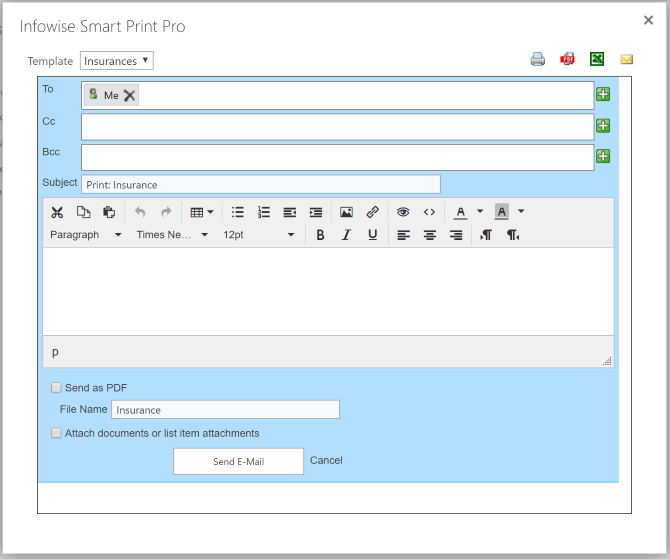
- Specify recipients, by default the email is sent to the recipients specified in the template
- Specify subject. By default the subject is the same as the template name or as specified in the template
- Optionally specify body. By default the body specified in the template is used.
- Specify whether to attach print-out as PDF or insert into the message body
- Specify whether to include documents (in document libraries), list item attachments, Associated Documents and Document link files in the message.
Export to Excel
Use this feature to export the data to Excel. Note that only the data is exported, without preserving any of the formatting. If you use Associated Items columns, the child items will only be exported when exporting the parent item in Item-based template.
Filters
You can use filters to specify conditions for including item in the print-out. Filters are only available in List-based and Calendar-based print templates. Enter one or more conditions to only include the items you need. Currently, it's not possible to store your conditions. The conditions are applied in conjunctions with any filters the list view might have.